Introduction
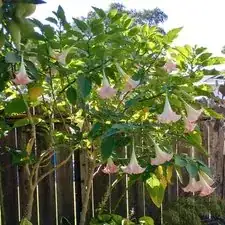
When a hedge or plant has grown taller than the sprinkler head’s spout can spray, grass beyond the plant dies from lack of water. This fast fix will show you how to install the following sprinkler head: 1800 Series 12-inch Pop-Up PRS Sprinkler, 0-360° Pattern, Adjustable 8-15 ft. This will eliminate water waste and will spray water to areas you intend for the water to reach.
-
-
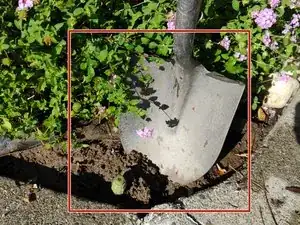
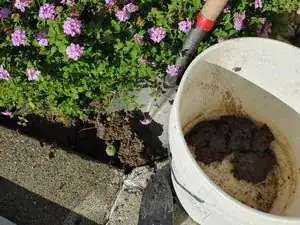
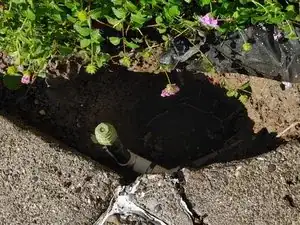
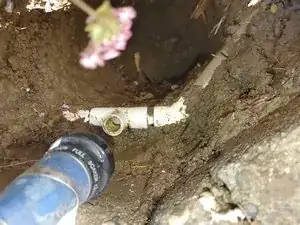
Dig and remove dirt around the existing sprinkler head and several inches around connected PVC.
-
Place the dirt in 5 gallon the buckets or on the surface near the hole.
-
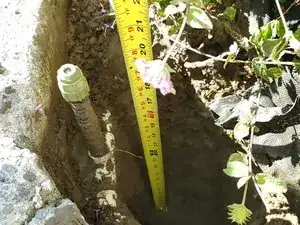
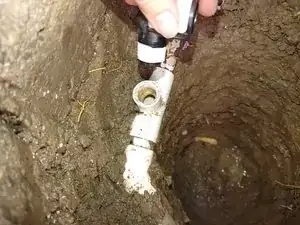
Dig till the hole is at least 14 inches below the PVC pipe allowing room for the flex riser.
-
-
-
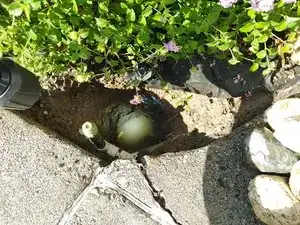
Remove the old sprinkler head and riser.
-
Turn counterclockwise until the old sprinkler head and or riser is removed.
-
Rinse area for clean installation.
-
-
-
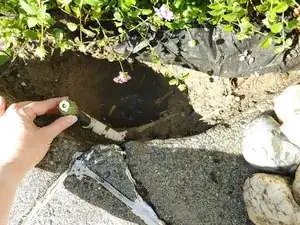
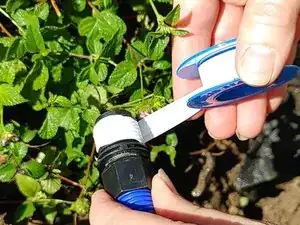
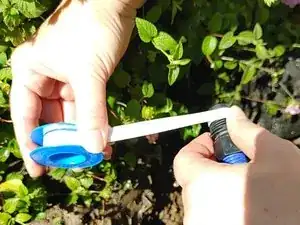
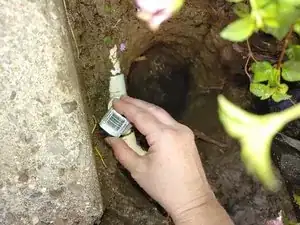
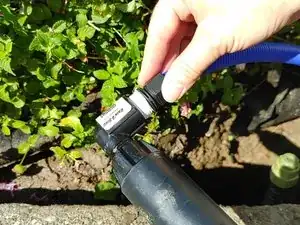
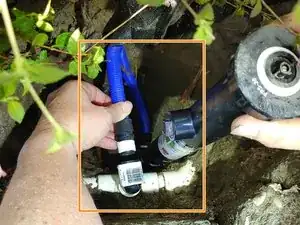
For this step, wrap 4 threaded ends with Teflon tape: both ends of the flex riser and one end of each swing joint elbows.
-
Wrap Teflon tape clockwise around the threaded part of each of the above-mentioned sprinkler connections.
-
Put three complete layers of tape on each of the threaded ends. This will allow for a tighter and secure fit.
-
-
-
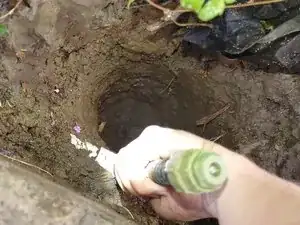
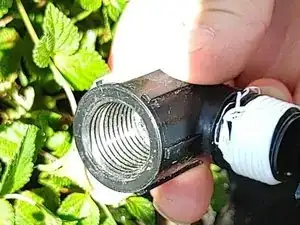
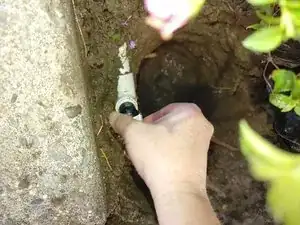
Screw clockwise, the new Teflon wrapped the threaded part of an elbow, into the pipe in the ground.
-
Confirm that the part is installed snugly and not cross-threaded.
-
-
-
Screw the threaded end of the elbow onto the 12" sprinkler head.
-
Confirm that the part is installed snugly and not cross-threaded.
-
-
-
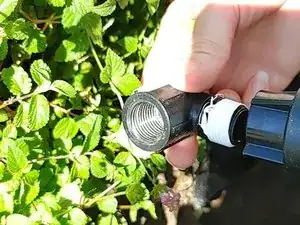
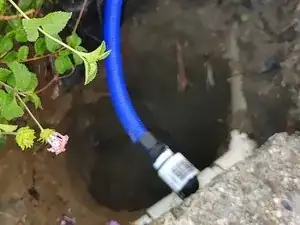
Confirm that Teflon tape has been applied to both threaded ends.
-
Screw one end of the blue flex tubing onto the elbow in the previous step.
-
Screw the other end of the flex tubing onto the last remaining elbow.
-
-
-
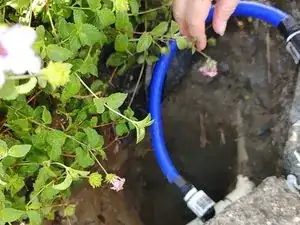
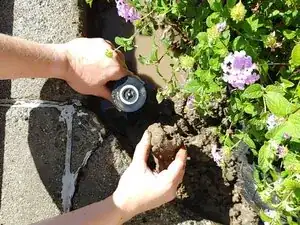
Lower the 12-inch sprinkler head and flex tubing down into the hole.
-
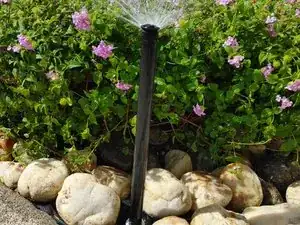
Adjust the new sprinkler head so it is level with the sidewalk or surface.
-
-
-
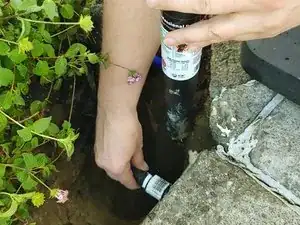
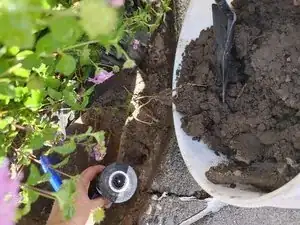
Hold the sprinkler head in place, vertically, while carefully putting the dirt into the ground by hand. Using your hands allows for a gentle pressure on the sprinkler head versus using a tool that could crack or break it.
-
Add dirt in layers, compressing the dirt by hand, around the sprinkler head.
-
-
-
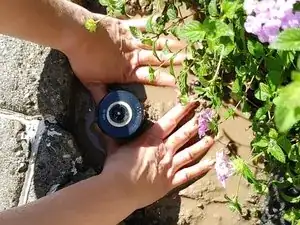
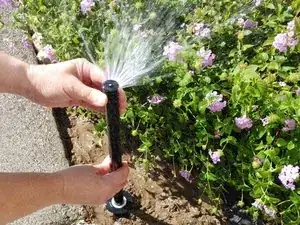
Turn on the sprinkler system.
-
If the flow is good, adjust the nozzle direction and radius by turning the nozzle head and shaft.
-
Check water pressure and nozzle lift after landscaping has returned around sprinkler head.
-


To reassemble your device, follow these instructions in reverse order.