Introduction
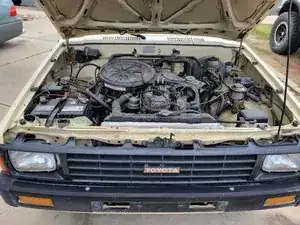
The purpose of this guide is to detail the steps on how to replace the windshield washer fluid pump on a 1986 Toyota Pickup. The steps will cover the removal of the washer bottle from the vehicle so that the pump can be accessed, then it will cover the replacement of the pump itself and the reinstallation of the washer bottle.
-
-
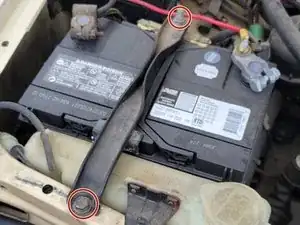
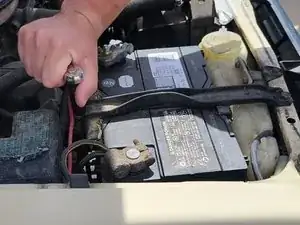
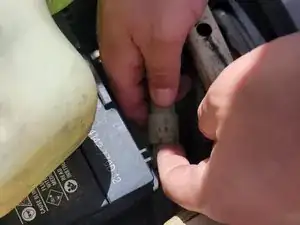
Using a ratchet and a 12 mm socket, remove the 12 mm bolt and 12 mm nut on either side of the battery hold-down bracket.
-
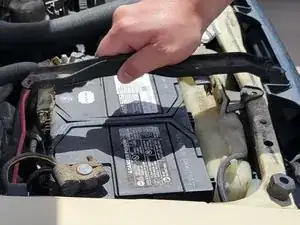
Lift the bracket off of the battery and set it aside.
-
-
-
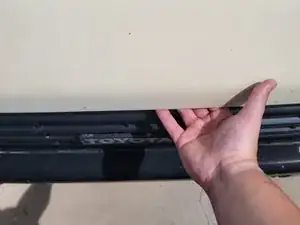
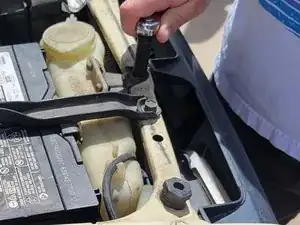
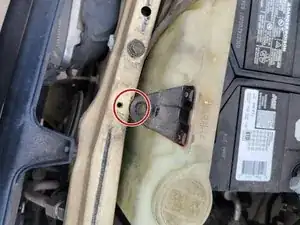
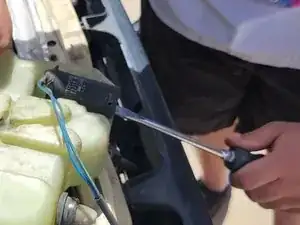
Using a ratchet and a 10 mm socket, remove the 10 mm bolt that holds the washer bottle in place.
-
-
-
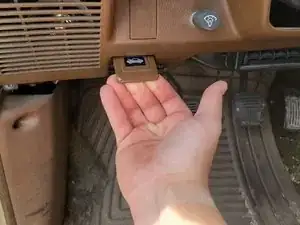
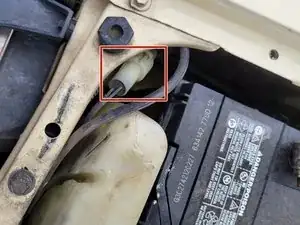
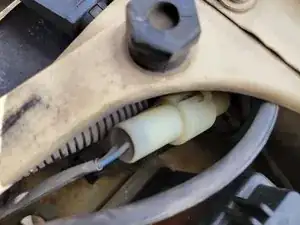
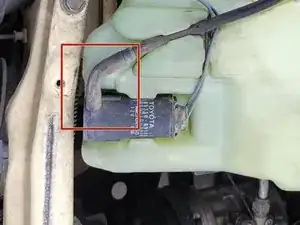
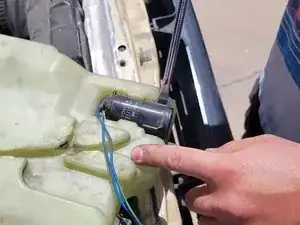
Disconnect the pump electrical connector.
-
To unplug the connector, push up on the tab of the female connector and pull the two apart. Be patient, as the plastic can be very brittle.
-
-
-
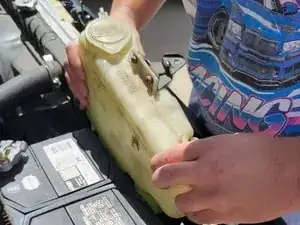
Lift the washer bottle out of place. Be mindful of the hose that connects the pump to the sprayers.
-
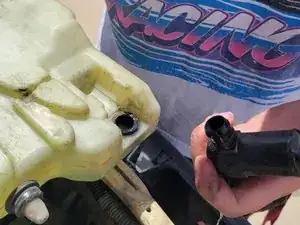
Disconnect the hose from the pump using the needle nose pliers (optional).
-
Remove the hose from its slot in the washer bottle and empty the washer fluid into a temporary container.
-
-
-
Carefully pry the pump out of the washer bottle with the flathead screwdriver.
-
If your new washer pump did not come with an O-ring, be mindful to not damage the old one.
-
If you have a new O-ring, remove and replace the O-ring as well.
-
To reassemble your device, follow these instructions in reverse order.
