Introduction
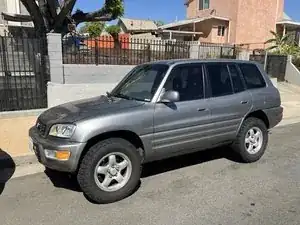
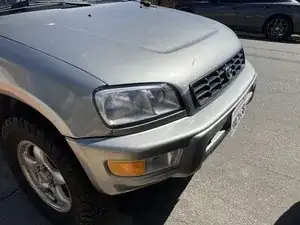
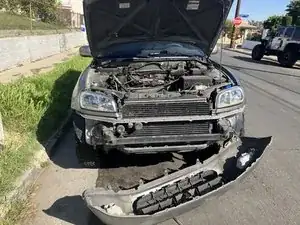
Replacement of the front bumper may seem daunting at first. However, this guide will show you a step-by-step process to replace the front bumper. The front bumper is located at the front part of the car under the hood, the hood is in front of the windshield. Replacing your front bumper may be necessary since it may be damaged or cracked. Damaged front bumpers may have trouble holding the headlights.
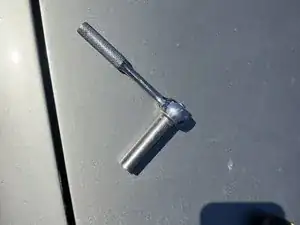
While replacing the front bumper, you need to be aware of the hazards of making sure the vehicle is parked properly and not putting your whole body under the car. You will be using a socket wrench with a 10mm socket. Now you are ready to replace the bumper.
-
-
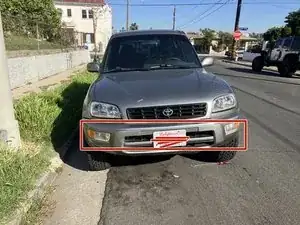
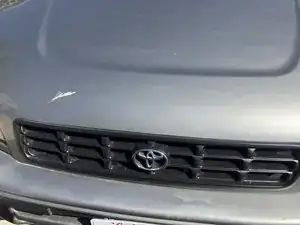
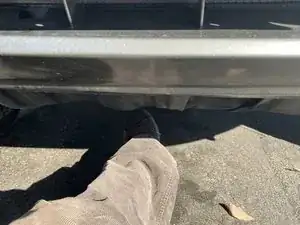
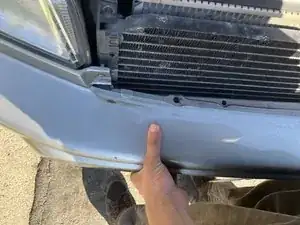
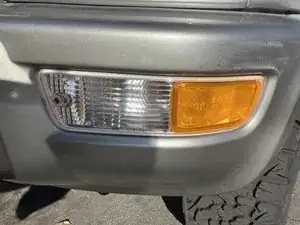
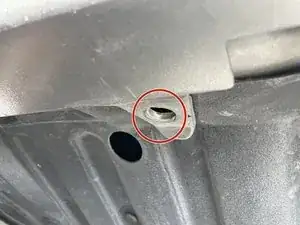
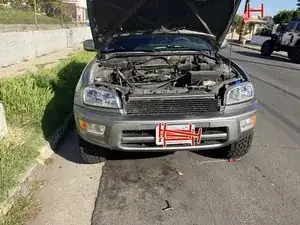
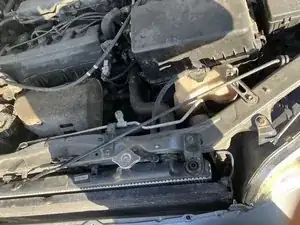
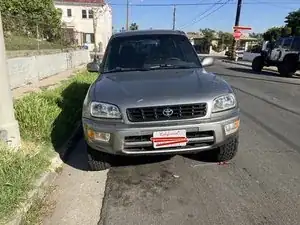
The front bumper is located under the hood and below the headlights. The red box (photo 3) is the bumper.
-
-
-
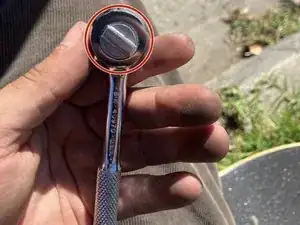
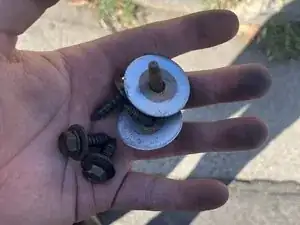
This is called a socket wrench and it is attached with a 10mm socket. This is the only tool you need for this process.
-
-
-
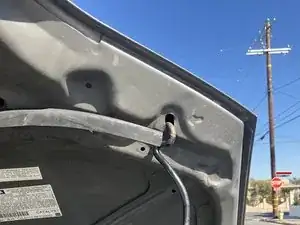
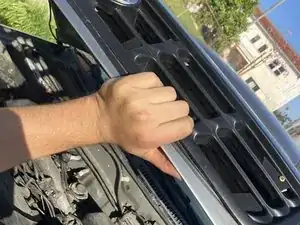
There is a lever in the grill of the car. Press up to activate it
-
After activating the hood you will be able to hold the hood up with one arm.
-
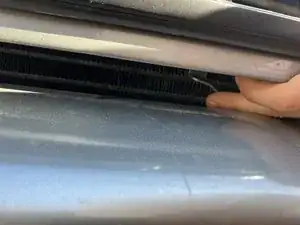
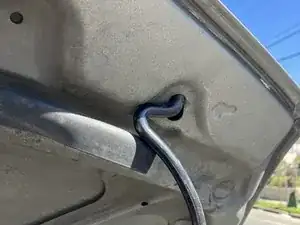
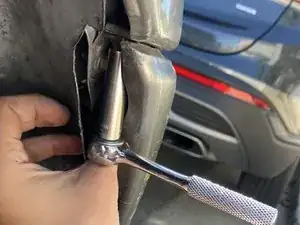
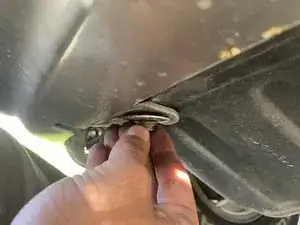
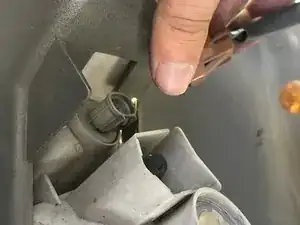
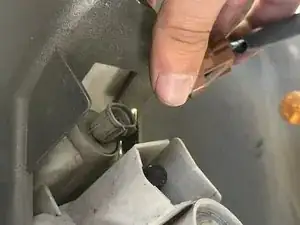
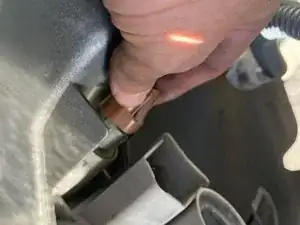
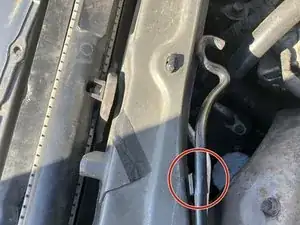
In the red circle from the second picture, there is a thing holding the metal stick called a hood lift. Pull the hood lift and press it up.
-
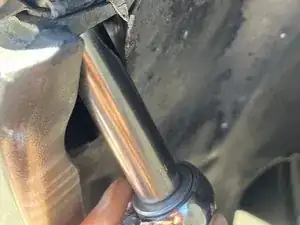
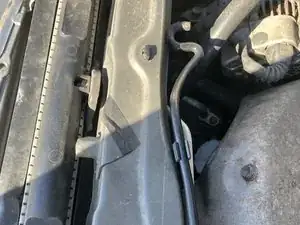
The hood lift will have a hook to enter and attach it self to the hood. Put the hook of the hood lift inside the hole. (Example of this in the third picture).
-
-
-
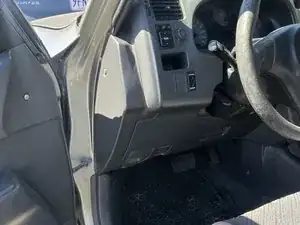
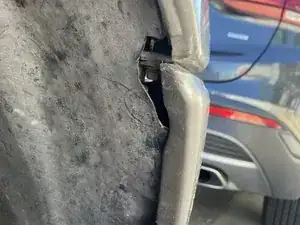
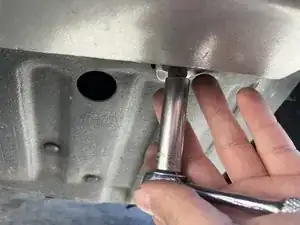
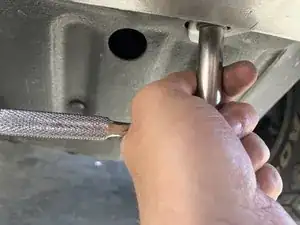
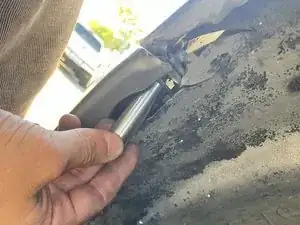
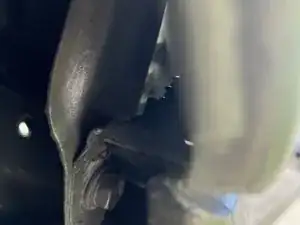
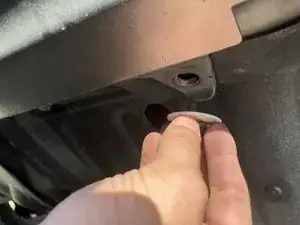
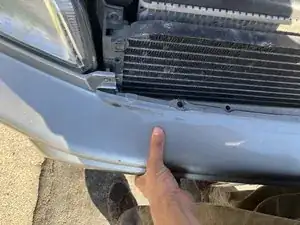
The next step requires removing a bolt next to the passenger door (right door next to the wheels).
-
Connect the socket to the bolt and twist the handle to the left. Continue to do this till you remove the bolt.
-
-
-
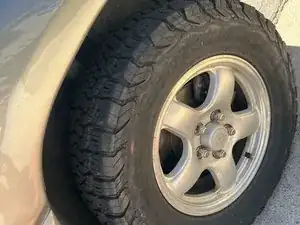
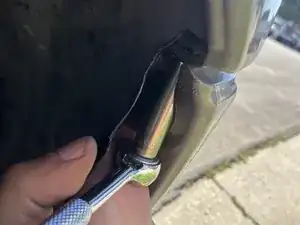
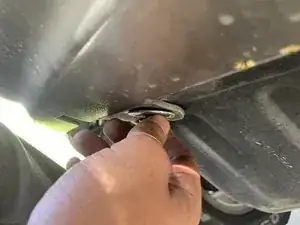
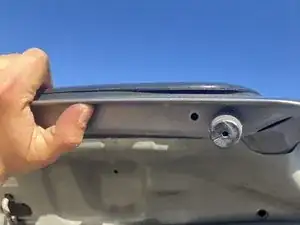
There is another bolt next to the wheel to the front left of the car.
-
The same thing applies to this bolt. Twist the handle to the left and remove the bolt.
-
-
-
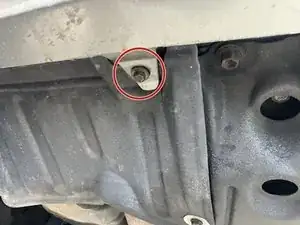
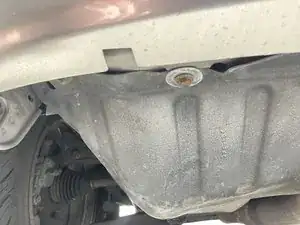
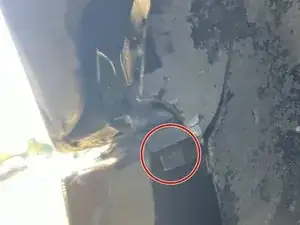
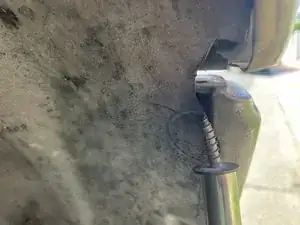
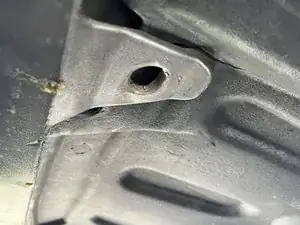
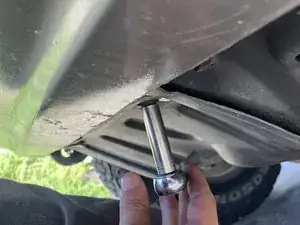
The next set of bolts is located at the bottom of the bumper.
-
There are three bolts in total like this (the bolt in the red circle)
-
Twist the handle to the left and remove the bolt.
-
-
-
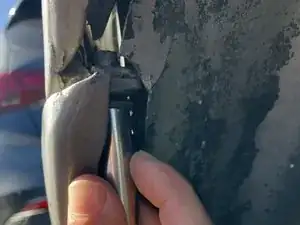
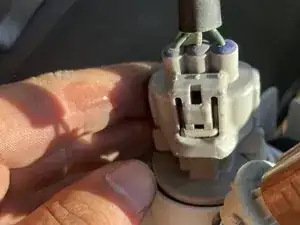
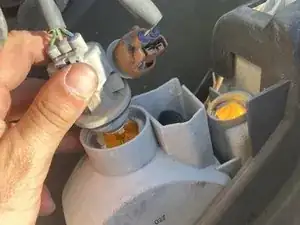
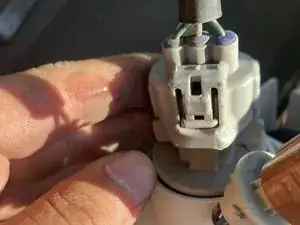
In the front bumper, there is a light panel to fully remove the bumper you will need to detach the cables of these lights.
-
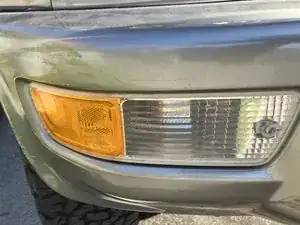
In this photo (second slide), we remove the right (passenger) light.
-
Press on the clips on the sides of the cable (where my thumb and index finger resides). Then pull to slide the cable.
-
-
-
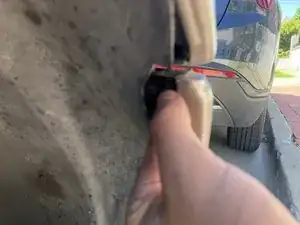
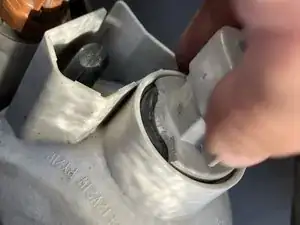
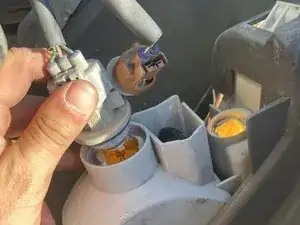
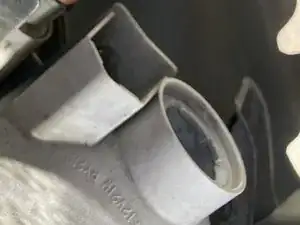
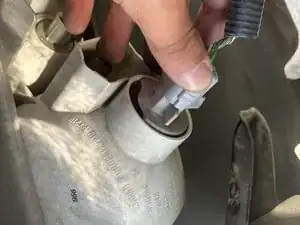
This cable is still on the right side of the bumper. There are four sections for this cable we need to match to remove.
-
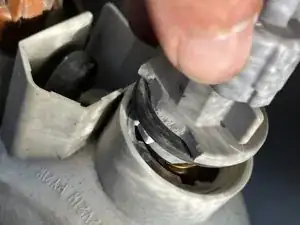
In the third photo, there are gaps in the socket where the light enters. We simply need to match it with the gaps and we can remove the light.
-
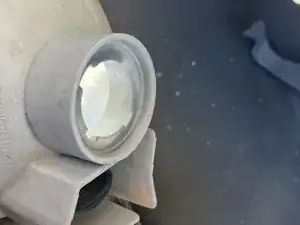
The second photo showcases (the material in the red circle) the part we need to match.
-
Now the operation we need to do is to twist the light while pulling carefully to see if the gaps match with the material.
-
-
-
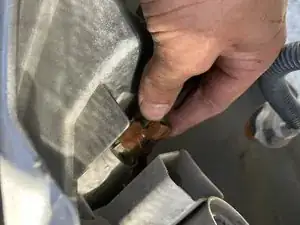
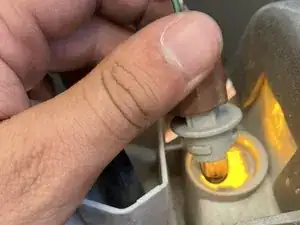
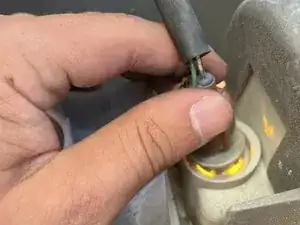
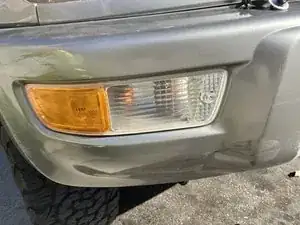
Transition to the left side of the bumper. This light as we recall in step 9. I remove the brown cable by pressing the clips and pulling it out.
-
However similar to the step 10 you can twist and turn to match the gaps and remove the light.
-
-
-
This is the same for this step. To remove this cable you will apply the same rules we follow in step 10.
-
-
-
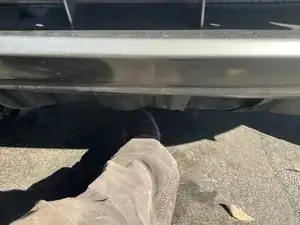
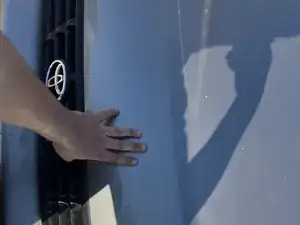
Now we can remove the bumper.
-
Press up with your two hands like in the second photo and pull the bumper towards you.
-
-
-
To put your front bumper back you will simply do the order in reverse.
-
Push the brown cable into the appropriate socket and once you hear a click then it is stable.
-
-
-
Once again match the gaps of the material with the cable. Once the light has entered the component twist to the left or right.
-
-
-
Place the bumper down on the car.
-
The photos of the lights are there to give you an understanding of when the lights are turned off. In the next steps, we will be verifying if the lights work or not.
-
-
-
To check if the lights are on, go to the driver's seat.
-
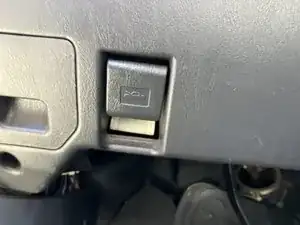
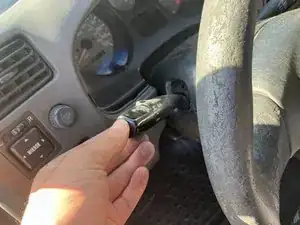
Look behind the wheel and there will be this switch to turn the lights (Photos 1).
-
Press the switch up to activate the right light.
-
Check the light on the right side to make sure the cables are plugged in correctly.
-
-
-
Now press the lever down to activate the light on the left.
-
Now check if the light is activated.
-
-
-
We will be working on the left side first. Place the bolt under the socket where you removed it.
-
Press upwards and turn to the right to tighten the bolt.
-
The bolt will feel secure when you turn to tighten it which will get harder. Keep on tightening till you can not anymore.
-
-
-
This step is the same as the last one. Press upwards and turn right with the handle to tighten the bolt.
-
-
-
When the bolt gets harder to turn as you tighten it. Use the wrench to tighten the socket.
-
Do steps 25 and 26 for all of the bottom sockets.
-
-
-
With the hand that is free from holding the hood use it to press down on the hood lift to secure it.
-
-
-
Pull down the hood and press it down to push it till you here a click.
-
The process of the bumper is now done. Enjoy yourself!
-


To reassemble your device, follow these instructions in reverse order.