Introduction
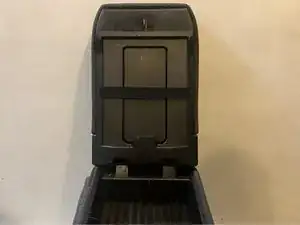
If your center console lid from a Chevy Silverado from 1999 to 2007 is damaged or needs replacing, this is the guide for you.
Before beginning, make sure to either take the whole center console out or just simply move your driver or passenger seat down or back to have enough space to perform this guide.
-
-
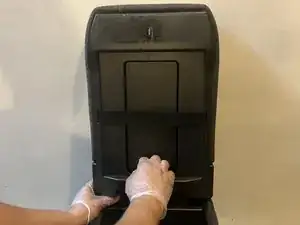
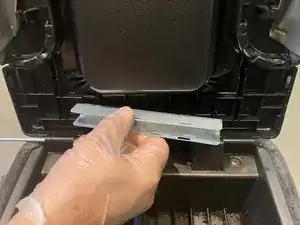
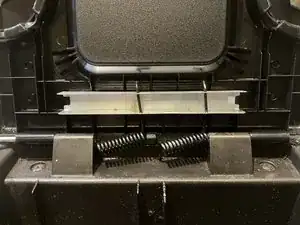
Open the lid and remove the plastic cover by pulling it from the part sticking out on the bottom.
-
-
-
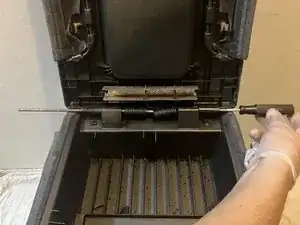
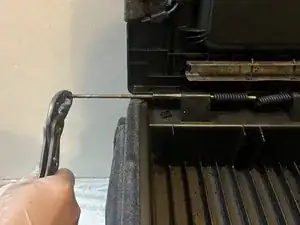
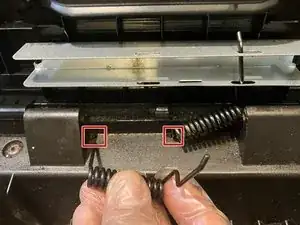
Remove the metal rod using a screwdriver when pushing it out from the right side.
-
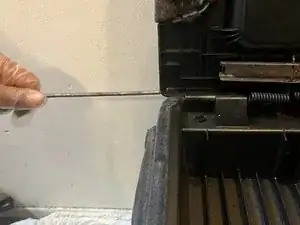
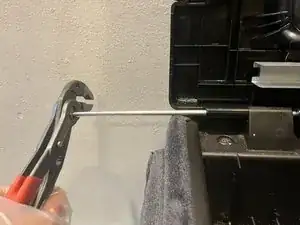
When pushing the metal rod out through the springs, you can go over to the other side and start pulling it out with a vise grip, then with your hand when it gets loosened.
-
-
-
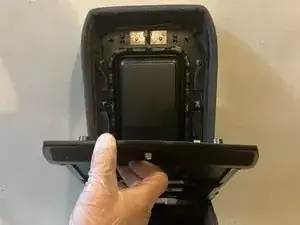
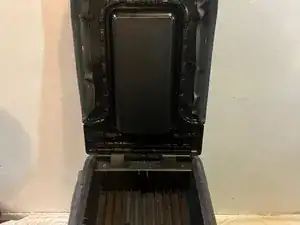
Place the new lid in the place where the old lid was.
-
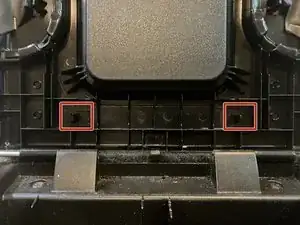
Attach the new bracket to where the marked boxes are.
-
-
-
The marked boxes identify the tiny holes where the straight part of the springs will go into.
-
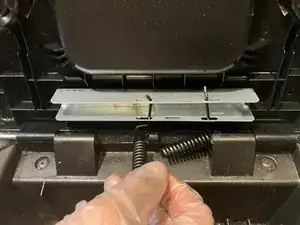
Insert the springs with the curvy part facing up and put it through the bracket hole at an angle so it can go through the other hole above it.
-
-
-
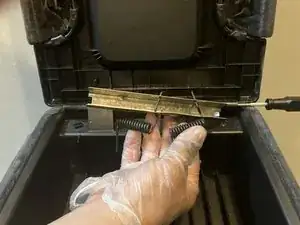
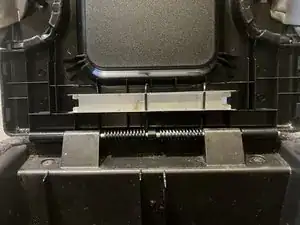
Once the springs and hinges are aligned, put the new metal rod in through them by tapping it in all the way with a vise grip on the left side.
-
-
-
The marked squares indicates the clamps the new plastic cover must click on.
-
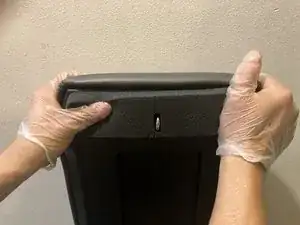
Press all around the sides to ensure all the clamps have made a clicking sound so the plastic cover will not loosen and fall apart later on.
-


To reassemble your device, follow these instructions in reverse order.