
Introduction
Due to normal wear and tear, sometimes factory halogen light bulbs go out after a couple of years. This makes it dangerous for the driver to indicate that they are on the road at night and also indicate that the vehicle is slowing down. I will show how to replace the light bulb and restore the safety of the driver
Replacing a tail light bulb is a fairly simple procedure; it can be done with general tools that an average household has.
In this guide I will be replacing the brake light bulb on my 2006 Acura MDX.
Parts
-
-
Keep the car turned off.
-
Unlock the car.
-
Open up the trunk by pulling the handle towards you.
-
-
-
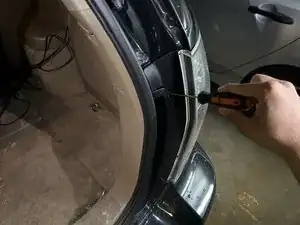
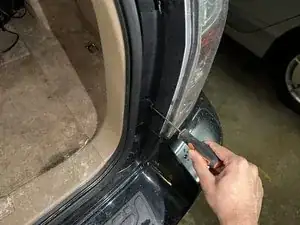
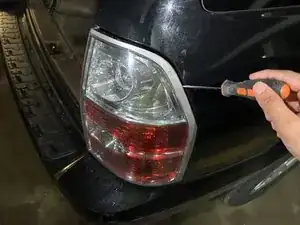
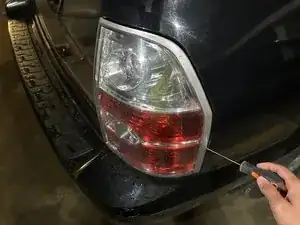
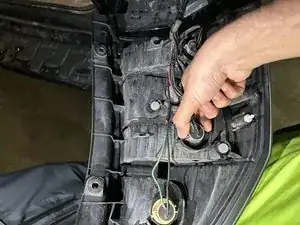
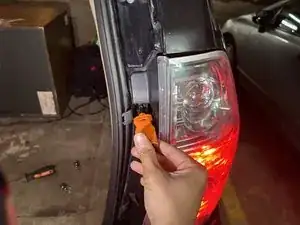
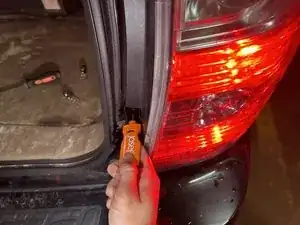
Loosen the tail light unit by wiggling it slightly.
-
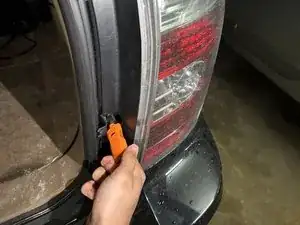
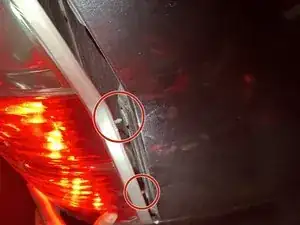
Gently pry in between the tail light and the body to pop out the white stud screws.
-
-
-
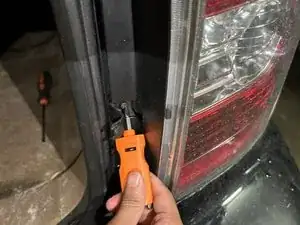
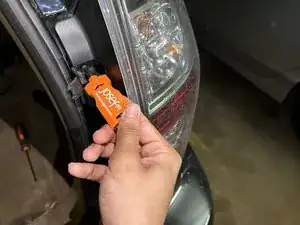
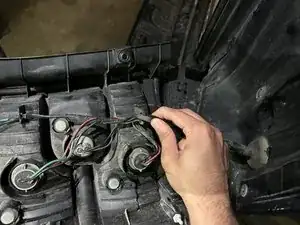
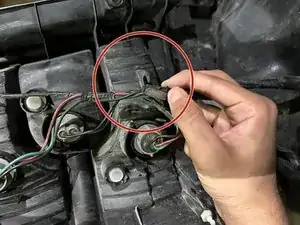
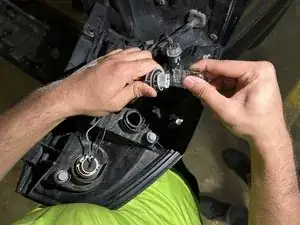
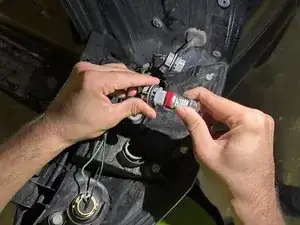
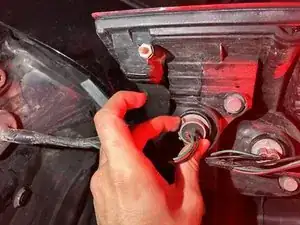
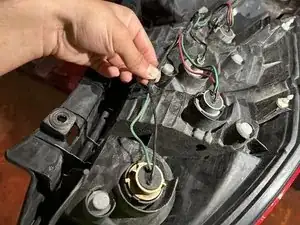
Rotate the 2nd and 4th sockets 180 degrees counterclockwise to separate them from the housing.
-
-
-
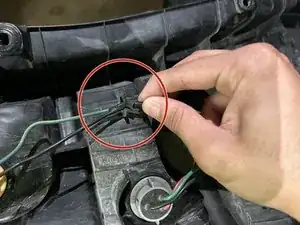
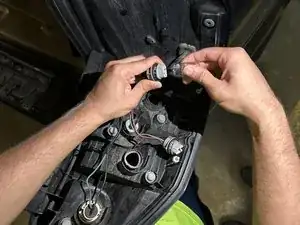
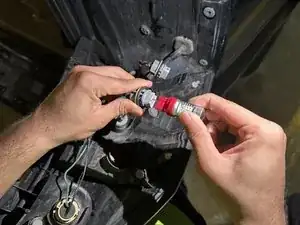
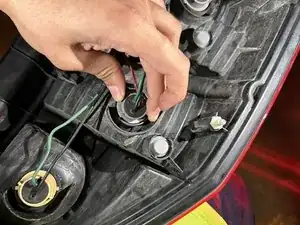
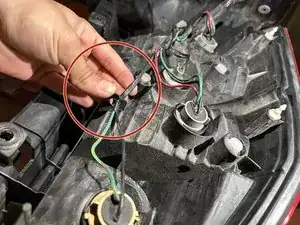
Replace the sockets with the new halogen or LED bulbs by gently pushing them into the socket.
-
-
-
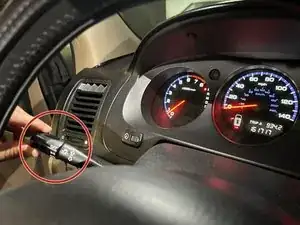
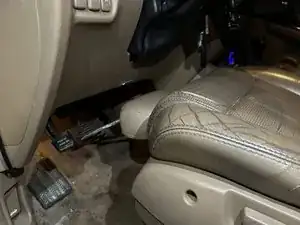
Turn on the car.
-
Ensure it's in Park.
-
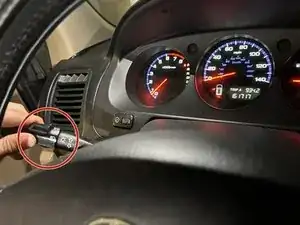
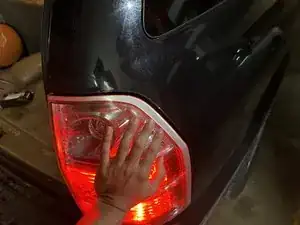
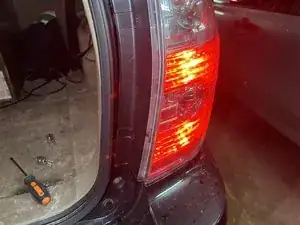
Rotate the light dial to nighttime mode to ensure that the bulbs turn on.
-
-
-
Rotate the light dial back to daytime.
-
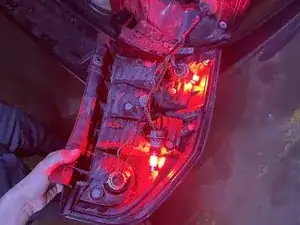
Push the brakes down to ensure the brake lights work when activated.
-
-
-
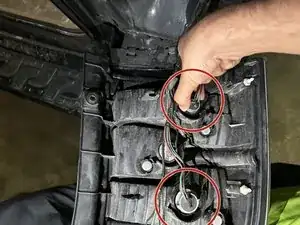
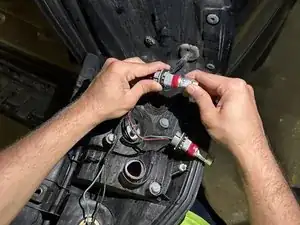
Put the socket back into the respective housing.
-
Make sure the rubber gasket sits flat with the housing to ensure an airtight seal.
-
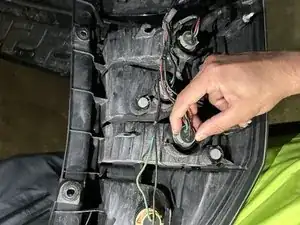
Rotate the socket 180 degrees clockwise to lock it in place.
-
-
-
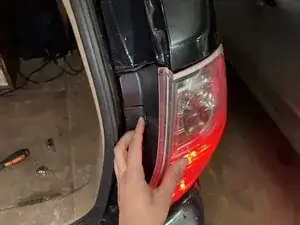
Line up the white stud screws to their respective holes on the tailight assembly.
-
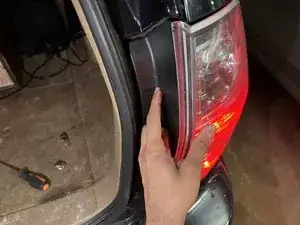
Pop the tailight assembly back into place by firmly pushing.
-


Follow the same procedure to replace the opposite side tail light.
