Introduction
The tweeter speaker in the passenger side door in a 2004-2010 Scion tC is responsible for sending out frequencies on the higher end, such as high hats, certain high notes in the vocals, etc., in music. With one ceasing to stop functioning, the driving listening experience becomes unbalanced, unenjoyable, and distracting.
This guide will show how to replace the tweeter speaker on the passenger side door. After the guide, both speakers will work and create a balanced, enjoyable, and non-distracting listening experience.
Before beginning, it is advisable to have your car completely off so as not to damage any parts relating to the door and the speaker.
-
-
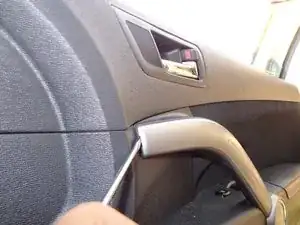
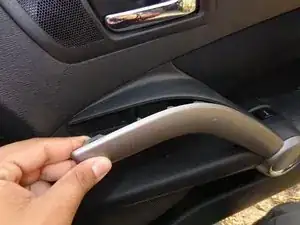
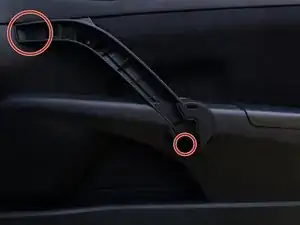
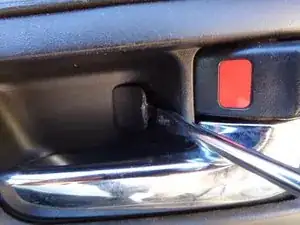
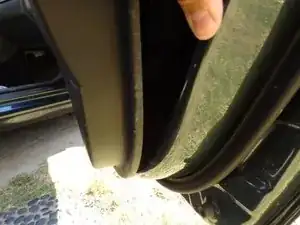
Pry off the handle cover until it is completely detached from the door.
-
Put the handle to the side.
-
-
-
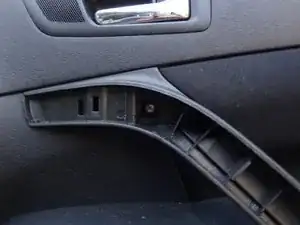
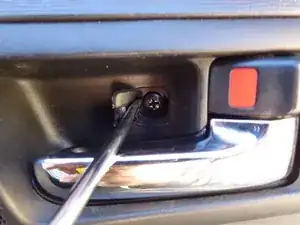
Use a spudger to pry open the small hatch inside the door handle.
-
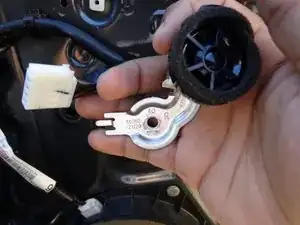
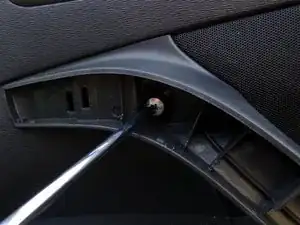
Remove the screw from inside the hatch.
-
-
-
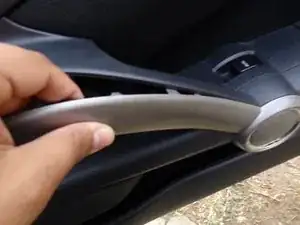
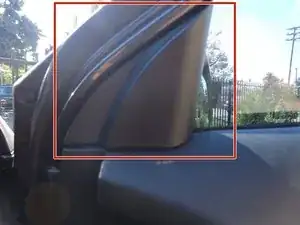
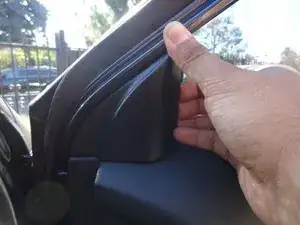
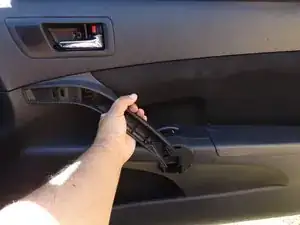
To remove the door panel, pull from where the piece of plastic from the previous step was at.
-
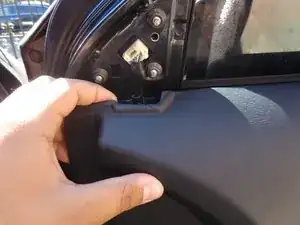
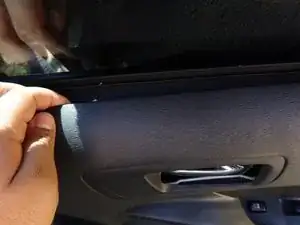
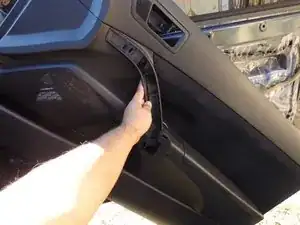
Move on to another section on the top of the door panel after you hear a pop. After each pop, go along the top, slowly prying off the door until you reach the end of the door.
-
-
-
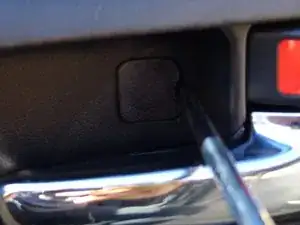
Go to the bottom right corner of the door panel and pry that section off until you hear a pop.
-
After the bottom right corner, move on to the left bottom corner and pry that section until you hear a pop.
-
-
-
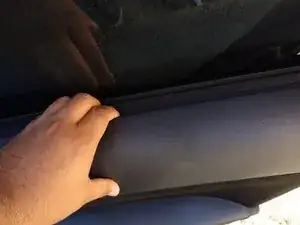
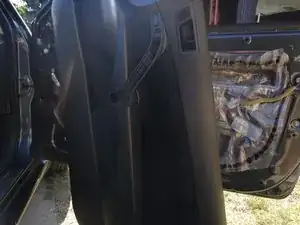
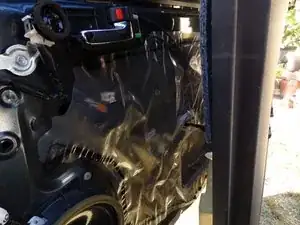
Turn the door panel sideways, being careful of the two wires, and lean it against the door as straight as possible.
-
-
-
Pick up the detached door panel and set it aside.
-
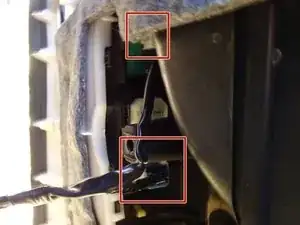
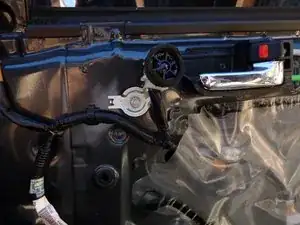
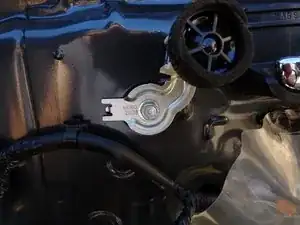
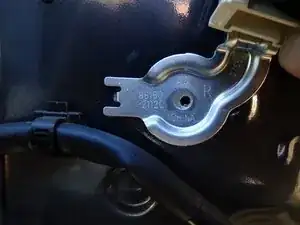
The tweeter speaker is located at the upper left corner of the door next to the door handle.
-
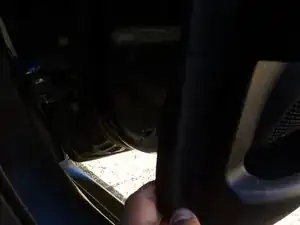
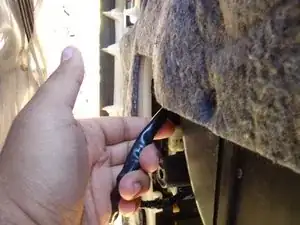
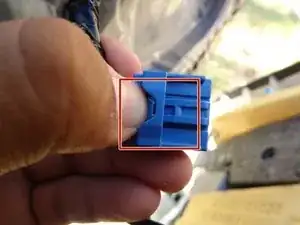
To remove the tweeter speaker, detach a wire using the same process as the previous two steps. Hold onto the clip on the side as you pull the wire.
-
-
-
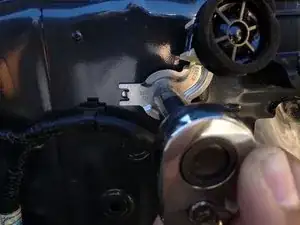
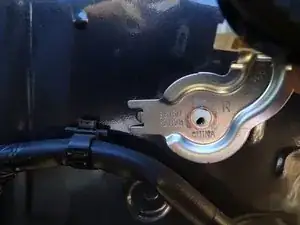
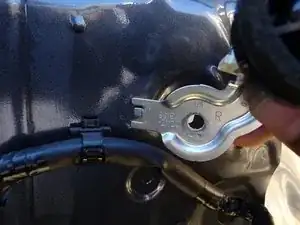
Use the socket wrench with a 10mm socket to remove the nut.
-
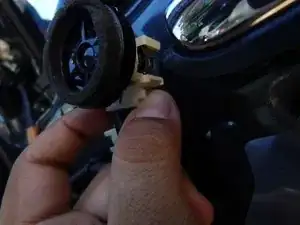
Hold onto the speaker itself after removing the nut.
-
-
-
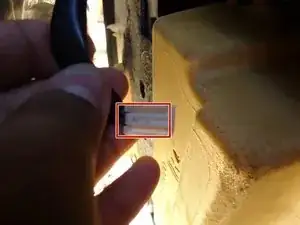
Holding onto the speaker, pull it towards you slowly until there is some resistance.
-
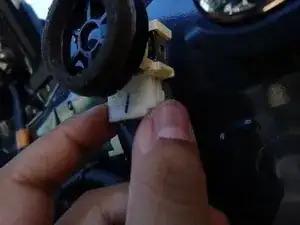
Pull the speaker from the angle you are currently on to to the right. The speaker will be free to be replaced with a new tweeter speaker.
-


To reassemble your device, follow these instructions in reverse order.