Introduction

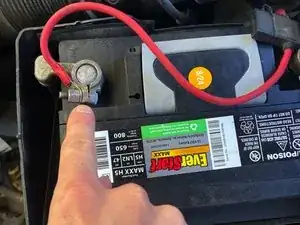
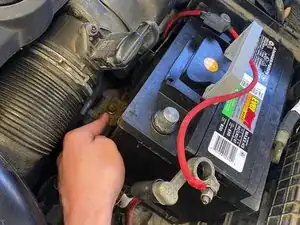
In this guide we will be replacing the car battery in a 2005 Volkswagen Jetta. This is useful when the previous battery dies or is no longer working. For this model you do not need a computer update (despite what AutoZone will tell you) as the technology used for newer models is not present here. A 2005 VW Jetta will use a 47 or H5 battery (they are the same) with a minimum of 360 CCA (cold cranking amps). Something to note about this guide is that the smaller red cord attached to the positive terminal is for an amp that is hooked up and will not be present is most cars.

Before starting this repair, place your car in park, engage the parking brake, and power off the ignition.

  1. iGWKU2cQR44HvNca
    • Pull the black lever to the left of the brake pedal and then lift the latch on the very front end of the hood to open the engine bay.

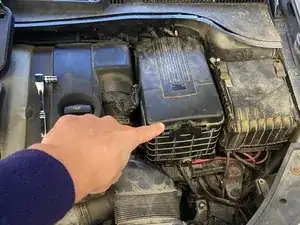
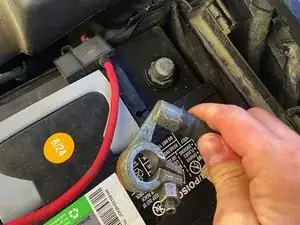
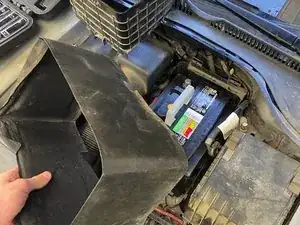
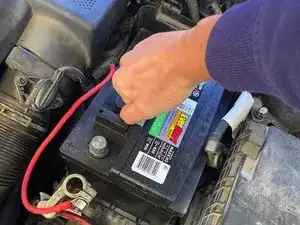
    • Locate your car battery.

    • In this model, the battery will be underneath this cover in the upper right corner of the engine bay.

  2. 5FgN5hQtpXm6O1Vt
    • Using a socket wrench, loosen the 10mm nut on the positive (red) side of the battery.

    • You will be able to pull the cable off of the terminal when the nut is loose enough.

  3. TN6igc5ix5fjhxBm
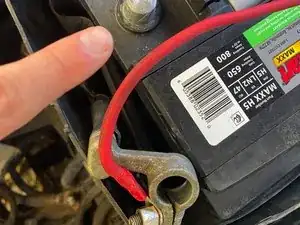
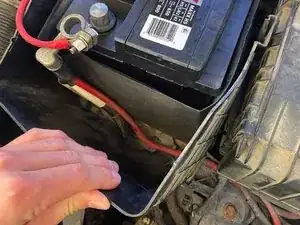
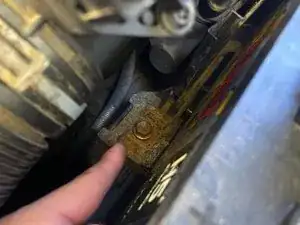
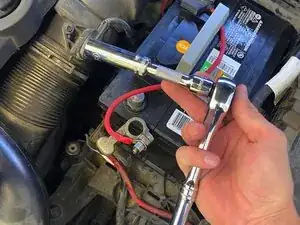
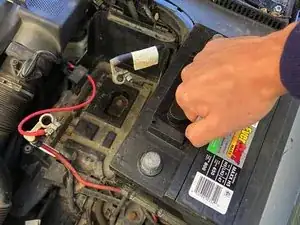
    • Pull up on the positive (red) battery cable from the terminal to remove it.

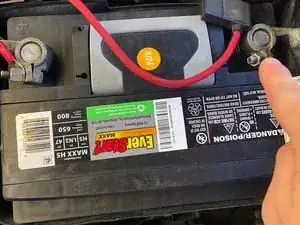
    • Let the cable rest on the side.

  4. YLxxIXrabJZJfMZ6
    YLxxIXrabJZJfMZ6
    hEOdUUxhLPLxBmuE
    • Repeat steps 2 and 3 for the negative (black) side.

  5. fYjysJXBkO1N3tSf
    fYjysJXBkO1N3tSf
    SCrSYgFOpmEJiPcV
    • Remove the hard outer casing around the battery and set it aside.

    • If you're having trouble removing the outer casing, focus on releasing the clips along both sides and the bottom front side.

  6. 46xJLwhGgydZodpX
    46xJLwhGgydZodpX
    3qvoaZw4qQOHb3Nl
    • Remove the soft inner casing and set it aside.

    • The soft inner casing is between the hard casing—that you just removed in step 5—and the battery itself.

  7. CKkajTWqSPCD2ZPT
    CKkajTWqSPCD2ZPT
    YX6ZFNuWFMX1VGPw
    • Locate the lower stability bracket on the lower left side.

    • It looks like a nut and is nestled on the left side of the battery.

  8. 6tkBlFTCsTYvqgBr
    6tkBlFTCsTYvqgBr
    xCA5EO5FGE45Hav6
    • Use a 13mm socket to remove the stability bracket.

    • For this removal, using a long socket and socket extender is helpful.

  9. oV3DKaXCm1K2rmN3
    oV3DKaXCm1K2rmN3
    g4wxoMCijVHdbuJJ
    • Lift the handle on the battery and pull to remove it.

  10. BgO6EVWkh41yM1RN
    BgO6EVWkh41yM1RN
    5bdSwEsgxNIaBXKN
    • When replacing the battery, make sure your stability bracket aligns with a groove on the bottom lip of your new battery.

    • The stability bracket will only fit into one of the grooves, so don't worry about choosing the wrong groove.

Conclusion

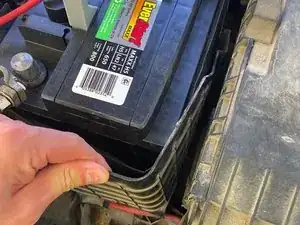
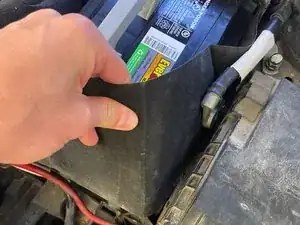
To reassemble your device, follow these instructions in reverse order. Your battery cables will go in between the soft inner casing and hard outer cover.

Reed Selvey

Member since: 01/10/24

181 Reputation

0 comments