Introduction
For a system that most people use regularly when it comes to driving, the cruise control system can definitely start to malfunction over time, especially in older models of cars. Thankfully for the Honda the biggest issue that ends up happening with this system is simply that the button looses the hold that it use to have when it was new. With this guide, you will be able to replace the switch on your own and fix all your cruising woes. This particular guide is demonstrated on a 2009 Honda Civic.
-
-
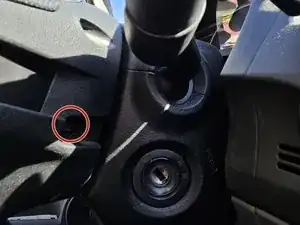
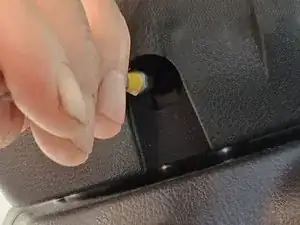
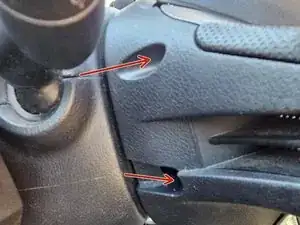
Take off the plastic cover underneath the wheel with a prying tool to access the airbag connector.
-
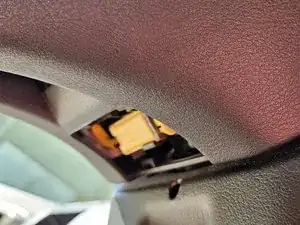
Disconnect the airbag connector.
-
-
-
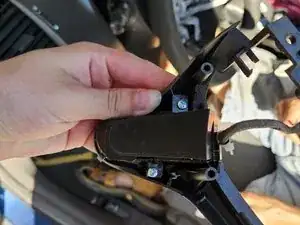
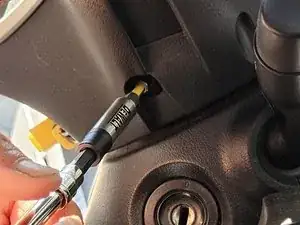
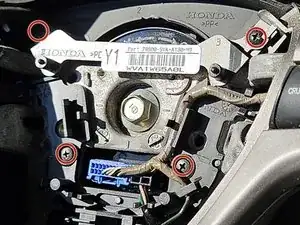
Use a T30 Torx bit attached to a torque wrench and take out the screws on each side of the steering wheel that connects the horn cover.
-
-
-
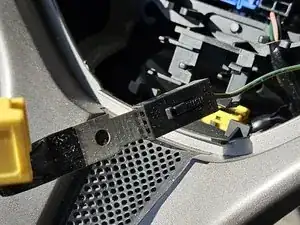
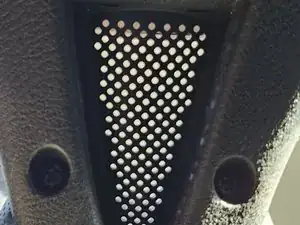
Remove the horn cover and disconnect the horn.
-
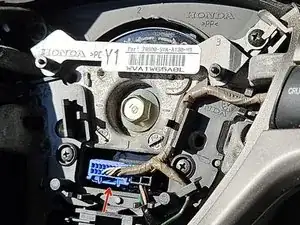
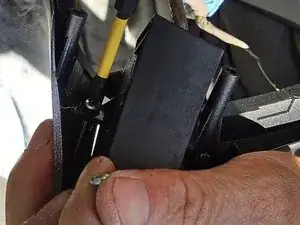
After removing the horn cover, make sure to disconnect the cruise control switch itself. To do this, simply press the tab on the blue plug as shown by the red arrow and pull it out.
-
-
-
Using your Phillips screwdriver, remove the six screws on the back of the steering wheel and the four main screws connecting the trim to the main steering wheel.
-
-
-
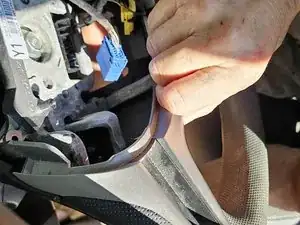
Gently remove the trim from the steering wheel so that you can access the two screws on the back connecting the switch to the wheel.
-
-
-
Use a Phillips screwdriver to remove the two screws on the back of the switch so you can replace it with your new one.
-


To reassemble your device, follow these instructions in reverse order.