
Introduction
Parts
-
-
Required:
-
A set of socket wrenches
-
A flat-head screwdriver
-
A Phillips-head screwdriver
-
The replacement fog light bulbs and/or fog light housing.
-
-
-
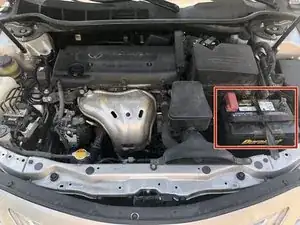
Open the front hood of the car and locate the car battery.
-
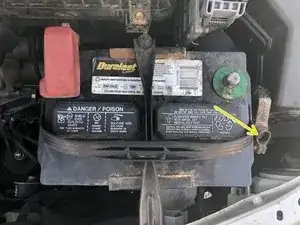
Use a 9mm socket wrench to loosen the bolt fastening the connector to the negative terminal.
-
Once it is disconnected, put the connector to the side, where it will not touch any metal.
-
-
-
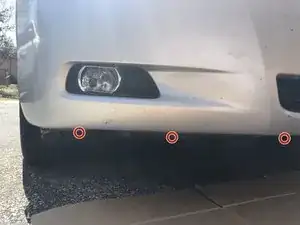
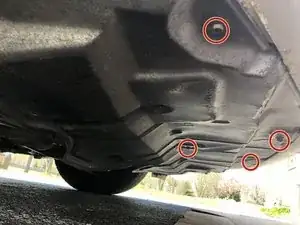
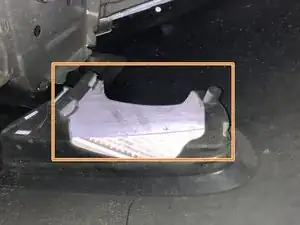
Remove the four bolts on the underside of the front of the car, to release the plastic shield protecting the back-end of the fog lights.
-
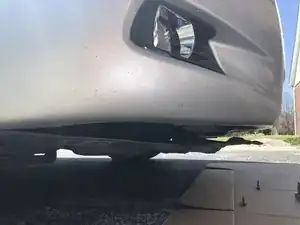
Once the bolts are removed, use a flat head screw driver to pry the plastic shield away from the underside of the car.
-
-
-
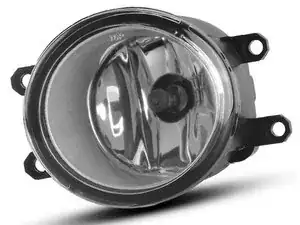
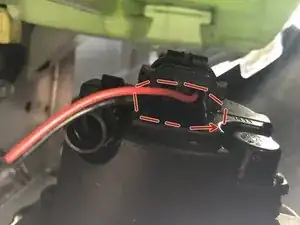
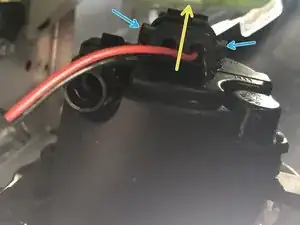
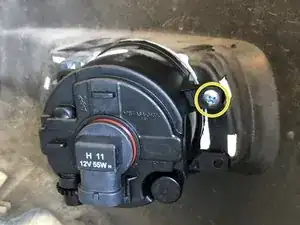
To loosen the fog light bulb, grab it by the head and turn counterclockwise (↶), so the wire turns with the bulb.
-
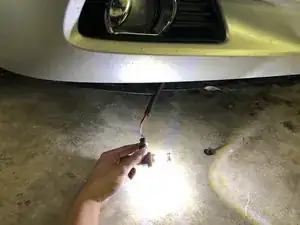
When you feel that it's loose, carefully pull it out of the housing.
-
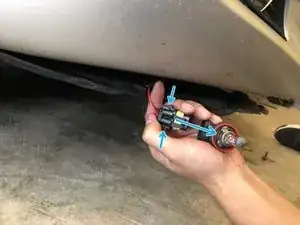
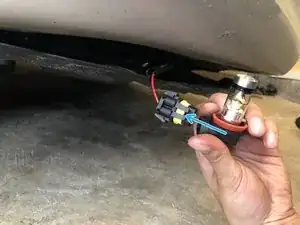
To remove the fog light bulb from the harness, pinch the sides and give it a little tug until it detaches.
-
-
-
Push the new bulb onto the harness until it clicks into place.
-
To confirm that your new fog light bulbs are working, reconnect the negative terminal, from Step 2, then turn on the fog lights from inside the car.
-
If the light doesn't come on, try attaching the bulb in the other orientation, rotated to the opposite direction. (In the first photo, the second orientation would be with the bulb pointing downward, and the harness in the same position.)
-
If the light still doesn't come on, then you may have a bad bulb.
-
-
-
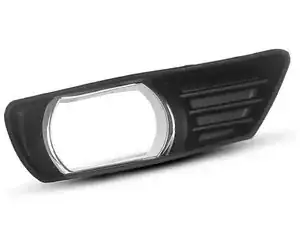
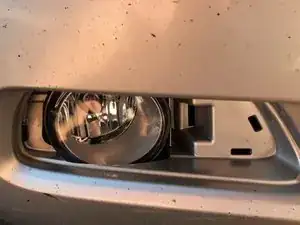
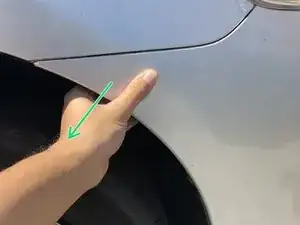
The fog light housing has clips behind them that are "snap ons". To remove the housing, simply stick your finger in between the edges and pull it out.
-
-
-
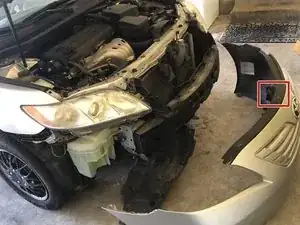
Our next step is to remove the front bumper of the car. We're going to start by removing each side of the fenders.
-
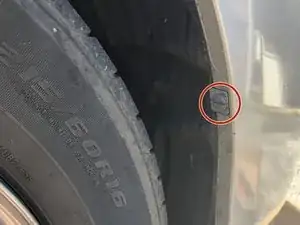
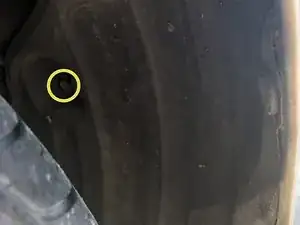
Remove the two plastic clips by prying them out with a flat-head screwdriver or other thin tool.
-
Outer clip
-
Inside clip
-
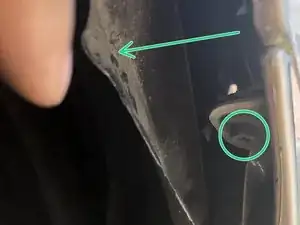
Once these two plastic clips are removed, we can now use a flat head screw driver to pry away the plastic fender which, reveals a hidden bolt.
-
-
-
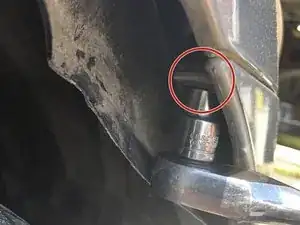
Use a 10mm socket wrench to remove the bolt.
-
Once this bolt is removed, carefully pull the side of the front bumper towards you, to release the bumper.
-
Repeat this same step on the other side.
-
-
-
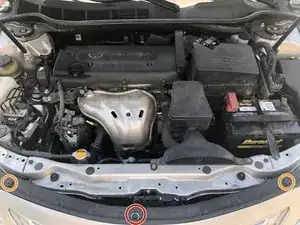
The next step for removing the front bumper is to remove the remaining bolts and screws that's on top.
-
Remove the screws on the right and left using a Phillips-head screwdriver.
-
Remove the middle bolt using a 10mm socket wrench.
-
With a slight tug from the middle, the bumper will come completely off.
-
-
-
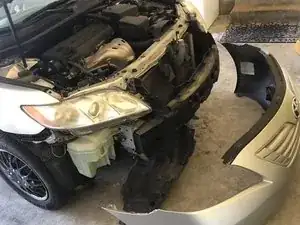
This is the view from inside the front bumper. With the bumper completely off, you now have full access to fog light mounting screws.
-
Remove all mounting screws to detach the fog light lamp from the housing.
-
Align replacement fog light lamp on the housing and attach using mounting screws.
-


To reassemble your device, follow these instructions in reverse order.