Introduction
If one or a few of your power seat switches stop working, especially only in one direction, the seat switch unit is the likely culprit. Replacing it is a quick and easy process.
-
-
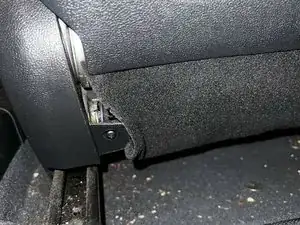
Start by removing the Phillips screw at the back of the plastic trim/left side of the driver's seat. It will be covered by a layer of fabric which is easily moved out of the way.
-
-
-
Start by prying at the back half of the side trim. There are three clips that hold it on in the back, but they all come out relatively easy. Be gentle, as the one towards the bottom can easily break.
-
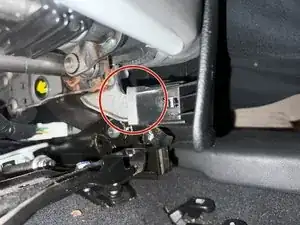
After the back half is loose, all that is holding the seat on is this large clip at the front. Using a flathead screwdriver, back of a hammer, or other similar pry tool, pull the plastic away from the metal to free this clip and slide the trim forward.
-
-
-
The old seat switches unplug by pushing down on the tab. Rocking the switch side to side will free it from the connector much more easily.
-
-
-
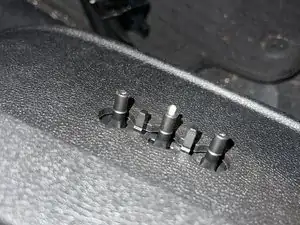
To remove the two larger exterior switches, push under them with a flathead screwdriver or similar pry tool. They pop off with little force. The lumbar support switch can stay, as it is permanently attached to the switch unit.
-
Now, there are three remaining Phillips screws holding the switch unit to the plastic trim. Remove them, and it will come free.
-
-
-
When reattaching the plastic trim, hook the front clip back on first, then push to reattach the clips towards the back, and finally reattach the screw.
-
To reassemble your device, follow these instructions in reverse order.