
Introduction
Hello, in this guide we will replace the spark plugs within a 2011 Hyundai Elantra.
The spark plugs within your vehicle ignite the fuel and air by providing a spark that allows its internal combustion engine to function correctly. Having worn-out spark plugs can lead to issues within your vehicle, such as losing power, rough idling, engine misfiring, and slow acceleration.
Whether your engine has any of the symptoms listed above or you are conducting a routine tune-up in your vehicle, this guide will show you how to replace your spark plugs using simple steps and images to ensure a quick and easy replacement.
While following this guide, disconnect the battery entirely in step 3, as having the battery connected while working on your vehicle can lead to harm or injury.
-
-
Make sure the car is off and cooled down entirely by allowing at least the car not to be in use for two hours or more.
-
-
-
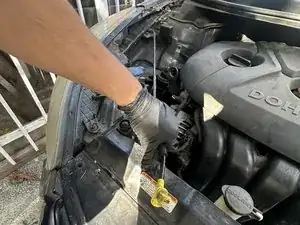
Open the hood by pulling upwards on the lever found by the lower left side of the driver seat.
-
Lift the hood with your hands by opening the latch that holds the hood down.
-
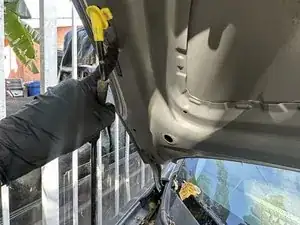
Prop up the hood stick to hold the hood open.
-
-
-
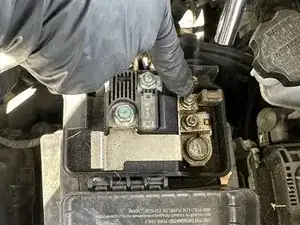
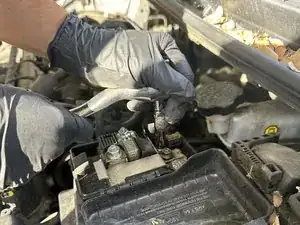
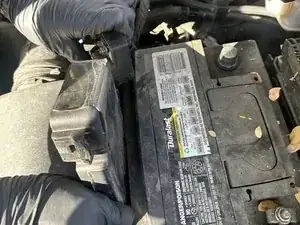
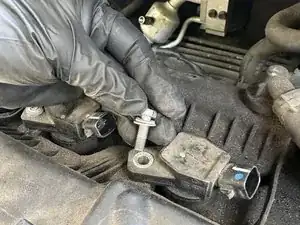
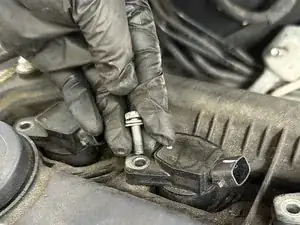
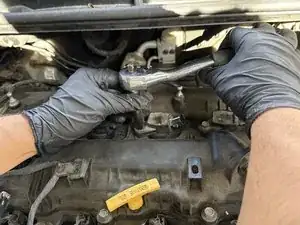
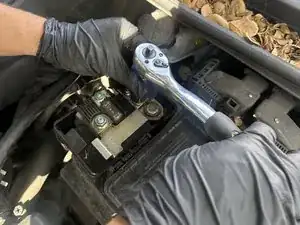
Loosen and remove the nut next to the battery terminal using the 10mm socket attached to the wrench.
-
-
-
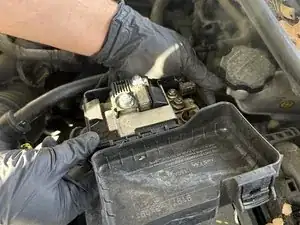
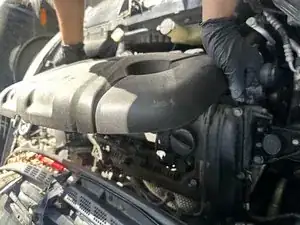
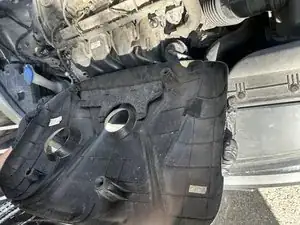
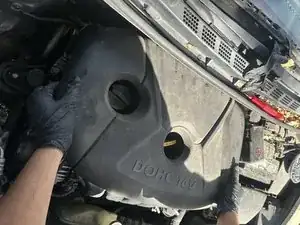
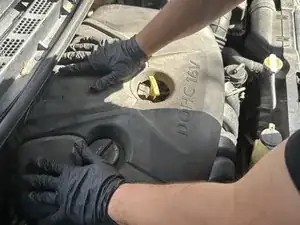
Remove the engine cover by placing both hands on each side and placing it aside from our work station.
-
-
-
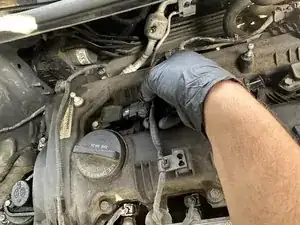
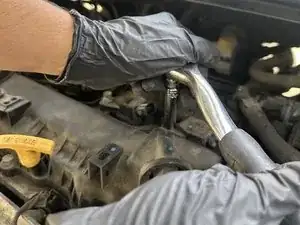
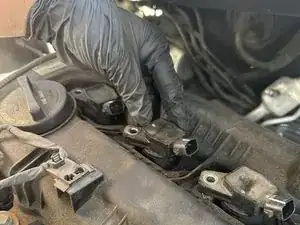
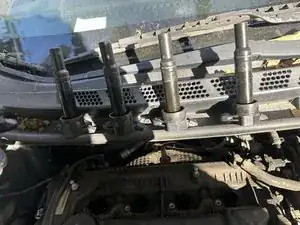
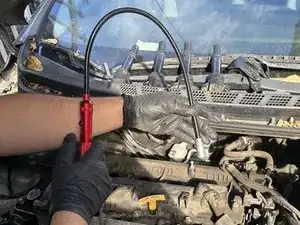
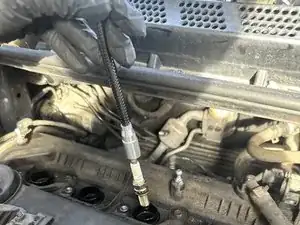
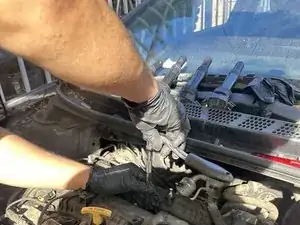
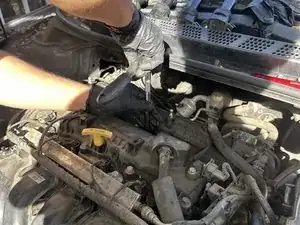
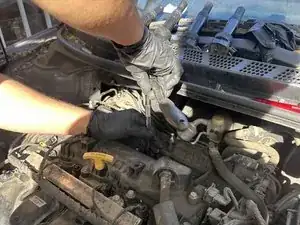
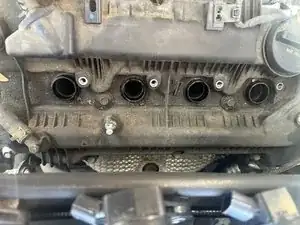
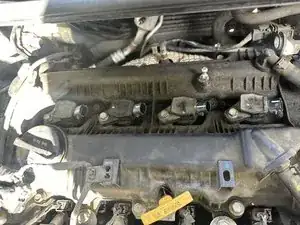
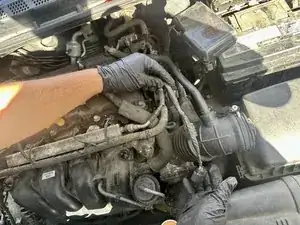
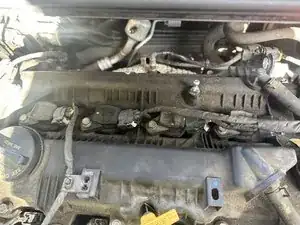
Remove all four ignition coils and keep them in order as you remove them outside of our work station.
-
-
-
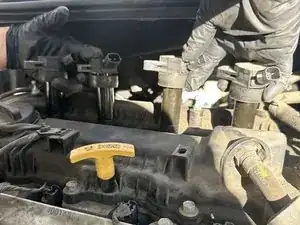
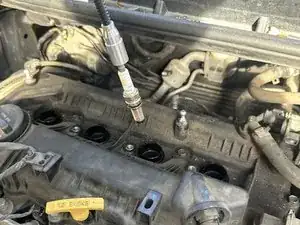
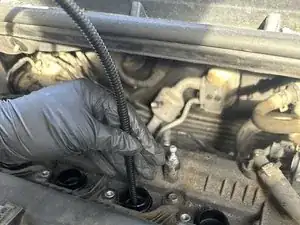
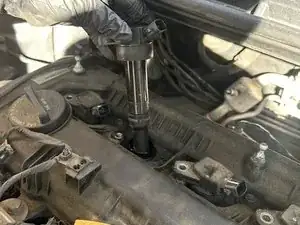
Loosen and remove spark plugs with a ⅝ long socket with an eight-inch socket extension and wrench.
-
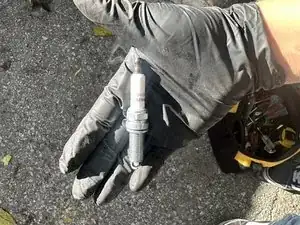
Use a magnetic pickup tool to remove the spark plugs.
-
-
-
Insert the new spark plugs gently to avoid damaging the spark plug using the magnetic pickup tool.
-
-
-
Use the 5/8 socket with an 8-inch extension attached to a wrench to tighten the spark plug, without breaking the spark plug.
-
-
-
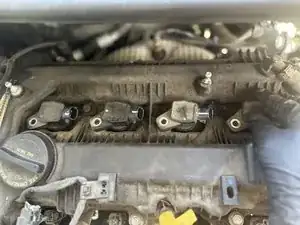
Insert and tighten screws for the ignition coils using the 10 mm socket attached to the wrench.
-
-
-
Reconnect the battery by moving the power supply cable back into its terminal.
-
Tighten the nut back alongside the terminal using the 10mm socket attached to a wrench.
-
Close the positive terminal battery cover and ensure it is properly closed.
-


One comment
Thanks so much. Your tips had me back on the road after a flashing engine light episode.