Introduction

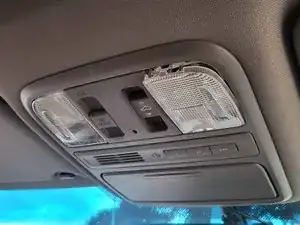
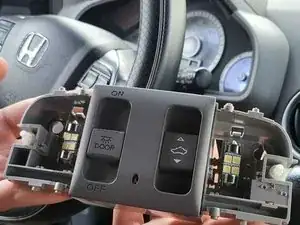
This guide provides step-by-step instructions for replacing the overhead light bulb and switches in a 2011 Honda Pilot. This process applies specifically to the 2011 model but may also be compatible with other Honda Pilot models of the same generation (2009–2015).

By following this guide, you will restore the functionality of the overhead light and switch, ensuring a well-lit inside and operational controls. This is particularly useful for improving visibility and convenience during nighttime driving or using interior lighting for other tasks.

Tips and Warnings:

  • Before starting, make sure the vehicle is off, to avoid any unnecessary complications.
  • Handle the light bulb carefully to avoid breakage and potential cuts.
  • If your vehicle has swollen or leaking batteries, address this separately as it poses a significant safety risk.

With all that out of the way, let’s get started!

  1. l6Hk2pQAiVFOCQDK
    l6Hk2pQAiVFOCQDK
    BIiYOOTjwNaJ3ah1
    B6T1AuhoQ3cQ5DT3
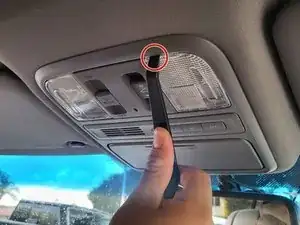
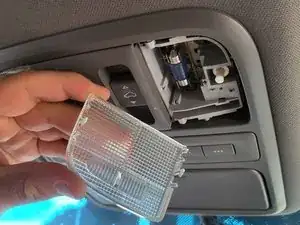
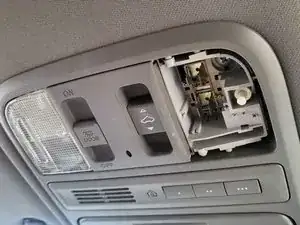
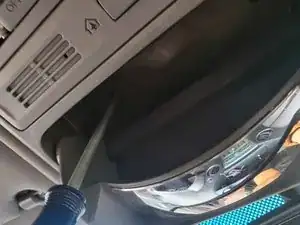
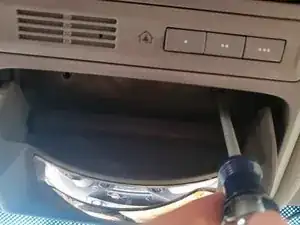
    • Use a plastic pry tool to detach the light cover.

    • Be careful not to pry too hard, otherwise you risk breaking the cover.

  2. bnckZraNHVjfIErE
    bnckZraNHVjfIErE
    ICcTbFlSSBRKmfVk
    JSmTM2j4axqQYZk4
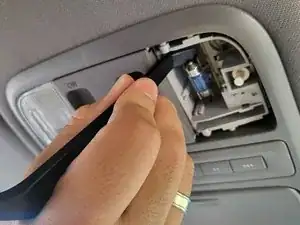
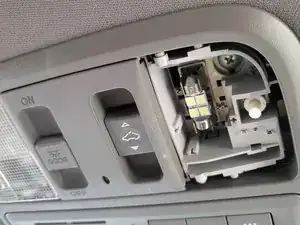
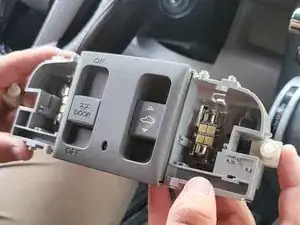
    • Use the pry tool to the light and attach the new one inside of the clamps that hold the bulb.

    • Repeat the same process for the left side bulb.

  3. Z5TM41RSTPXAUOdU
    Z5TM41RSTPXAUOdU
    SLSNgCLll5iBeLaV
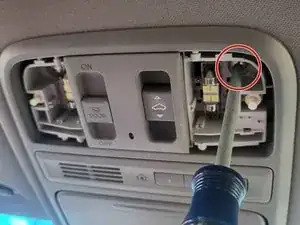
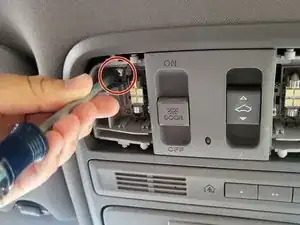
    • Remove the screws inside of the unit using a Phillips #00 screwdriver.

  4. NaL5B256mcjVTDs5
    NaL5B256mcjVTDs5
    HlrL21fELMKRYYoi
    pbRDcNjMFWycRMTi
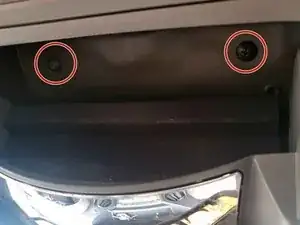
    • Open the sunglasses case.

    • Use a Phillips #00 screwdriver to remove the screws.

    • Keep track of the screws. The front ones are silver, while the black ones inside the sunglasses case are black.

  5. opCGKU2FyjMKQEdg
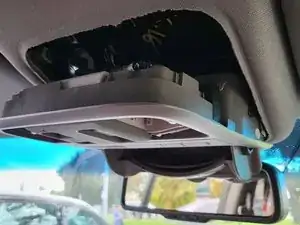
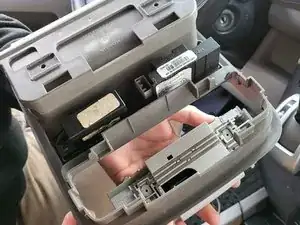
    • After the screws come undone, this is what the unit should look like.

  6. YRVHWqKy4icKypfc
    YRVHWqKy4icKypfc
    LuWWi62lwJouwQOM
    5KFXwnUrspVGwZse
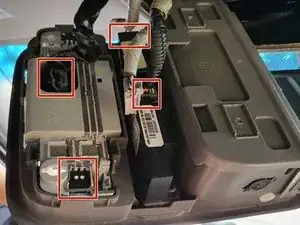
    • Press down on the four cable clamps to detach them.

    • Do not use the wires to pull them out. You may risk damaging the cables connecting to the unit.

  7. ilomDVaMIlVxkII5
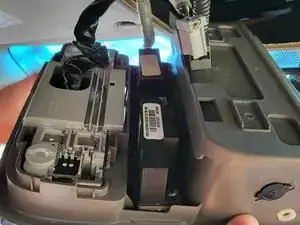
    • After detaching all cables, the unit should look like this and come right off.

  8. pfmJt6xOPUhpfwJu
    pfmJt6xOPUhpfwJu
    fQHWEVl2AoSFXTeU
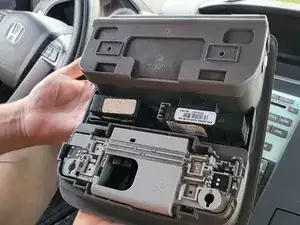
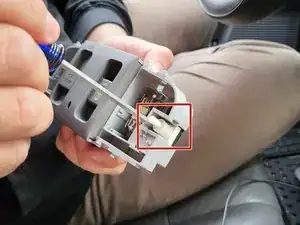
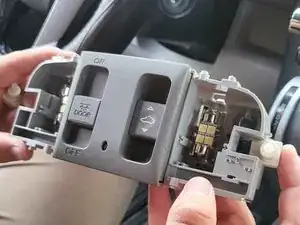
    • Insert a plastic pry tool inside this little slot. Once you do, flick up to release this middle part from the unit.

  9. EeqLSDs1PnMGLiHq
    EeqLSDs1PnMGLiHq
    NDwNybAKBtflnInk
    kWDQVjxtxqlYWZwj
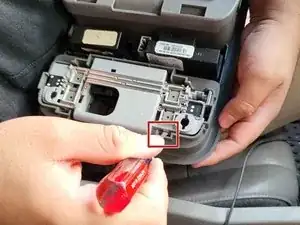
    • Insert a prying tool into the button switch. Then push out to flick out the button.

    • Once the button has fallen out, insert the new switches by sliding them back where the old ones were.

Conclusion

To reassemble your device, follow these instructions in reverse order.
Nicholas Sisneros

Member since: 21/10/24

169 Reputation

0 comments