Introduction
If you have been thinking about replacing the door speaker in your car, this guide is designed to show you how to do just that in a 2013 Honda Civic with a few tools.
You might want to replace your door audio if a speaker is blown, or if the audio quality is very poor and distorted and you want to upgrade. You will have to strip wires unless the correct adapters from stock connectors are purchased with the speakers.
-
-
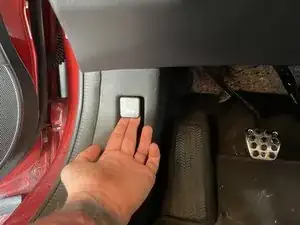
Pop the hood with the lever inside your car.
-
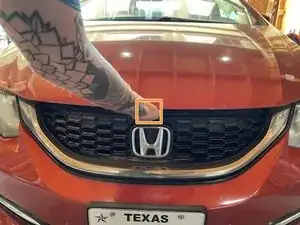
Pull the latch in the middle of the hood and open it up.
-
-
-
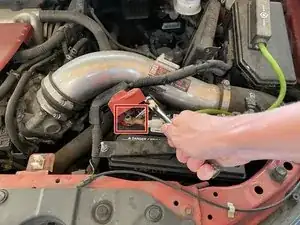
Using a 10mm Wrench or Socket disconnect the battery. Disconnect the negative terminal first and then the right.
-
-
-
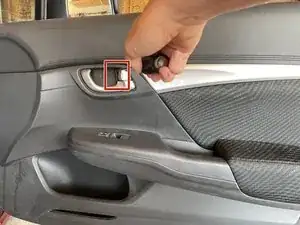
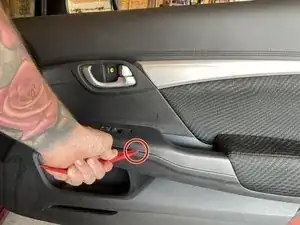
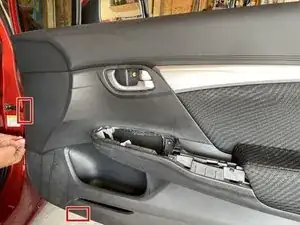
Use a trim panel tool to remove the cover behind the door pull or handle. Start by placing the tool at the back of the panel and prying the cover away from the door.
-
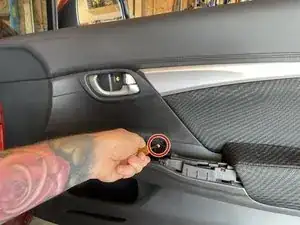
Use a Phillips #1 screwdriver to remove one 12 mm screw.
-
-
-
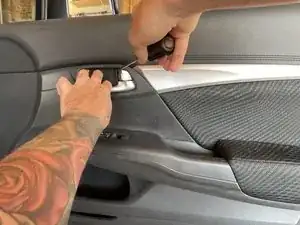
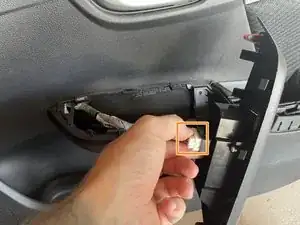
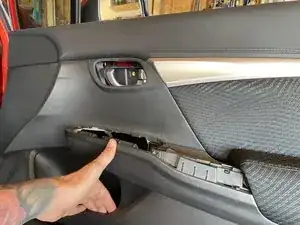
Remove the armrest panel by prying it with a trim tool. Start at the front (by the window controls) and work towards the back.
-
Remove the electrical plug from the underside of this panel by disconnecting a tab on the connector.
-
-
-
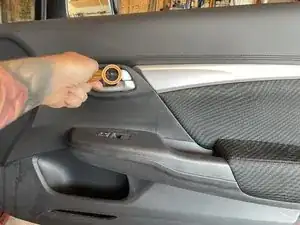
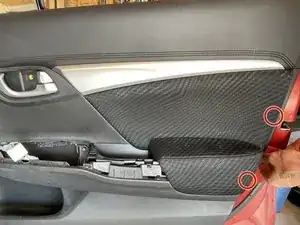
Insert a trim removal tool and start to pry the door panel along the edge.
-
Once all the clips are popped out, pull the panel away from the door or just lift it straight up to remove the panel completely.
-
-
-
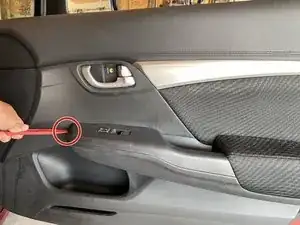
Remove the one 25 mm Phillips head screw/8mm bolt holding the speaker in place with either the #1 Phillips screwdriver or an 8 mm socket.
-
With nothing holding the speaker to the door, pry the speaker away from the door with a trim tool.
-
Once the speaker is out of the door, you will need to disconnect the clip on the wire in the rear (similar to the window control on the arm rest.)
-
-
-
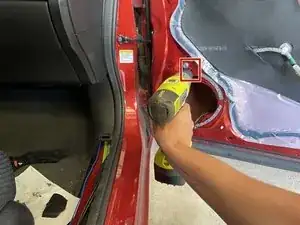
Prior to drilling, mark the holes with a sharpie or marker.
-
Drill the holes in the areas you have marked with a 1/8" drill bit. Drill 4 holes for mounting.
-
-
-
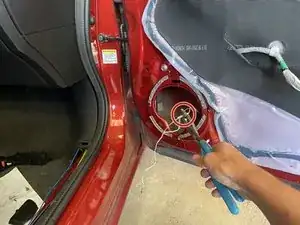
Connect the wiring harness to your stock connector. There will be a clip on one side that connects to the clip from your car.
-
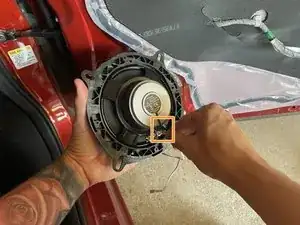
If you do not have the correct adapter for your aftermarket speakers, you are going to want to cut the existing connector off and crimp the new speaker wires to the existing wires in your car, as shown in the photos.
-
Once these wires are crimped, you can proceed with connecting them to the back of the speaker by sliding them onto the male connectors.
-
Finally, use self-tapping screws in the holes you drilled in the prior step.
-

To reassemble your device, follow these instructions in reverse order.