Introduction
Like all lift supports, those on the Nissan Rogue S fail and must be replaced.
Tools
Parts
-
-
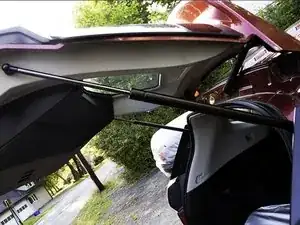
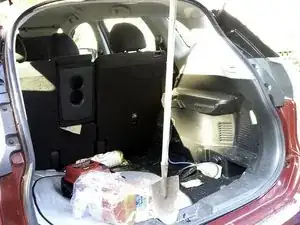
The job is much easier if you have someone to hold the hatch when you fit the new strut(s). However to remove the old strut(s), prop the back open with a broom, shove etc.
-
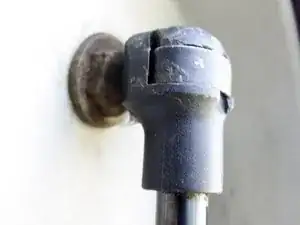
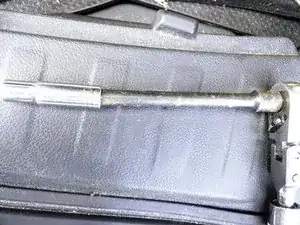
Each end of the old strut is held on by a metal clip shown it the second photograph. There is a gap to push a small flat blade screwdriver in and lever the clip up and back.
-
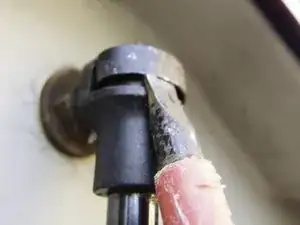
As you can see from the third photograph, I used the first flat blade that came to hand and got the corner under and twisted it up. (At this point, you are not worried about damaging a failed strut)
-
-
-
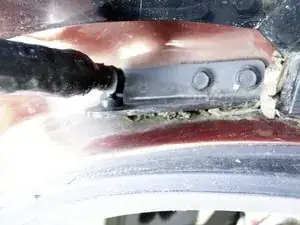
With the Struts I've listed: they come with a new mounting Bracket attached. So you have the *option* of removing the Two 10mm Bolts and attaching the new strut with the new bracket and the original two bolts!
-
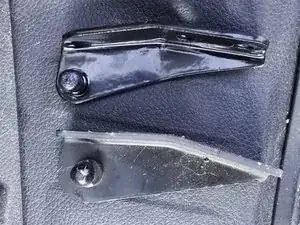
As you can see I removed the original bracket, and then realised the new strut unclips at both ends! So I did not need to replace the original bracket.
-
I chose to unclip the struts from the brackets they came with and use the original brackets! (I kept the new ones in the back of the car just in case I need them someday)
-
Uncliping the bottom of the original struts is the same procedure as the top, you just have less space to work!
-
-
-
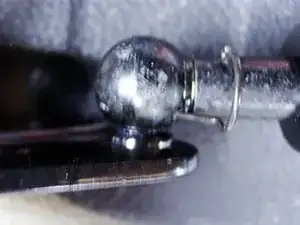
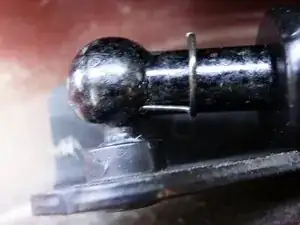
The First Photograph shows the pin being removed from the new strut so it can be removed from the bracket that came with it.
-
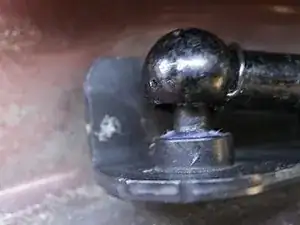
The Second Photograph shows the new strut clipped onto the bottom right bracket with the locking pin out. The pin passes through a hole on the inside through to a hole on the outside, passing under the ball of the mount and locking the strut to the mounting bracket. Once through you push the circular part around the strut keeping it in place.
-
The second picture shows the pin locked and the bottom of the strut installed
-
-
-
The First Photograph is the writing on the original
-
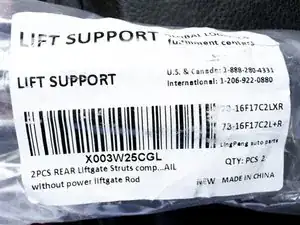
The Second Photograph is the label on the new struts
-
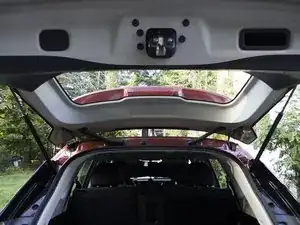
The Third Photograph is the new struts doing there job!
-

To reassemble your device, follow these instructions in reverse order.