Introduction
In this guide we will learn how to replace your old Cabin Air Filter. The air you breathe is important, maintaining your vehicle’s peak performance is just as important. Car manufacturers recommend replacing your cabin air filter every 15,000 to 30,000 miles to maintain air quality in the cabin.
-
-
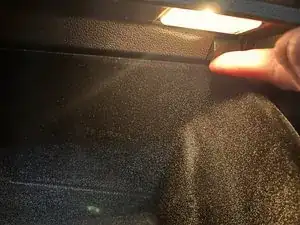
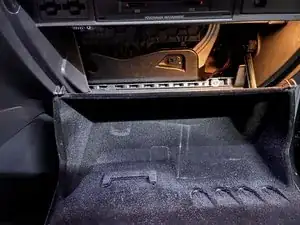
Open Glove Compartment.
-
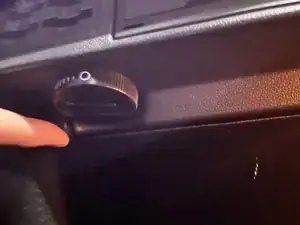
Locate the two tabs on the corners of the glove compartment.
-
Push up on both tabs. One at a time or simultaneously.
-
Drop down the glove compartment.
-
-
-
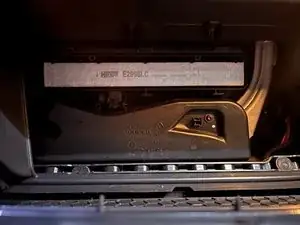
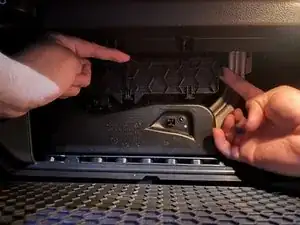
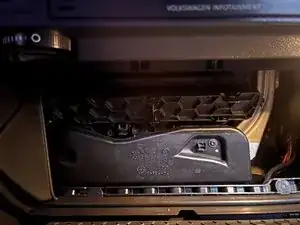
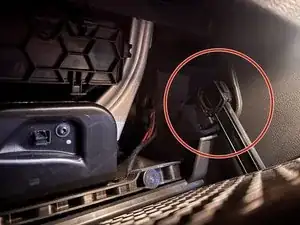
After dropping down the glove compartment, locate the honeycomb compartment.
-
Behind the compartment is the old cabin air filter.
-
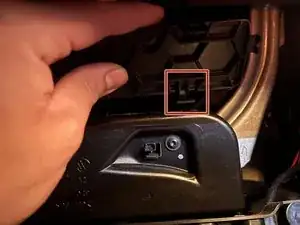
To unlatch the three clips, apply pressure onto a flap on the right side while carefully unhooking each clip.
-
-
-
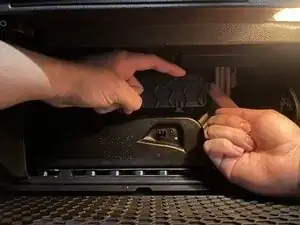
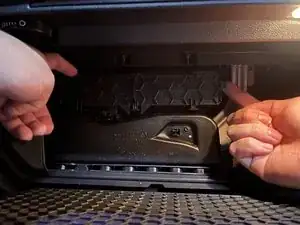
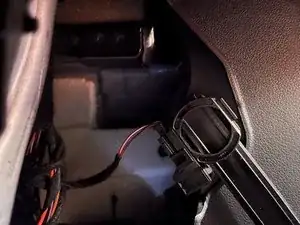
After removing the honeycomb compartment, set it aside.
-
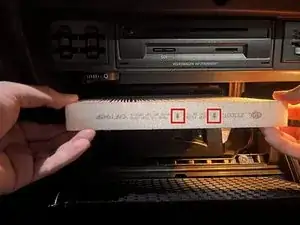
Remove the old cabin air filter and throw it out.
-
-
-
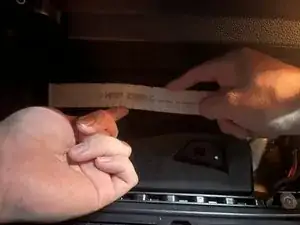
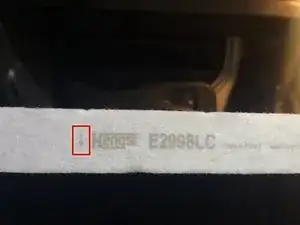
Make sure to have the air flow arrows facing the same way (down). Push into the empty compartment.
-
-
-
Now we put the honeycomb compartment back.
-
Make sure to insert the lower tab into the slot.
-
It will stay ajar, to seal the compartment, simply apply pressure on the compartment.
-
-
-
Putting the glove compartment back.
-
Follow these steps to follow in order.
-
First, push up on the glove compartment until it clicks.
-
Finally, push the glove compartment until you hear the second click.
-


To reassemble your device, follow these instructions in reverse order.