Introduction
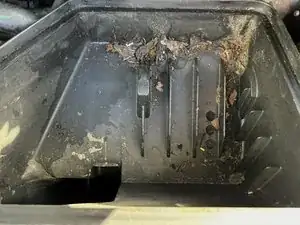
An efficient working engine air filter will clean the air entering your engine so that the air used to ignite your fuel is clean and free of dust, dirt, soot, or smoke. To find out if your filter needs to be replaced, look for signs such as dirty filters, a decrease in gas mileage, engine misfires, strange engine noises, and check engine lights or potent fuel smells.
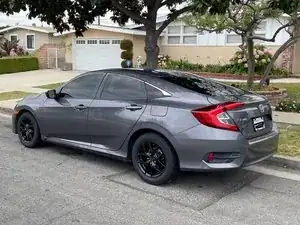
This guide provides step-by-step instructions for a successful engine air filter replacement on a 2018 Honda Civic LX.
Tools
Parts
-
-
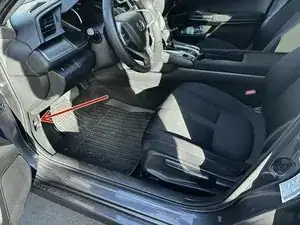
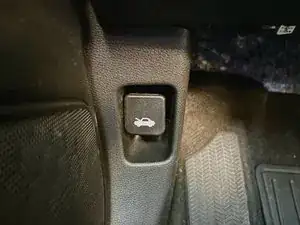
Locate the hood release latch under the dash on the driver’s side.
-
Pull on the release latch towards you to release the hood.
-
-
-
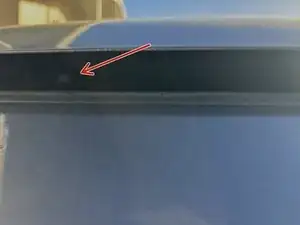
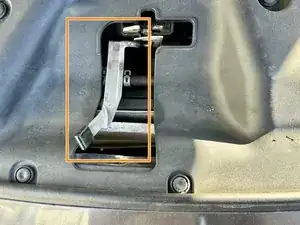
Locate the tab found on the front of your vehicle.
-
Sliding your hand under your hood, feel for the latch and release the tab.
-
Lift the hood once the tab is released.
-
-
-
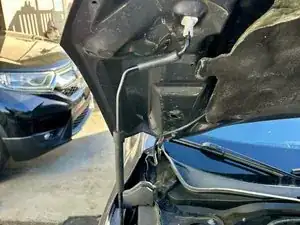
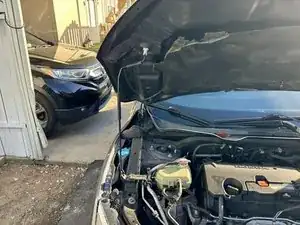
Hold your hood up with one hand and locate the hood support rod.
-
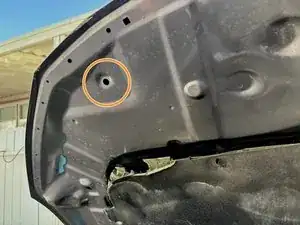
Pull the hood support rod off the clip and insert the tip into the hole on the top left part of your inner hood.
-
-
-
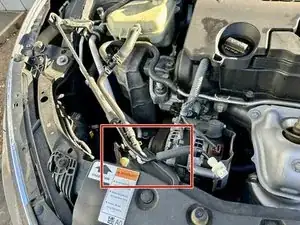
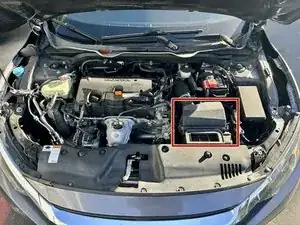
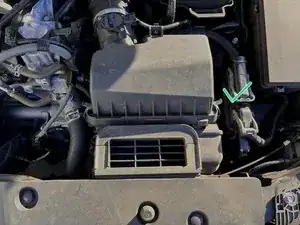
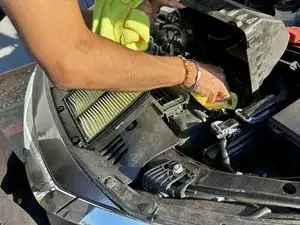
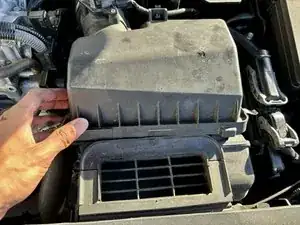
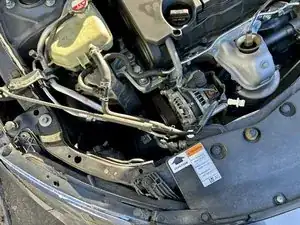
Now, look at your engine and towards the bottom right to locate the air box.
-
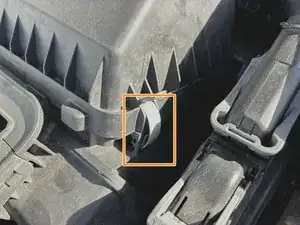
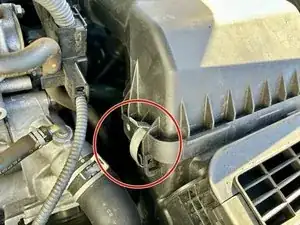
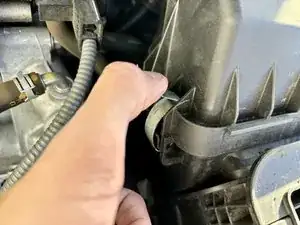
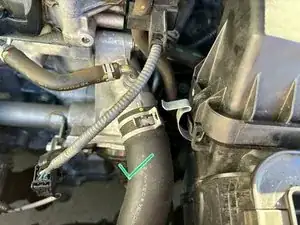
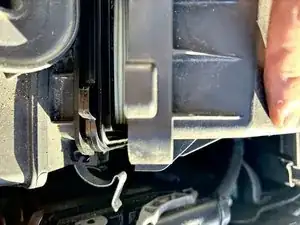
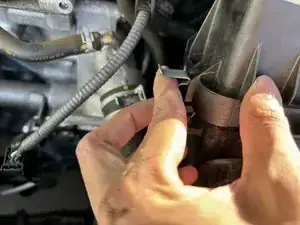
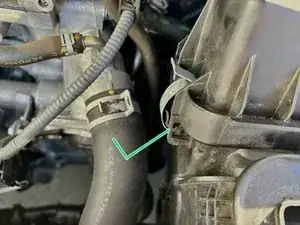
Locate the clips that hold the air box in place.
-
-
-
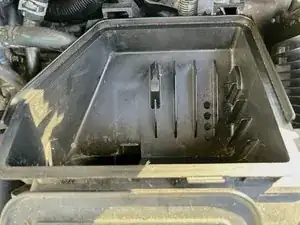
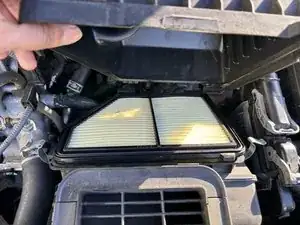
Locate your old air filter found inside the air box.
-
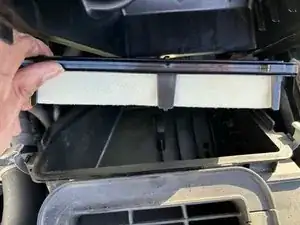
Remove the old, dirty filter from the housing.
-
-
-
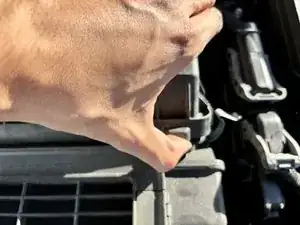
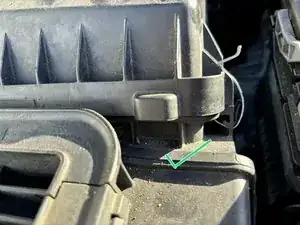
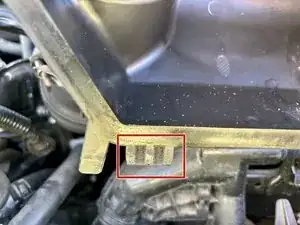
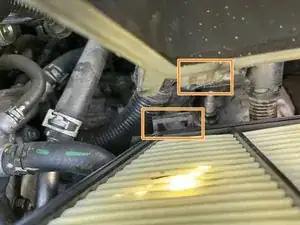
Locate the plastic teeth on the left and right of the air housing.
-
Line these teeth up with the notches in the back and push them in.
-
-
-
Push the air box's lid down and clip the previously unlatched snaps back to secure your air box.
-
-
-
Hold your hood up with one hand. Using your other hand, remove the hood support and latch the support onto the clip you previously took it off of.
-
By the end of this guide, you should have been able to replace your 2018 Honda Civic LX engine air filter successfully.
