Introduction
If your 2019-2024 Toyota RAV4 has a burned-out headlight bulb, replacing it yourself is a straightforward process that can save you a trip to the mechanic. This guide will walk you through each step to ensure a quick and safe replacement.
Be sure to verify the bulb type for your model trim and year before you purchase the replacement bulbs. You can also call your local AutoZone and they can provide you with the correct model number or name of the bulb that you need for your car at no cost.
Follow this guide to restore full visibility on the road and keep your vehicle compliant with safety standards.
Before starting, turn off your vehicle and allow the headlights to cool if they've been on recently. Use a good pair of gloves to avoid touching the bulb with your bare hands as the oil and salts on your skin can cause the bulb to degrade or break.
Tools
-
-
Unlock the hood of your car by pulling the latch inside of your vehicle.
-
Unlock the hood of your car by pulling the latch inside of your vehicle. This does not require you to turn on your vehicle and will not completely open up your hood.
-
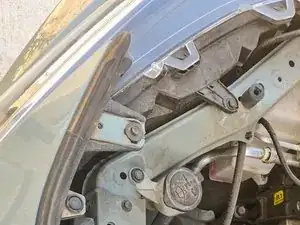
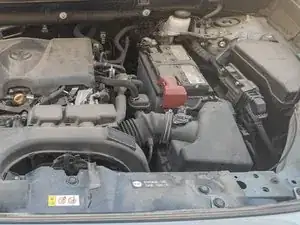
Access the headlight assembly by pushing against the latch under the front of the hood. The hood of the car will not go up unless you release it using the latch.
-
-
-
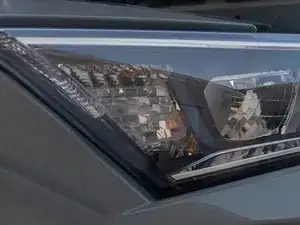
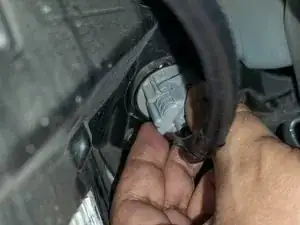
Locate the bulb housing on the right side or left side of your vehicle depending on which one you are replacing first.
-
-
-
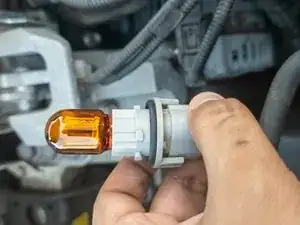
Turn the headlight bulb housing until it's loose.
-
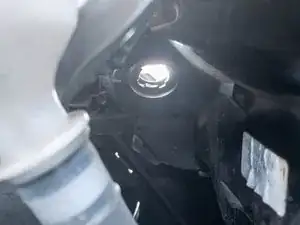
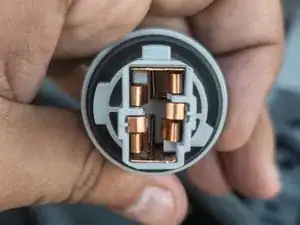
Remove the headlight bulb housing from the socket.
-
-
-
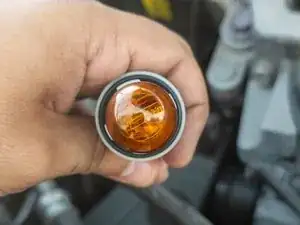
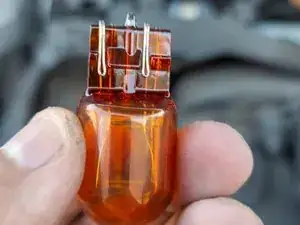
Lift the light bulb straight up to remove it from the socket.
-
Repeat Steps 1-4 for the other headlight bulb.
-


To reassemble your device, follow these instructions in reverse order.