
Introduction
If you're looking to improve the performance of your 2020 Ford F-150 3.5L, this guide will walk you through replacing and upgrading the cold air intake with a Roush cold air intake.
This step-by-step tutorial provides all the instructions you need to complete the upgrade quickly and efficiently.
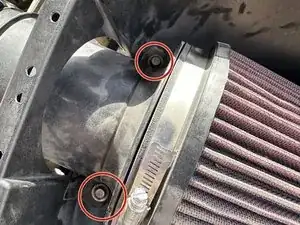
Please note that in Step 5, the two 8mm bolts cannot be fully removed, as they are welded to the fittings.
Before starting, ensure your truck is turned off and in park for safety. Additionally, disconnect the vehicle's battery to avoid any electrical issues while working under the hood.
-
-
Open the hood and ensure it is securely propped up.
-
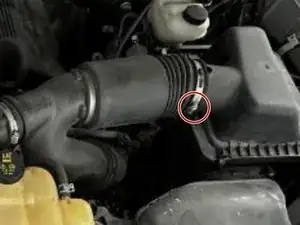
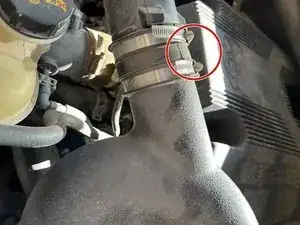
Next, loosen the clamps on the factory air intake using a flathead screwdriver.
-
-
-
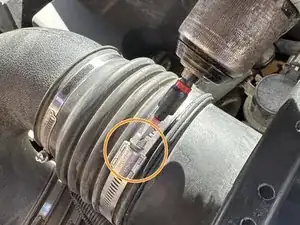
Connect the new dual air hoses to the stock air hose and tighten them using a flathead screwdriver.
-
Attach the stock air scoop to the casing of the new intake using a 6mm socket and bolt.
-
-
-
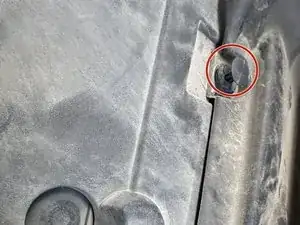
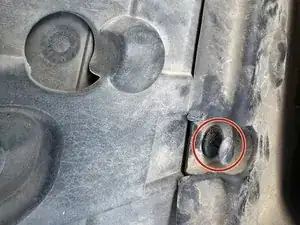
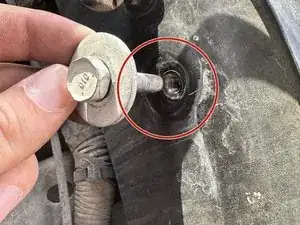
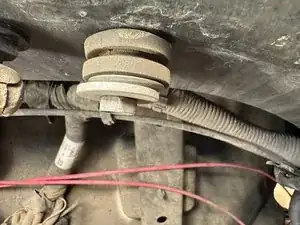
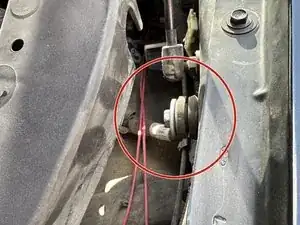
Remove the stock 12mm screw using a socket, then place the grommet on before screwing it back in. Leave enough space for the new air intake casing to fit securely into the grommet.
-
-
-
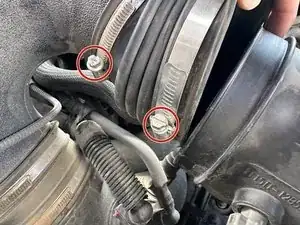
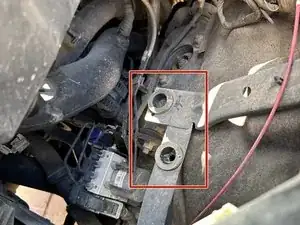
Bolt in the two 8mm bolts that secure the new air filter.
-
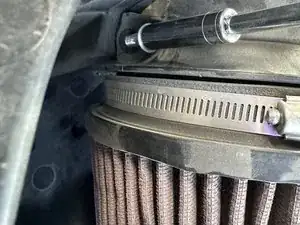
Once secured, fit the new air filter into place.
-
-
-
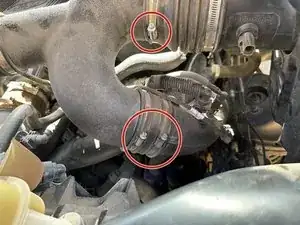
Push the clips into the two fittings in the engine bay.
-
Connect the air hose and tighten it securely.
-
The new intake casing should now fit into the air hose and engine bay without any extra parts.
-
-
-
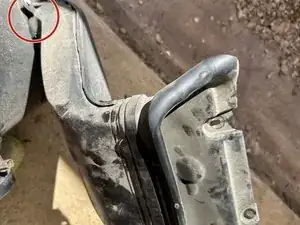
Put the clips back into the stock air shovel intake
-
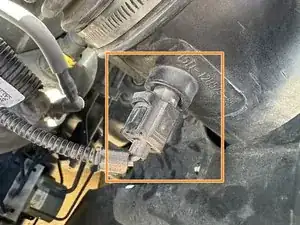
Reconnect the stock wiring to the new air hose so the truck’s electrical system can detect emissions and any signals that may trigger alerts.
-
-
-
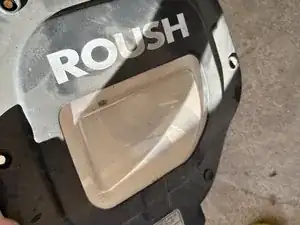
After attaching the sticker, place the casing on for appearance purposes.
-
Bolt in the 6 T20 Torx screws to secure the casing.
-


To reassemble your device, follow these instructions in reverse order.