Introduction
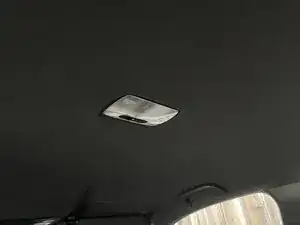
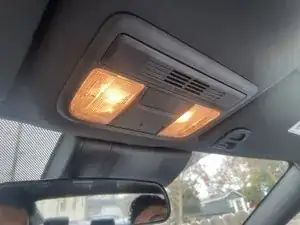
Cabin dome lights are something we use when looking for something inside the car. It is useful when you're driving because it doesn't cause you to bring out your phone's flashlight. The only problem is the brightness of the original cabin lights, they can be very dimmed. Not only are they dimmed but they don't cover a large area.
Today I will be demonstrating how to replace the original cabin lights that come with the 2020 Honda Civic with new LED cabin lights. They cover a wider area and it is a moderate process to replace.
Tools
Parts
-
-
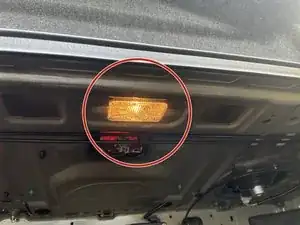
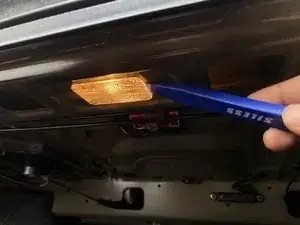
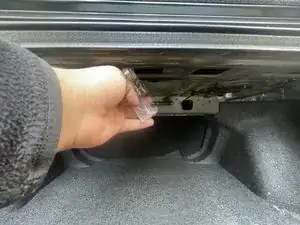
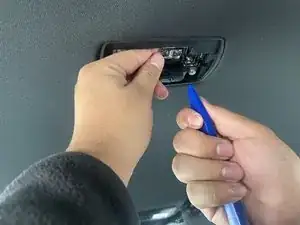
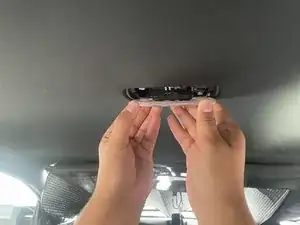
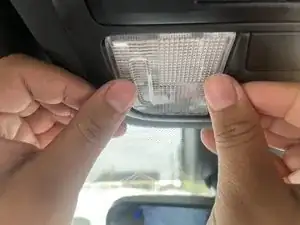
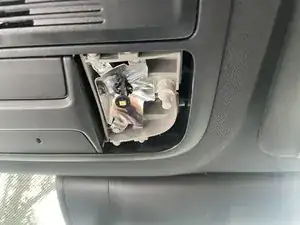
Wedge a prying tool into the crevice between the light and the roof. Push the tool in to release the light compartment.
-
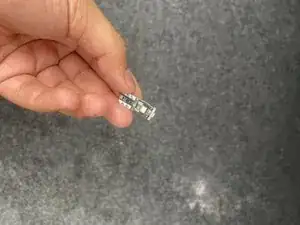
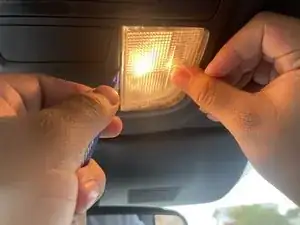
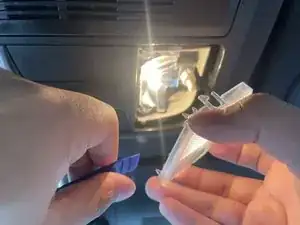
Carefully pull the light bulb out, using a prying tool if necessary.
-
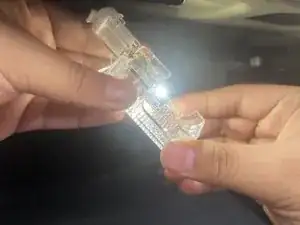
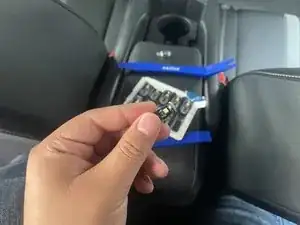
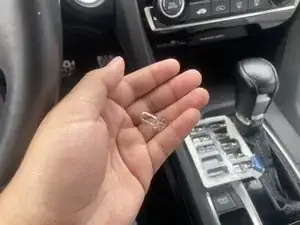
Hold the compartment up while you grab your LED light bulb.
-
-
-
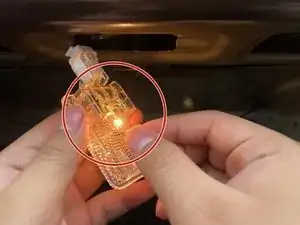
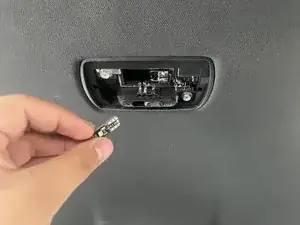
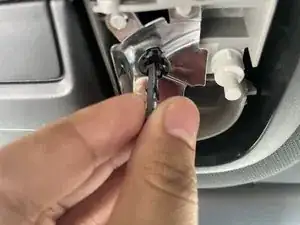
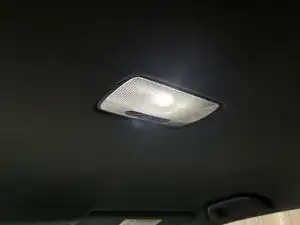
Insert the new LED bulb into the light socket until it turns on.
-
When the LED remains constantly on without flickering, the light bulb is correctly inserted into the socket.
-
-
-
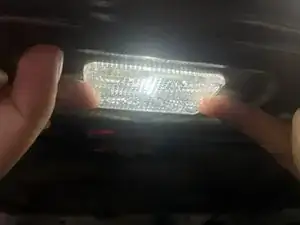
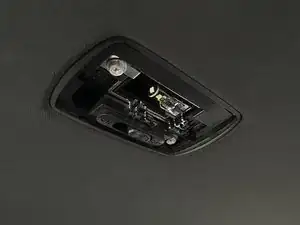
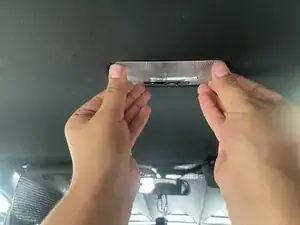
Reinstall the light compartment back into position.
-
Align the tabs and push the compartment into the frame until it clicks securely.
-
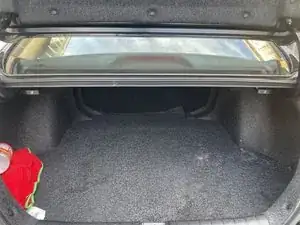
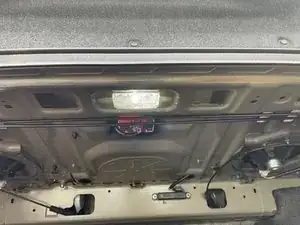
When the compartment is fully inserted, the cabin light replacement in the trunk is complete. Proceed to the rear passenger cabin light.
-
-
-
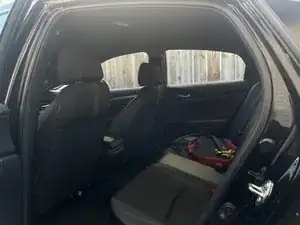
Wedge a prying tool into the corner of the frame.
-
Once the cover pops out, use the end of another prying tool to fully remove it.
-
-
-
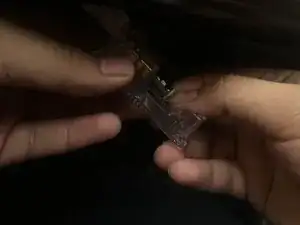
Grab one of your LED light bulbs and insert it into the socket until it is securely in place.
-
-
-
Turn on the switch to ensure the light bulb turns on, indicating the step was completely correctly.
-
After confirming it works, align the cover with the clips and push it into place until you hear a clicking sound.
-
-
-
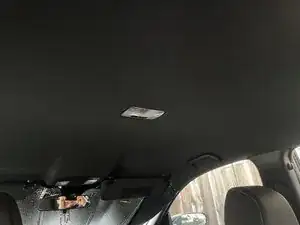
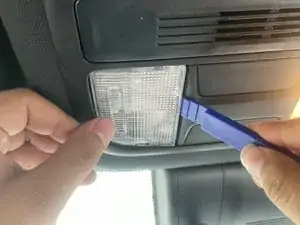
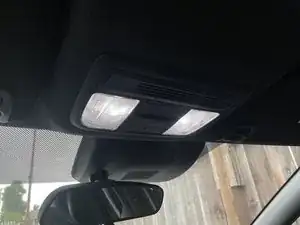
Move to the to cabin lights in the front of the driver and passenger seat.
-
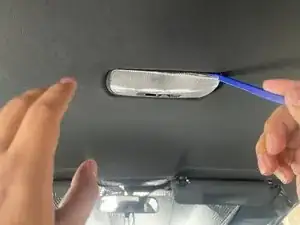
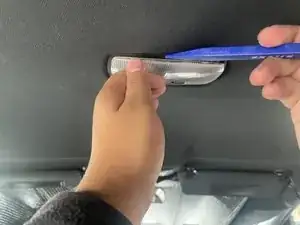
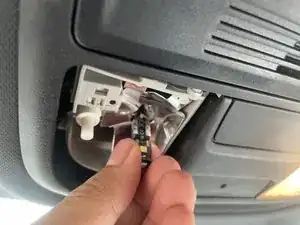
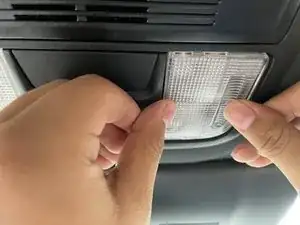
Wedge the prying tool into the crevice on the inside of the cover.
-
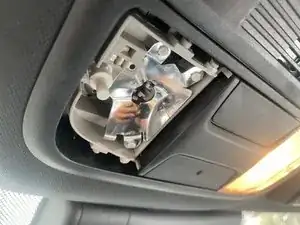
Push carefully to release and remove the cover.
-
-
-
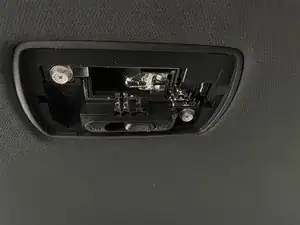
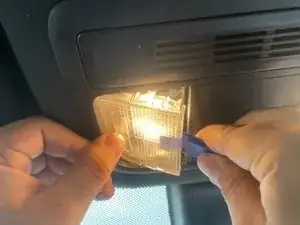
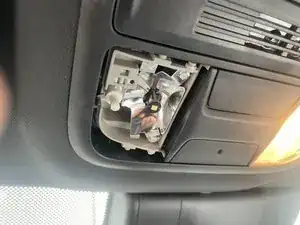
After removing the cover, start pulling out the light bulb from its socket.
-
Once the light bulb is removed, grab your new LED light bulb.
-
-
-
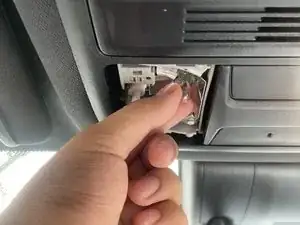
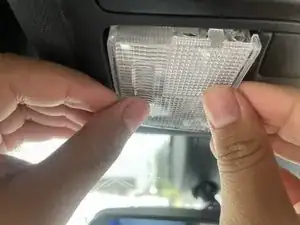
Once you are done inserting the new LED light bulb into the socket, begin placing the cover back on.
-
Align the cover with the clips on the frame and push it in until you hear clicking sound.
-
After that, you're done with the driver's side cabin light. Move on to the passenger side.
-
-
-
Grab your prying tool, insert it into the wedge on the inside of the cover, and push inward.
-
Once the cover is removed, you can begin removing the light bulb.
-
-
-
After removing the old light bulb, grab your new LED light bulb replacement.
-
With the new light bulb in hand, insert the new light bulb into the socket.
-
-
-
After inserting the new LED light bulb into the socket. You can begin putting the cover back on.
-
Align the cover with the clips around the frame and push inward.
-