Introduction
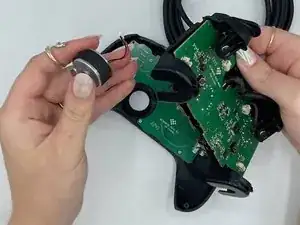
You can access the vibration/rumble motors for your 8BitDo Ultimate Wired game controller with this guide if they need to be replaced. You may need to replace the motors if they aren't activating when they need to or continuously running. You will not need to do any difficult steps, but be careful when opening the top panel. Ensure the controller is not plugged into a power source or operating system.
-
-
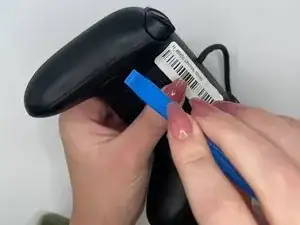
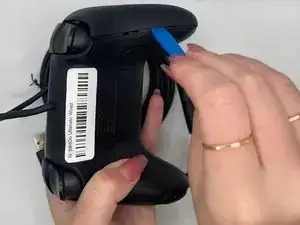
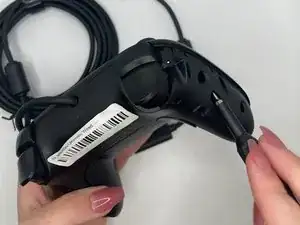
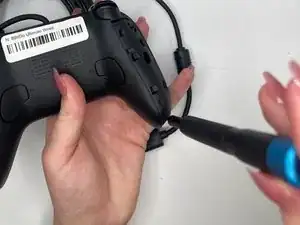
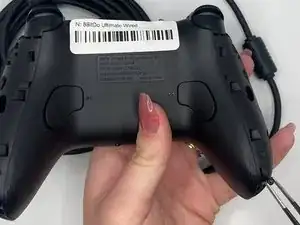
Orient the controller such that the back of the controller is facing you.
-
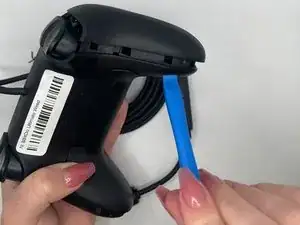
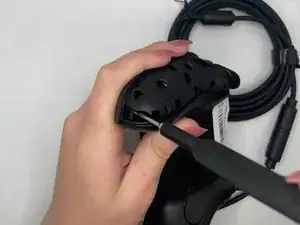
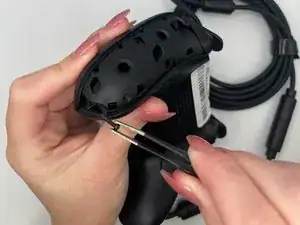
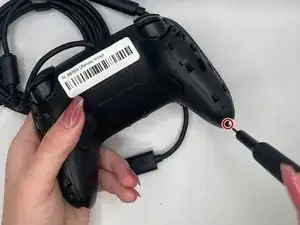
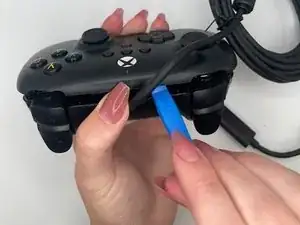
Insert an opening tool into the small opening on the back of the grip, and gently pry the grip cover away until it pops free.
-
-
-
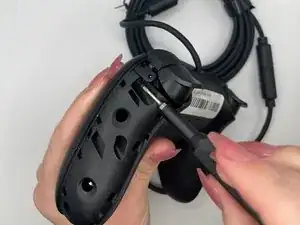
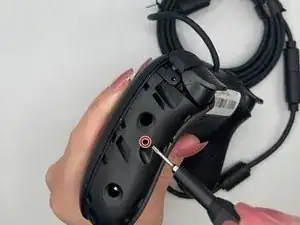
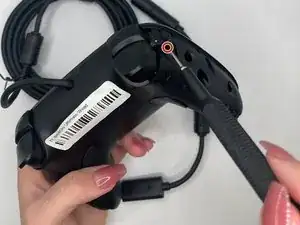
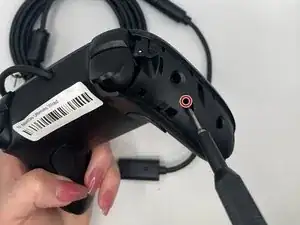
Use the TR6 Torx Security screwdriver to remove the middle left 10.44 mm Torx screw on the backside.
-
-
-
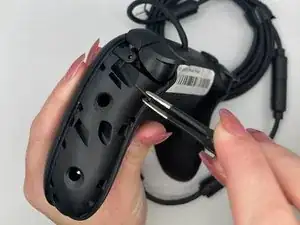
Use the TR6 Torx Security screwdriver to remove the bottom left 10.44 mm Torx screw on the backside.
-
-
-
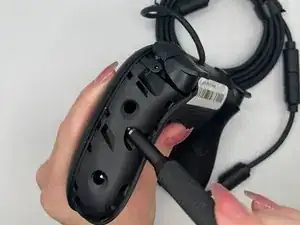
Use the TR6 Torx Security screwdriver to remove the top right 10.44 mm Torx screw on the backside.
-
-
-
Use the TR6 Torx Security screwdriver to remove the middle right 10.44 mm Torx screw on the backside.
-
-
-
Use the TR6 Torx Security screwdriver to unscrew the bottom right 10.44 mm Torx screw on the backside.
-
-
-
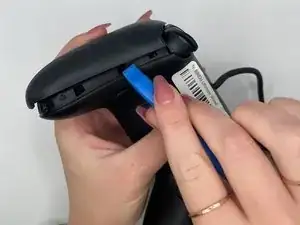
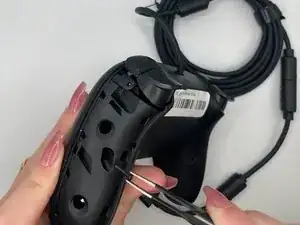
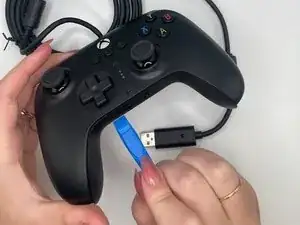
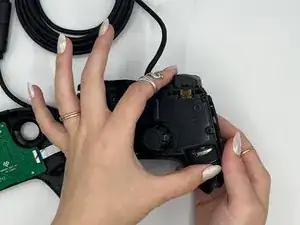
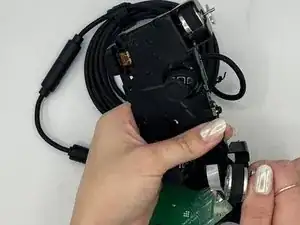
Orient the controller such that the back of the controller is facing you.
-
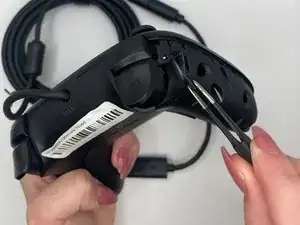
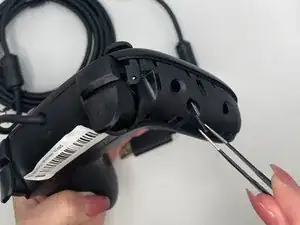
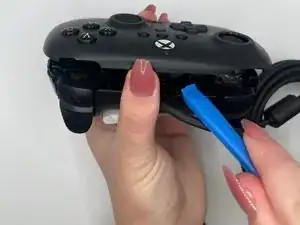
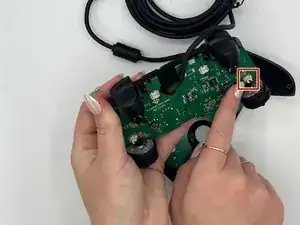
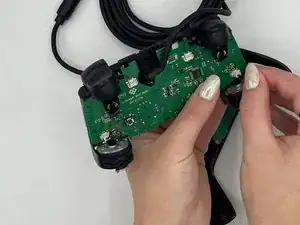
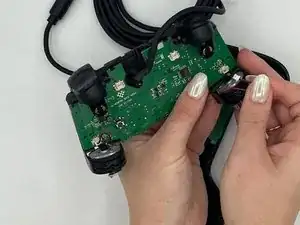
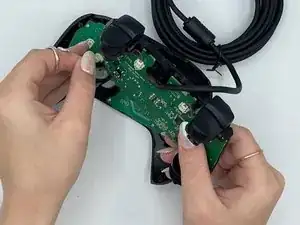
Insert an opening tool into the small opening between the front and back panels, and gently pry the back panel away to open the bottom clamps of the top panel of the controller.
-
-
-
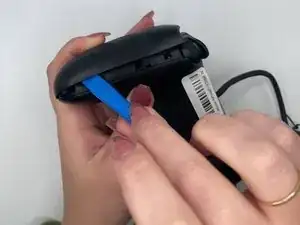
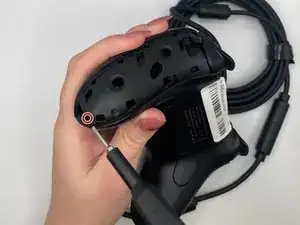
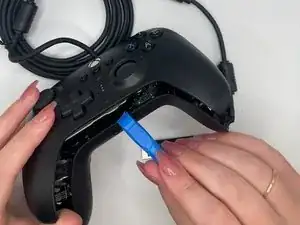
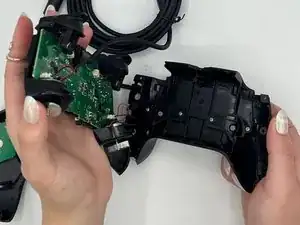
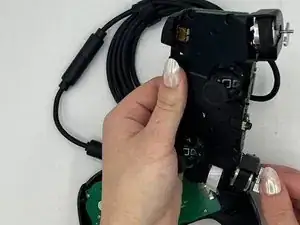
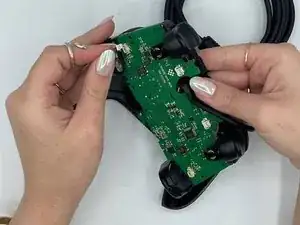
Insert an opening tool into the small opening between the front and back panel (top view) and pry away to remove the top half.
-


To reassemble your device, follow these instructions in reverse order.