Introduction
-
-
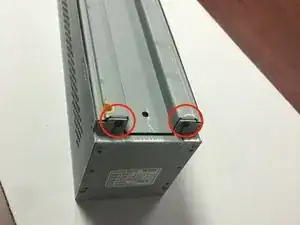
Locate the two screws on the far side of the unit, the end opposite of the plug connection.
-
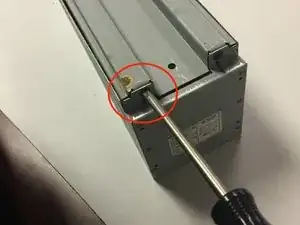
Use a philips head screw driver to remove the two screws.
-
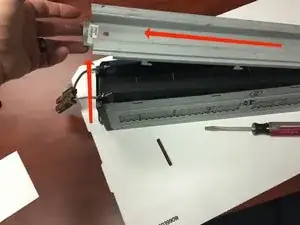
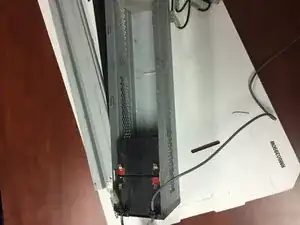
Remove the cover by first sliding it towards the plug end and lift up on the cover to remove it.
-
-
-
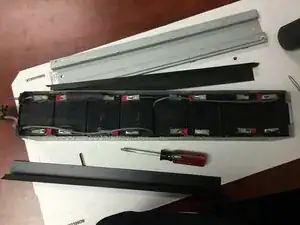
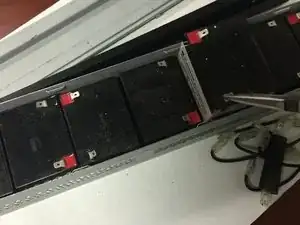
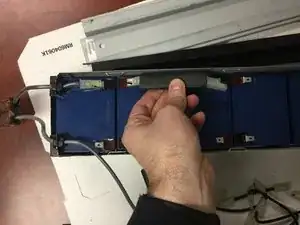
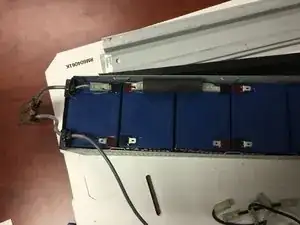
Remove the two black plastic wiring covers on each side of the battery cartridge
-
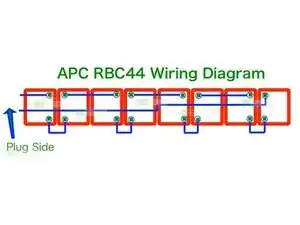
There are a total of eight batteries in the cartridge, the goal for this step is to either make or snap a picture using your phone of the wiring that you can reference later on.
-
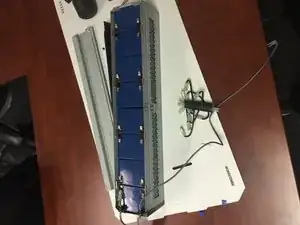
I have provided a full diagram in the third step -
-
-
-
Since you now have a wiring diagram, you will now be removing all of the wires from the batteries in the cartridge.
-
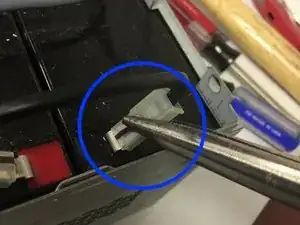
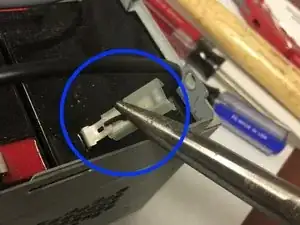
Use a pair of needle nose pliers to remove the wires from the terminals of the batteries
-
See the third pictures for the proper placement of the needle nose pliers on the plastic portion of the wire. This is the easiest spot to apply pressure to and pull back on to release the clip from the terminal.
-
-
-
Remove all of the batteries from the cartridge one by one.
-
For help on getting the first battery out of the cartridge you can use your pair of needle nose pliers to pull the battery up and out.
-
-
-
Use the wiring diagram made in step three to fill the cartridge with your brand new replacement batteries.
-
-
-
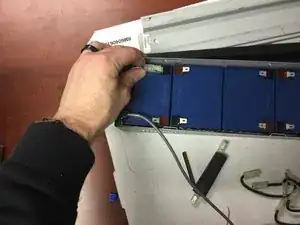
Connect the very first wire to the negative terminal of the battery. This will be on the left hand side of the cartridge - the side where the plug is located.
-
For the last part of this step you will be connecting the fuse to the negative and positive of battery two and three as shown in picture two and three.
-


To reassemble your device, follow these instructions in reverse order.