Introduction

  1. CEXUjIS6TbVIF1AU
    CEXUjIS6TbVIF1AU
    wK4kCnWApASVjq5M
    YIKZHAscHbomhjyn
    • Remove the security screw from the back panel.

    • Be cautious of any residual charge when disassembling.

  2. ZJhXKa3fxhvIi3hH
    ZJhXKa3fxhvIi3hH
    TmQaQOOSYsWHJ2Jd
    Xx6ZFPjCj4AJEQWw
    • Insert a flathead screwdriver to pop off the back plate

  3. PjoyveDWYojUxmfh
    PjoyveDWYojUxmfh
    cPbRMpcmlcFbsBSE
    5qe42bigSeAynBSX
    • Remove the retainer clamp by unscrewing the two Phillips screws.

  4. w2t5OWKnvyAlLcUx
    w2t5OWKnvyAlLcUx
    tgdHYKcKjYyAggMB
    KySUv1eBQMTp6DI2
    • Remove the three flat-headed screws from the connector

  5. tFa2BWD3sfYBpGV1
    tFa2BWD3sfYBpGV1
    uvp5ARBIfqfiirIZ
    wlr1OW3RTXZPBswh
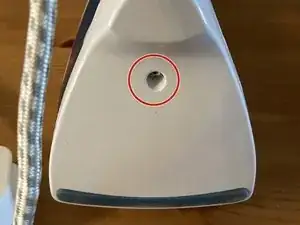
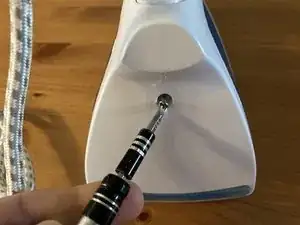
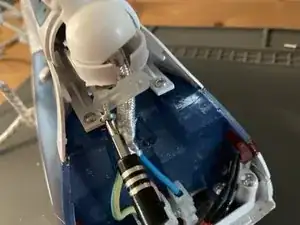
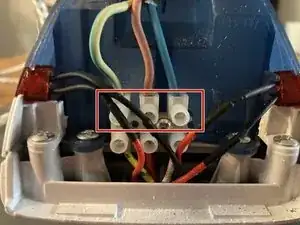
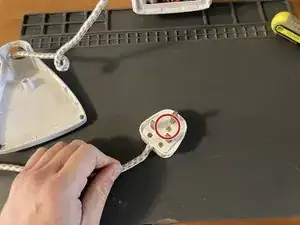
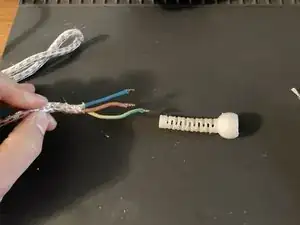
    • Unscrew the main screw to reveal the 3-core cable.

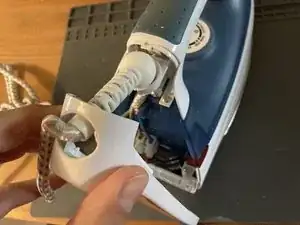
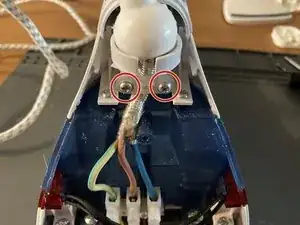
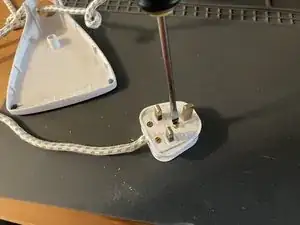
    • Remove the two screws that retain the cord in the plug.

  6. 4WMYjDsFJjutATsP
    • Remove the rotator guide.

Conclusion

To reassemble your device, follow these instructions in reverse order.

honakrisi

Member since: 28/01/20

3730 Reputation

0 comments