Introduction

There is no limit to perfection and therefore today we will safely replace the RAM on our laptop without losing the manufacturer's warranty.

ATTENTION!!! Please do not disassemble the laptop with the main power connected. Be careful because static electricity can damage your laptop.

  1. xkykVv6gwvdtNrW5
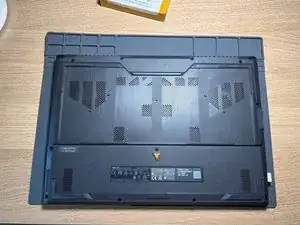
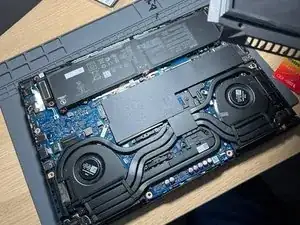
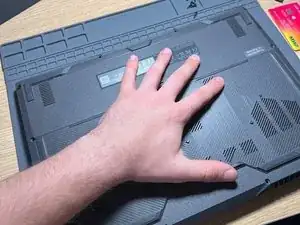
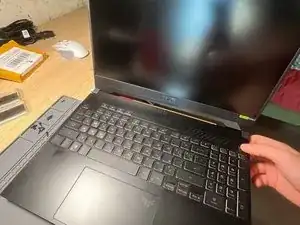
    • Place a soft non-slip mat under the laptop and place the laptop with the lid up.

    • I remind you that you need to turn off the power to the laptop!!!

  2. O5QnOplxMVgjRo66
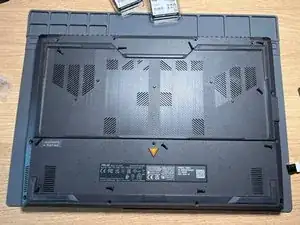
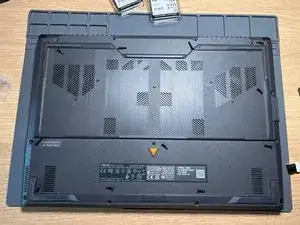
    • Using a Phillips screwdriver from the Xiaomi Mija set, unscrew all the screws

    • Attention! - The lower right screw is on a latch/lock and cannot be removed from the case

    • Also remember the location of the screws - the two longest ones are central from the top, the short one is installed in the lower left corner. see photo

  3. A42qQ6OAK4CH6scM
    A42qQ6OAK4CH6scM
    o3vXL6OddKdIFNX6
    B1XQMMxwIIv4fGPt
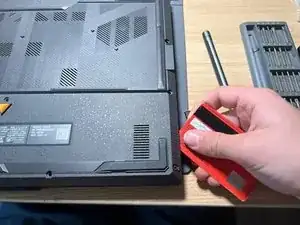
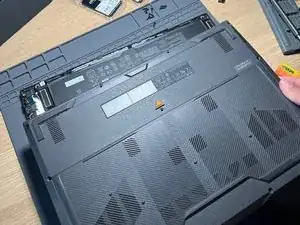
    • Carefully, starting from the lower right corner, we begin to unclip the clips off the back cover and, as a result, we can remove it.

  4. HNVXyrqC6cWAJwqY
    HNVXyrqC6cWAJwqY
    d6fZrRGws2eBFFYM
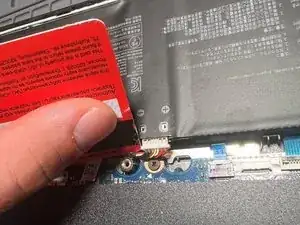
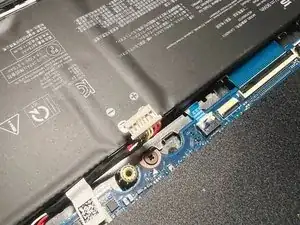
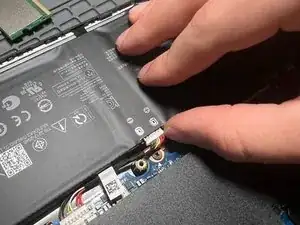
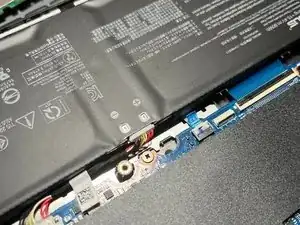
    • MUST!!!! Turn off the power to the laptop from the built-in battery by slightly prying the chip on both sides using a credit card.

  5. UDDjxCRDH2VfKKSk
    UDDjxCRDH2VfKKSk
    X6UJHqZDYhhRI5Av
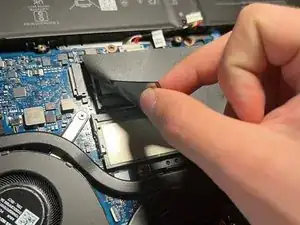
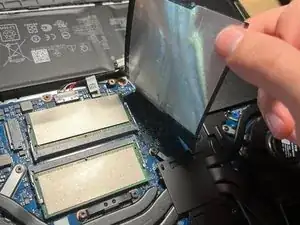
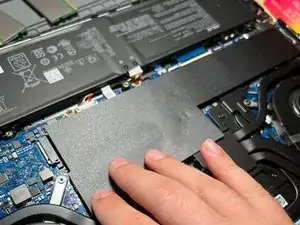
    • Partially peel off the sticker above the RAM ports.

  6. AxEkWOYPBudOGRdh
    AxEkWOYPBudOGRdh
    4QFdKZMmZb5utj1r
    TiXKmTfrojY3ZYA3
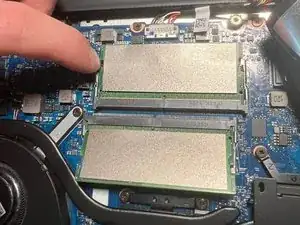
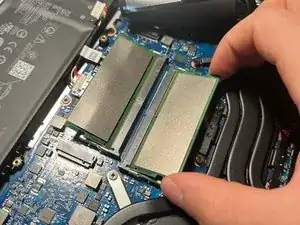
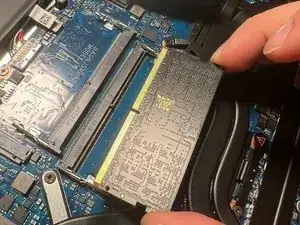
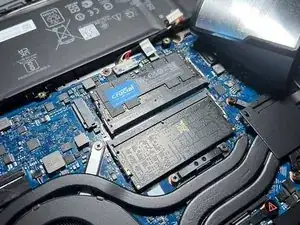
    • Unclip the clips holding the RAM (away from the RAM stick) and remove both sticks of RAM.

    а какая тама была родная, чтобы такую же добавить?

    wot blitz -

  7. bm5ZgsD1IVqiXLDH
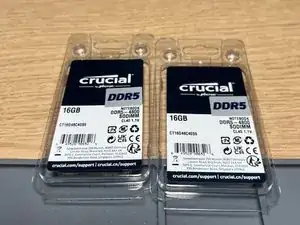
    • Opening new RAM. Put it in a convenient and accessible place on the table.

    • Do not touch the contacts with your fingers.

  8. kG6t4SqlY2XrpAFI
    kG6t4SqlY2XrpAFI
    kZsWFLP3NDb35hPH
    AOIRqlDsxBAfUKc6
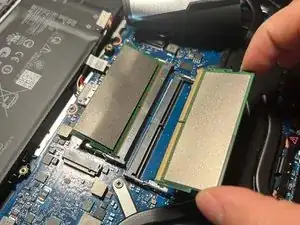
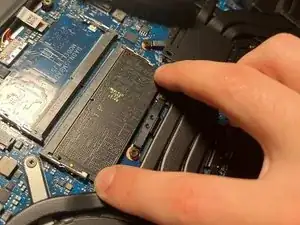
    • Carefully install new RAM into the ports. Snap by pressing both corners of the bar at the same time.

  9. ObWXOHRiKS4RrwSF
    • Return the sticker back and smooth it with our finger along the middle of the sticker (glue line).

  10. WaAXcDl5RpPuDVfD
    WaAXcDl5RpPuDVfD
    rFOVO1S4ILrMNcAj
    • Using a credit card and your hand, carefully place the chip back into the battery.

  11. MRMBWRLYlhPCoySS
    MRMBWRLYlhPCoySS
    VuCqm61v1aunMXjJ
    • We return the cover to its rightful place and, according to the photo, tighten the screws with light force into the laptop.

  12. qVV2PrYQH6TLOIWn
    qVV2PrYQH6TLOIWn
    SymtPSJplmGjdcAU
    VR4J4JrJbkVN1Gqc
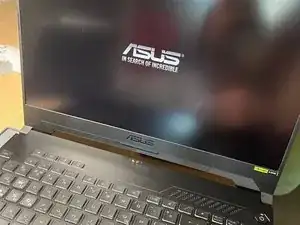
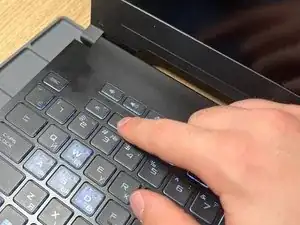
    • We start the laptop with the PWR button and when the ASUS logo appears, press the F2 button to enter the BIOS.

  13. RukcTdNwW2Sootg2
    RukcTdNwW2Sootg2
    xElKWdRgQYFhcOqW
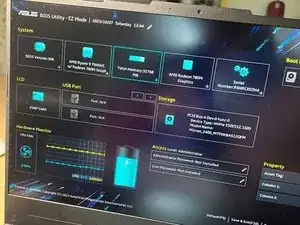
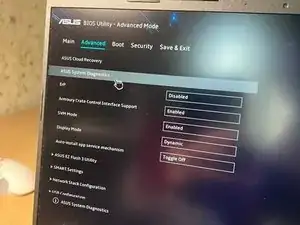
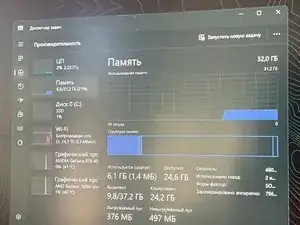
    • Already in the main BIOS menu, our RAM strips are initialized, press the F7 button or select the advanced settings item in the lower right corner. Then click ASUS System Diagnostics.

  14. AN6X6T6uYU6YpOcu
    AN6X6T6uYU6YpOcu
    lOmkbbilZHHEGGvf
    OxvbypfrfD4rJGpU
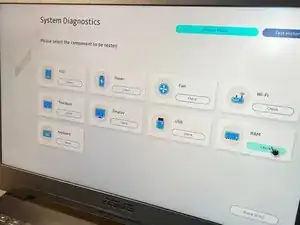
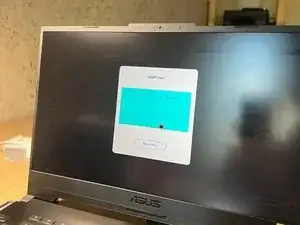
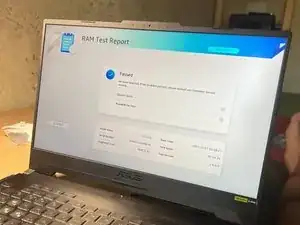
    • Once in the diagnostics menu, select RAM - diagnostics of RAM. Next, select 100% in the drop-down window and wait for the verification to complete. If successful, you will receive a window like this.

  15. AuGgYGnXtMs5TVc2
    AuGgYGnXtMs5TVc2
    SmxdMHJJRXtQmHQZ
    • Congratulations, you have successfully upgraded the RAM on your laptop! This cake is for you!

    Thanks for the detail.

    Vishnu Nair -

Conclusion

Congratulations on replacing your RAM!

Dislikedd

Member since: 04/10/23

411 Reputation

2 comments

я владею английским языком. этот гид был великолепен и в нем было много очарования. я перевел для вас на английский. хорошего дня!

Corbanizer -

@dislikedd Great guide.
Corbanizer -