Introduction
A guide to show Acer Aspire 3 owners how the monitor of their laptop is connected, and how it can be removed. For those who have cracked screens, insufficient quality, or whose screens just won't display, this guide will walk you through the replacement process.
-
-
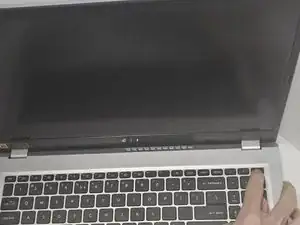
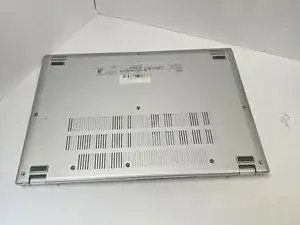
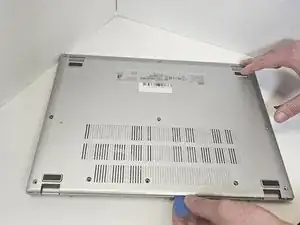
Close the laptop and flip it over.
-
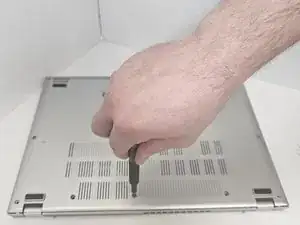
Remove the eleven 6.5 mm Phillips screws from the lower case.
-
-
-
Insert an opening pick between the lower case and chassis.
-
Pry around the entire perimeter until the lower case releases.
-
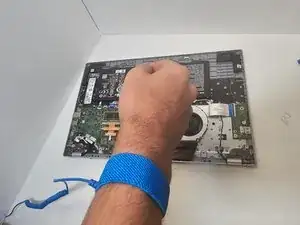
Remove the lower case.
-
-
-
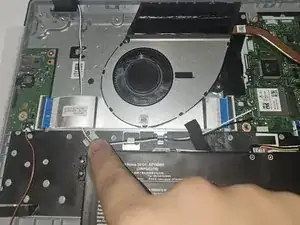
Disconnect the black and white antenna cables plugged into the network card on the motherboard.
-
-
-
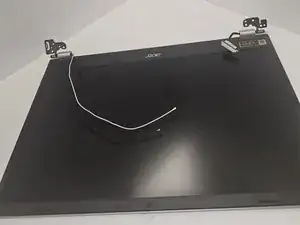
Unscrew the four 5.5 mm Phillips screws holding the hinges of the monitor to the laptop frame.
-


To reassemble you will just follow these steps in reverse order.