Introduction

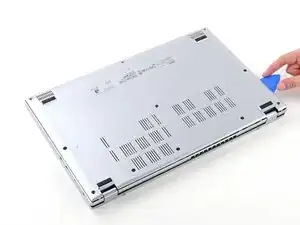
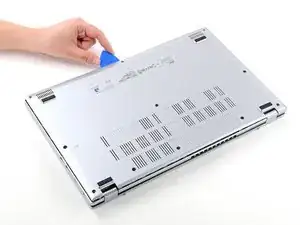
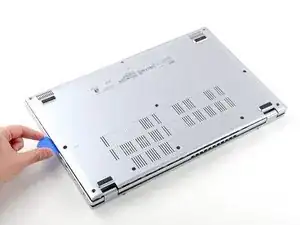
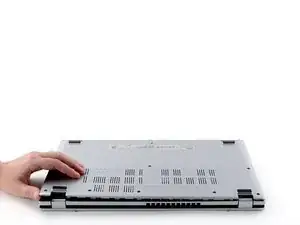
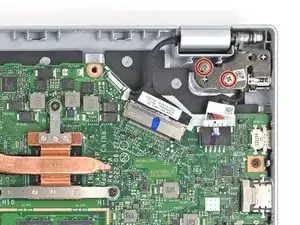
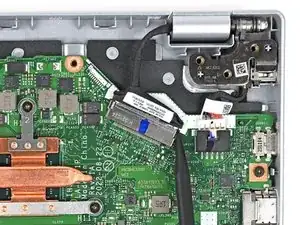
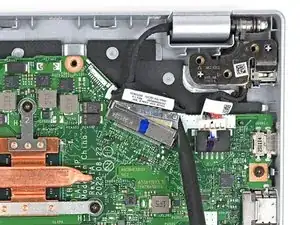
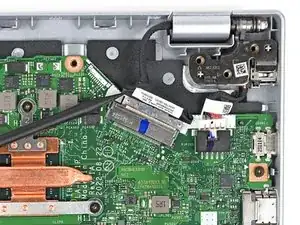
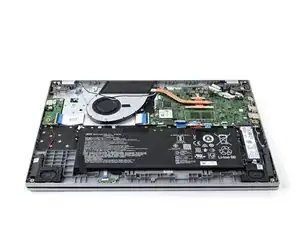
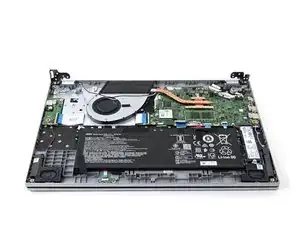
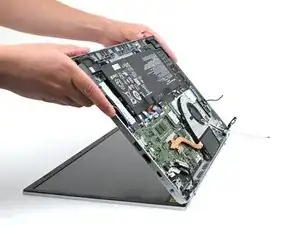
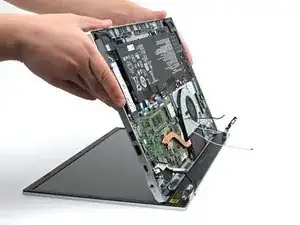
Use this guide to replace the display assembly for your Acer Aspire 3 A315-24P-R7VH Laptop.

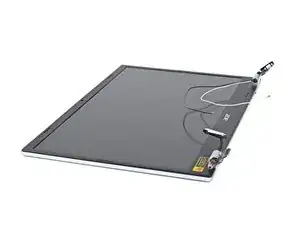
The display assembly includes the display, the display bezel and frame, the front camera, and wifi antenna.

This procedure requires removing the battery to disconnect it. Use care to avoid bending, twisting, or puncturing it—a charged lithium-ion battery can be very dangerous if accidentally punctured. If your battery looks puffy or swollen, take extra precautions.

  1. eXEDsPPDjlmjWkc1
    • Shut down your laptop and unplug any cables.

  2. CxEYjgemVbaM2I3G
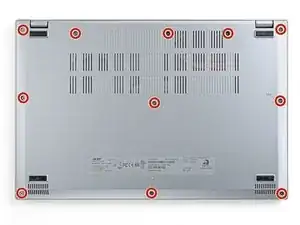
    • Close the laptop and flip it over on a flat, clean surface.

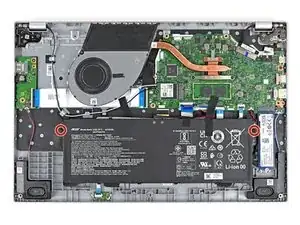
    • Use a Phillips screwdriver to remove the eleven 6.6 mm‑long screws from the back cover.

  3. A4jX4PywtKp6uWKf
    A4jX4PywtKp6uWKf
    OBYYJYsRLwyGZ4Ci
    1bjZQFhQ4KPEfPZQ
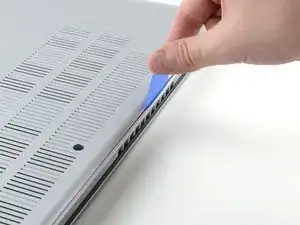
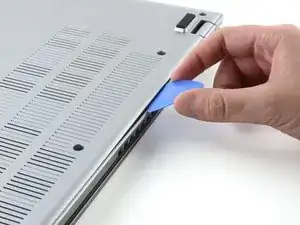
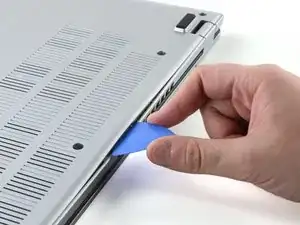
    • Insert the long edge of an opening pick straight down between the chassis and the back cover at the rear of the laptop

    • Pry up to release a few back cover clips and position the opening pick flat under the back cover.

    • Slide the pick along the rear edge of the laptop to release the clips.

  4. AQUVVoZpcCbXrURI
    AQUVVoZpcCbXrURI
    qXtyNF3NeGSaNbWF
    oipBEmporuHIwPIx
    • Pry around the entire perimeter until the back cover releases.

  5. QHYhFVlqLBFm2vkO
    QHYhFVlqLBFm2vkO
    NVsPfQhTIjYH6sAL
    rv4Ow4TWHcrHnCDK
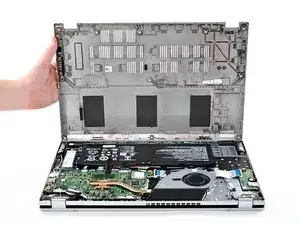
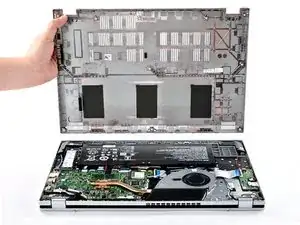
    • Lift the back cover off the chassis and remove it.

    • If the back cover is stuck, repeat the previous step to release any remaining clips.

  6. avvZkimgKMqpET5F
    avvZkimgKMqpET5F
    dZhGRaZBITKqSGSk
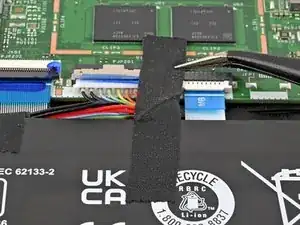
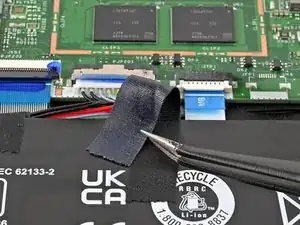
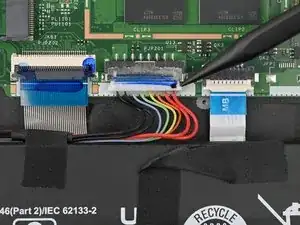
    • Use tweezers or your fingers to peel away the tape covering the battery connector.

  7. cLZ1oOp4yZ6XWvLj
    cLZ1oOp4yZ6XWvLj
    MyRrjua6ESKNX42F
    • Use the tip of a spudger to push down on either side of the battery cable connector until it comes out of its socket.

  8. MrDQsGaY4LTVwcCS
    MrDQsGaY4LTVwcCS
    O5kJYLRY2KFLeZAN
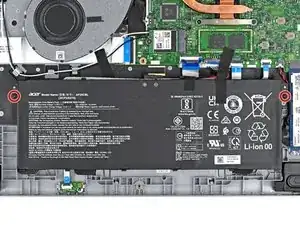
    • Use a Phillips screwdriver to remove the two 4.7 mm‑long screws securing the battery.

  9. L4FqQZaSxM6Y4IkK
    L4FqQZaSxM6Y4IkK
    Oq6U11faxP5eFJrW
    4U2LkOT2wTno2utF
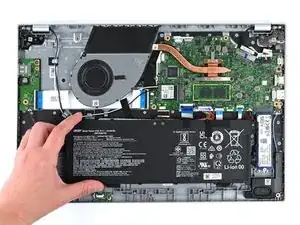
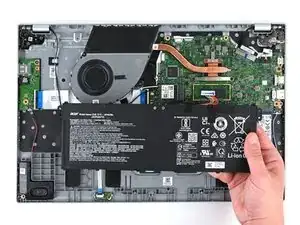
    • Lift the battery out of the chassis and remove it.

  10. KtcgMVA4Xf2eUyDt
    KtcgMVA4Xf2eUyDt
    QX3F1cD1NSFmEWAL
    uE1JLbTLwDAXcTif
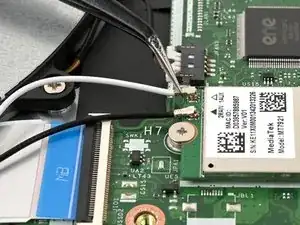
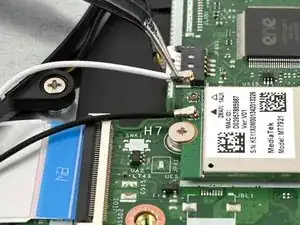
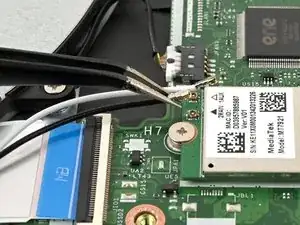
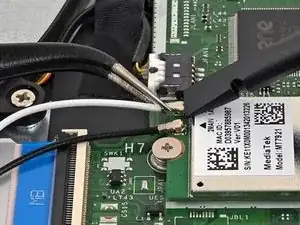
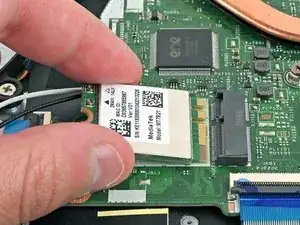
    • Slide one arm of your angled tweezers under the metal neck of the white cable on the WLAN card.

    • Lift the metal neck to disconnect the cable.

    • Repeat the same process for the black cable.

  11. cUutsBJsojYrxoJ5
    • When reassembling, use tweezers to hold the connector in place over its socket and gently press down with your finger or a spudger—the connector should "snap" into place. It may take multiple tries repositioning the head until it reconnects.

    • Don't try to force the connector into place or you may permanently damage it.

  12. 1wNATZ23GuCMQjFb
    1wNATZ23GuCMQjFb
    dswMPGTNEWurWXTC
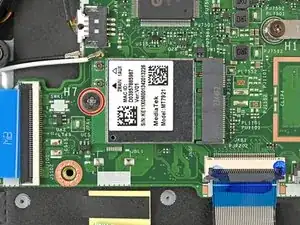
    • Use a Phillips screwdriver to remove the 2.2 mm‑long screw from the WLAN card.

    • The WLAN card will pop up at a slight angle with the screw removed.

  13. iK1ndTSIgviDZDl6
    iK1ndTSIgviDZDl6
    ddqJBcONHYhpGxCd
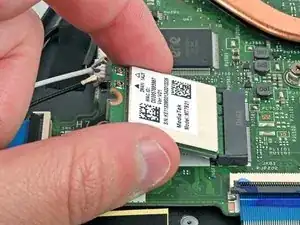
    • Pull the WLAN card out of its socket and remove it.

    • During reassembly, insert the WLAN card at a slight downward angle into its socket.

  14. xjRsWAS3asscBTQC
    xjRsWAS3asscBTQC
    JAmfrJwYM3vDYRMs
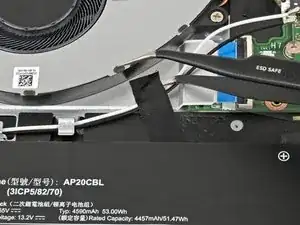
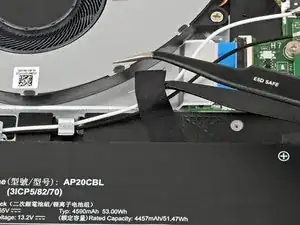
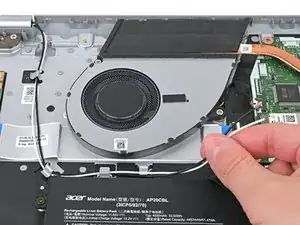
    • Use tweezers or your fingers to lift and remove the tape holding the WLAN cable wires down.

  15. VfsUVKjjCwg5BnqN
    VfsUVKjjCwg5BnqN
    jsxIXZGEJUZFXSTy
    dTylJbloKNshjpa4
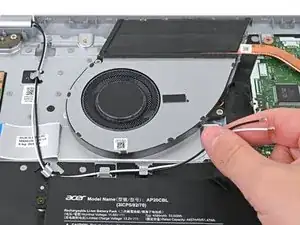
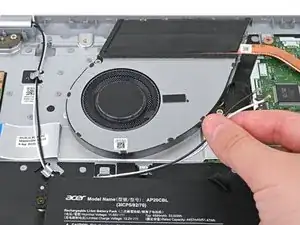
    • Use your fingers to unroute the WLAN cables from the four cable guides.

    • Some cable guides might be tighter than others and will need to be lifted slightly.

  16. thHmm3TspUHF2F3u
    thHmm3TspUHF2F3u
    pnOoxEZ1NBkehLOy
    335MZ3dDkCY1VCtM
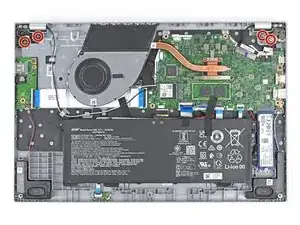
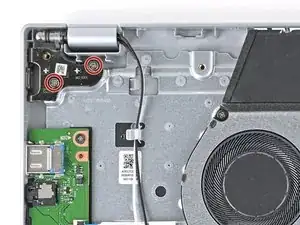
    • Use a Phillips screwdriver to remove the four 5.6 mm‑long screws on the hinges securing the display assembly.

  17. SyUSnbhyPiWosBEr
    SyUSnbhyPiWosBEr
    ss4MipmJLVOKY2bF
    IHqwfmvXNyxShI12
    • Use the tip of a spudger to push down on either side of the display cable connector until it comes out of its socket.

  18. XnthaBZCv6ATrno1
    XnthaBZCv6ATrno1
    yqQMORgGKSbrmIZx
    DFvAiF4Aiw6Olfq1
    • Swing open the laptop slightly to lift the hinges upward.

  19. MBjkiFLIGYAVrWhm
    MBjkiFLIGYAVrWhm
    NVxpaKFcxyCoWYtV
    tKqKJTrgTZWDwEvC
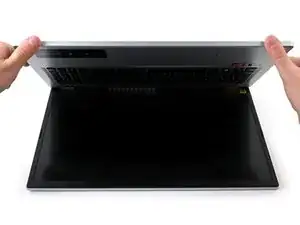
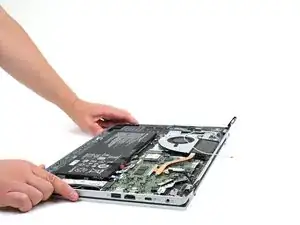
    • Open the laptop at a slight angle and pull the bottom away from the hinges to separate the bottom from the display assembly.

    • Now you're left with the display assembly for replacment.

Conclusion

To reassemble your device, follow these instructions in reverse order.

Take your e-waste to an R2 or e-Stewards certified recycler. Acer partners with different e-waste recycling programs that vary by region, click here to see where you can properly dispose of your e-waste.

Repair didn’t go as planned? Try some basic troubleshooting, or ask our Answers community for help.
Kara Piepenbrink

Member since: 31/05/24

4010 Reputation

0 comments