Introduction
-
-
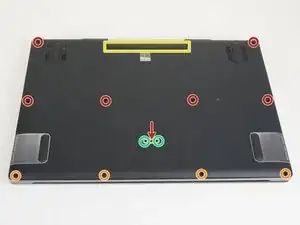
Remove six 6mm T7 screws.
-
Remove four 4mm T7 screws.
-
Remove two 10mm T7 screws
-
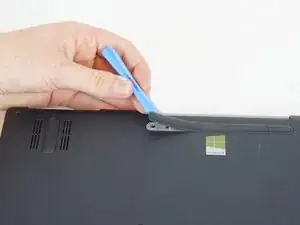
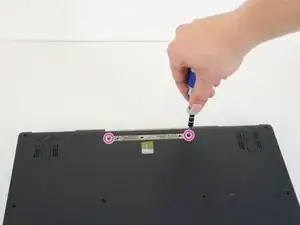
Use the blue plastic opening tool to carefully remove both rubber pads which cover the four remaining screws.
-
Remove the remaining two10mm T7 screws.
-
-
-
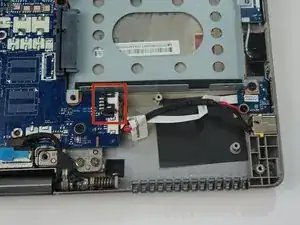
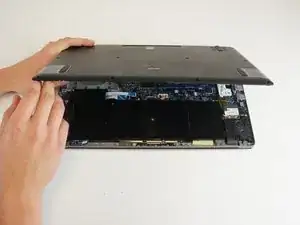
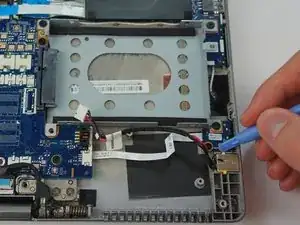
Locate the AC Socket ribbon connector
-
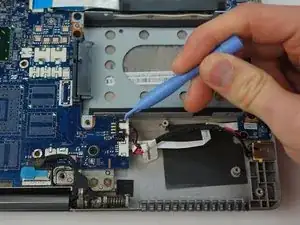
Loosen the ribbon connector using the plastic opening tool
-
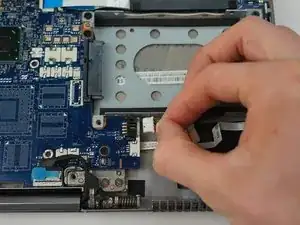
Pull the ribbon connector away from the motherboard
-
-
-
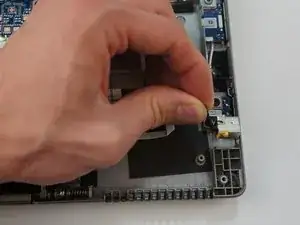
Use the plastic opening tool to pry up on the yellow tabs holding the Socket in place
-
Once the tape on the Socket is loose, pull up and away from the case to remove it.
-
Conclusion
To reassemble your device, follow these instructions in reverse order.
Use the blue plastic opening tool to carefully remove the rubber pad which covers the one remaining screw.
Picture shows the rubber pad removed but srew to be removed is not indicated
Anthymoine -