Introduction
Released in April 2016, the inexpensive Acer Chromebook 14 CB3-431-C5FM stands out from other Chromebooks due to its sleek aluminum chassis and low-profile design, mimicking the Macbook Air's aesthetics.
If you're noticing that the time you can go between charges is significantly reduced from your first boot, or any unusual bulging around the trackpad or keyboard, it's time to replace your battery. Thankfully, this requires only basic tools and is a quick and easy process.
Before beginning, make sure your Chromebook is unplugged and powered down.
-
-
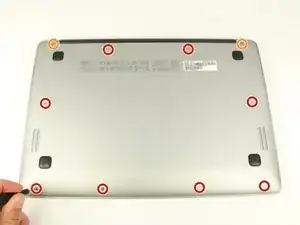
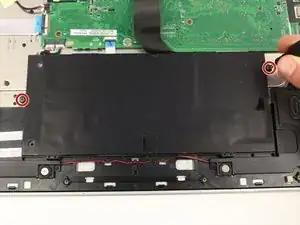
Use a Phillips #0 screwdriver to remove the ten screws securing the bottom case:
-
Eight 6.6 mm screws
-
Two 4.2 mm screws
-
-
-
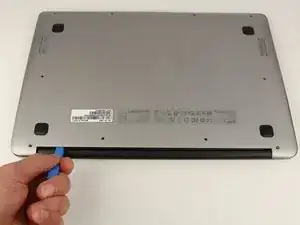
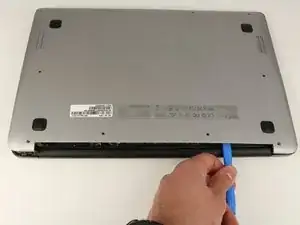
With the display hinge facing you, wedge an opening tool between the bottom case and hinge, then gently pry upwards.
-
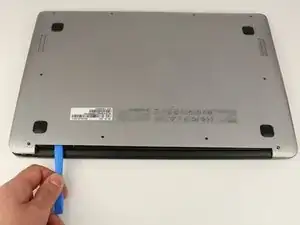
Pry your way around the perimeter of the bottom case until it fully releases, then lift it up and off.
-
-
-
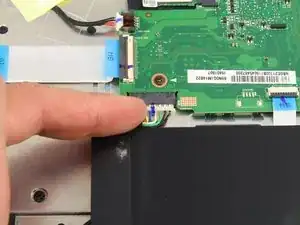
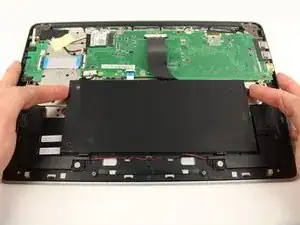
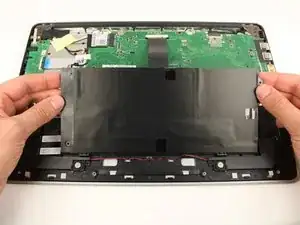
With your fingernail or a spudger, disconnect the battery from the motherboard; there are small protrusions on either side of the connector, and are perfect for wedging your fingernail behind.
-
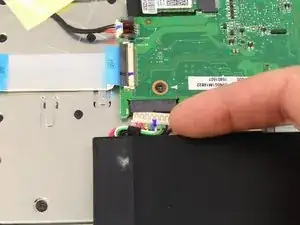
Lever the battery connector out of its port from both sides of the plug until completely it releases.
-


To reassemble your device, follow these instructions in reverse order.