Introduction
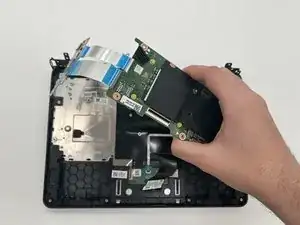
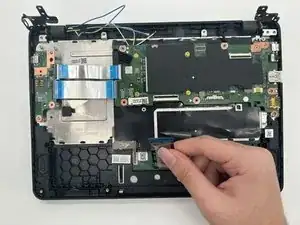
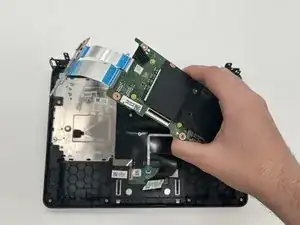
The motherboard is the main circuit board of the Acer Chromebook (Spin 511 (C741L) N20Q8), providing power to each part of the laptop in order to communicate and turn on. With a faulty motherboard, the Chromebook may shut down randomly or not even power on. If this happens, a replacement of the motherboard is needed in order for the device to work again.
Make sure to power down your device and disconnect from any power sources before you begin.
Tools
-
-
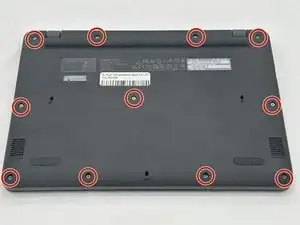
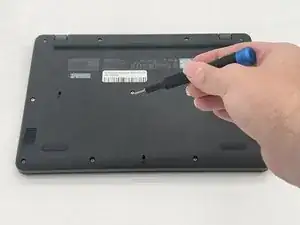
Remove the eleven 2.4 mm screws securing the back plate and internals of the Chromebook using a Phillips #1 screwdriver.
-
-
-
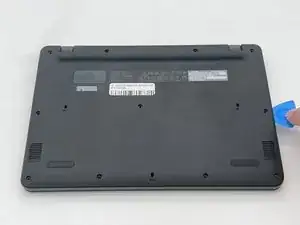
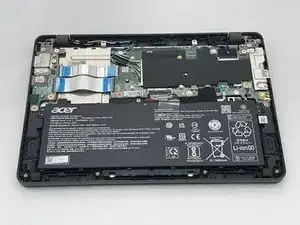
Use an opening pick to remove the backplate of the laptop revealing the internals of the Chromebook.
-
-
-
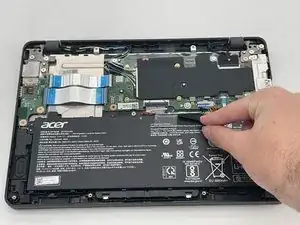
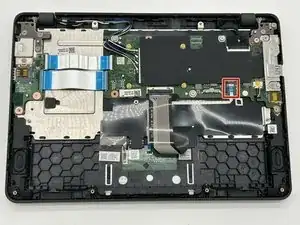
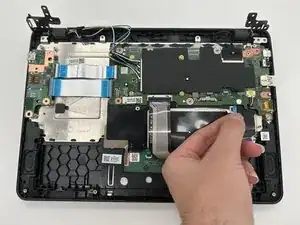
Gently remove the electrical tape from the battery.
-
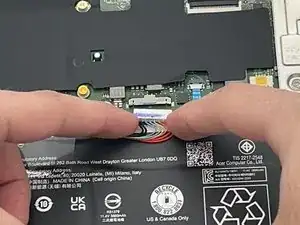
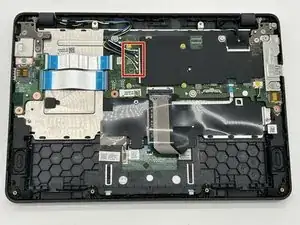
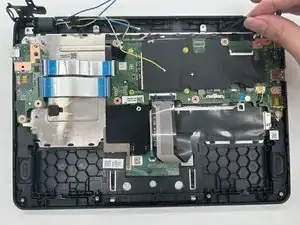
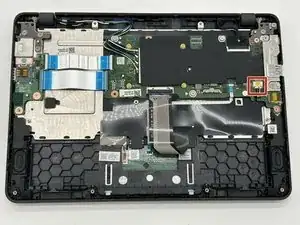
Detach the colored wires from the wire connector on the motherboard.
-
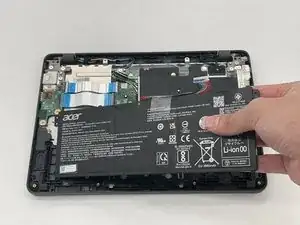
Remove the battery from the laptop.
-
-
-
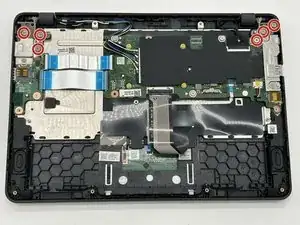
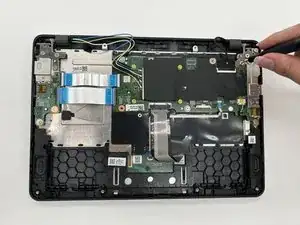
Remove the six 2.4 mm screws from the hinges using a Phillips #1 screwdriver.
-
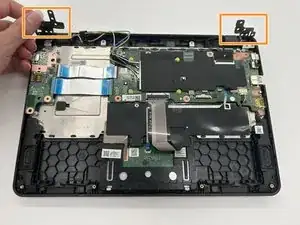
Flip the gray hinges up.
-
-
-
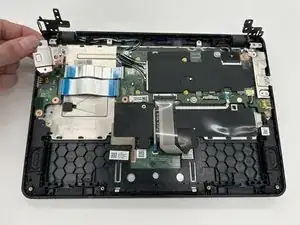
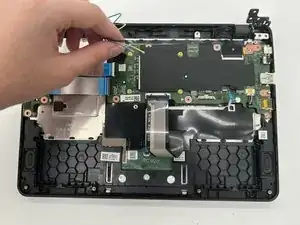
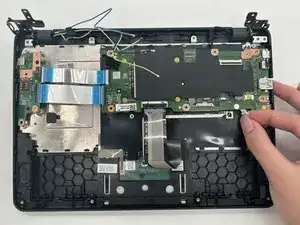
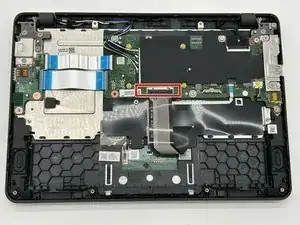
Carefully remove the pin connector containing the black, white, and red wires from its socket.
-
To reassemble your device, follow these instructions in reverse order.
