Introduction
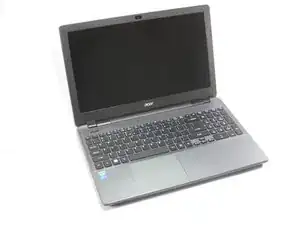
Is your laptop overheating? Are you hearing strange noises coming from inside the case? It may be time to replace your CPU Cooling fan.
Tools
Parts
-
-
Power down the laptop prior to beginning.
-
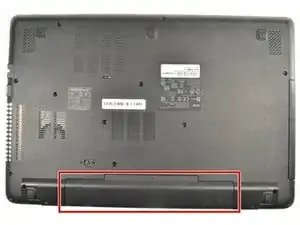
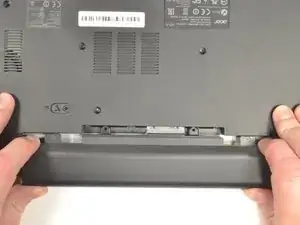
Turn the laptop over with the battery closest to your body.
-
-
-
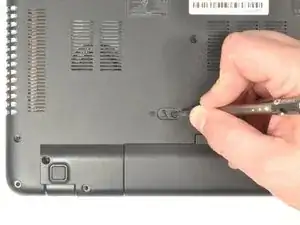
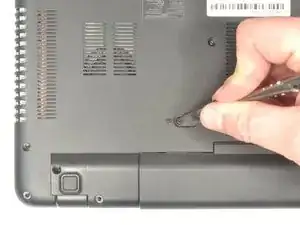
Insert the pointed end of a spudger into the battery release.
-
Slide the release gently all the way to the left.
-
-
-
Place your hands on each end of the battery.
-
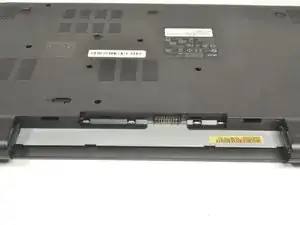
Pull the battery towards your body to remove it.
-
-
-
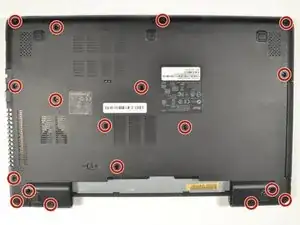
Using a #0 Phillips screwdriver, remove a total of eighteen identical 8mm Phillips screws and set them aside.
-
-
-
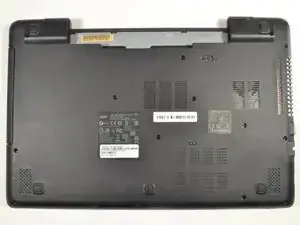
Rotate the laptop 180 degrees so that the battery compartment is now furthest away from your body.
-
-
-
Put your fingers under the top of the keyboard assembly directly below the Acer logo.
-
Carefully pull up on the center until you hear the tabs disengage from the bottom.
-
-
-
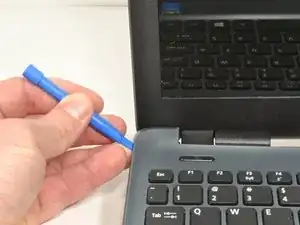
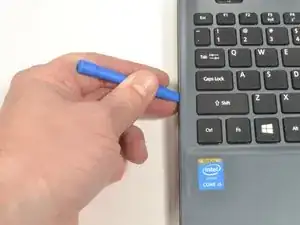
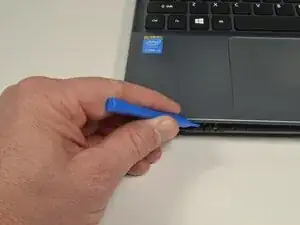
Work your way around the seam with the plastic opening tool carefully prying the base and top cover apart.
-
-
-
When the two halves are separated, carefully lift up the front of the keyboard and touchpad assembly.
-
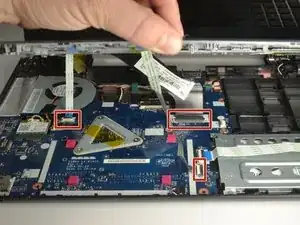
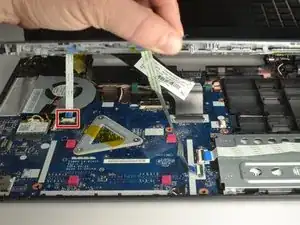
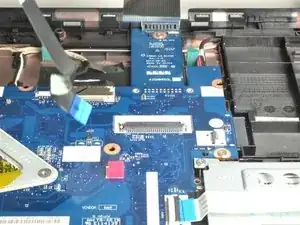
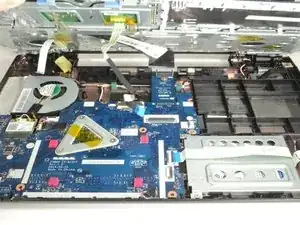
You will see three ribbon cables attached to the motherboard.
-
-
-
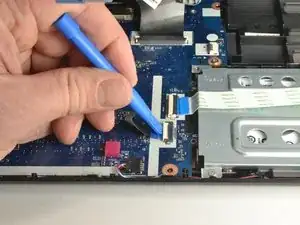
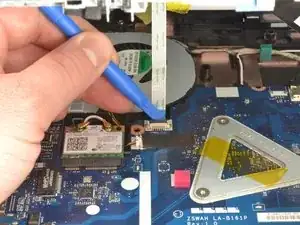
Closest to the ribbon cable on the zero insertion force (ZIF) connector is a white locking tab.
-
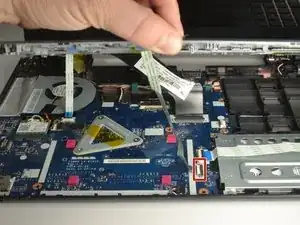
Carefully lift up on the locking tab with the plastic opening tool to release the ribbon cable. (Picture 2)
-
Remove the ribbon cable from the connector.
-
-
-
Closest to the ribbon cable on the ZIF connector is a black locking tab.
-
Carefully lift up on the locking tab with the plastic opening tool to release the ribbon cable. (Picture 2)
-
Remove the ribbon cable from the connector.
-
-
-
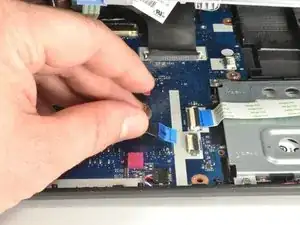
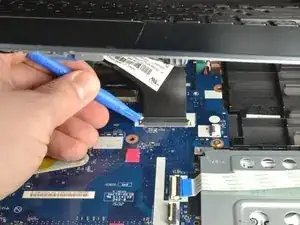
On each side of the large connector there are two white tabs.
-
Carefully push away from you with the plastic opening tool on each white tab to release the cable. (Picture 2)
-
Remove the ribbon cable from the connector.
-
-
-
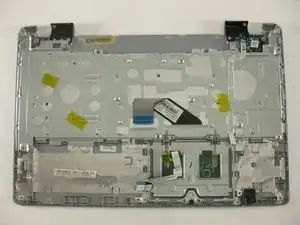
Once all three ribbon cables are disconnected, lift off the top cover with the keyboard and touchpad.
-
-
-
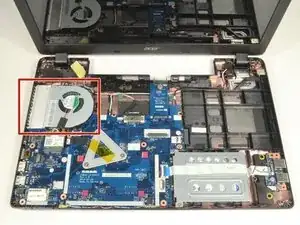
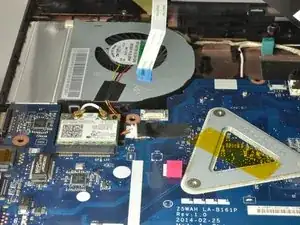
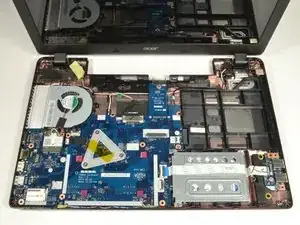
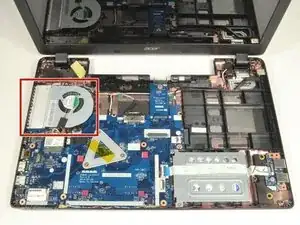
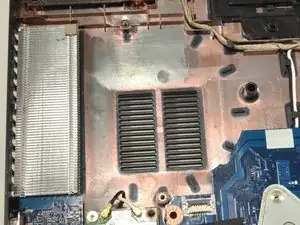
Locate the CPU cooling fan in the upper left corner of the laptop.
-
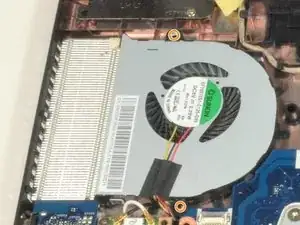
Using a Phillips #0 screwdriver, remove the two 4.5 mm screws that secure the fan to the case.
-
-
-
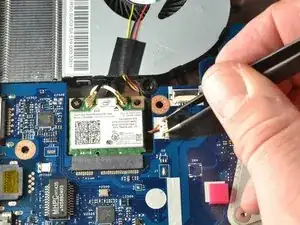
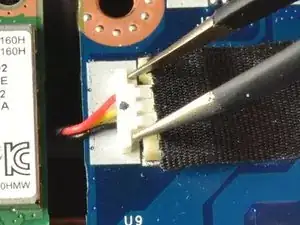
Place the tips of the ESD safe pointed tweezers between the plug and the socket of the fan connection.
-
Gently push the tweezers to the left to disconnect the fan plug.
-
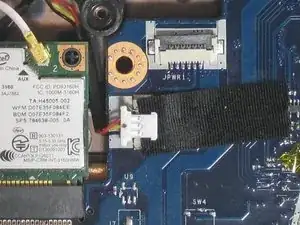
Move the fan connector and its wires to free them from the motherboard and the Wi-Fi card.
-
-
-
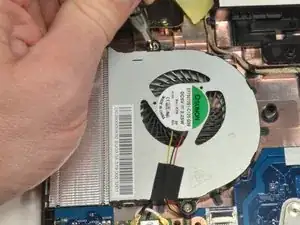
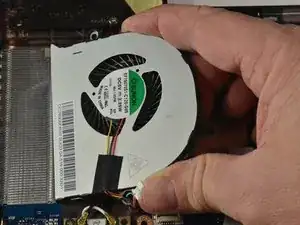
Lift the curved end of the fan by about 30 degrees.
-
Use your hand to lift the fan up and to the right until it is clear of the case.
-
To reassemble your device, follow these instructions in reverse order.
