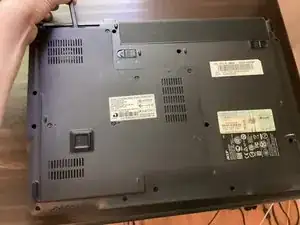
Introduction

  1. 1LImnQNr2CY6S2Bx
    1LImnQNr2CY6S2Bx
    QwIvxPSUHYxqTZA6
    • First, make sure that the battery lock is turned off.

    • The battery lock makes it so the battery doesn't accidentally fall out of your computer while it is running.

  2. YUCuGcsf5EF5DsI2
    YUCuGcsf5EF5DsI2
    mWAtEy5dn4KjRWCt
    DF2YH5HHrohQBrIx
    • Then, slide the other battery lock while pulling the battery out.

  3. fmDRXQ6F4cQtgnIY
    • Unscrew all five screws on the back panel with a Phillips #00 screwdriver

    • The screws will stay in the back panel, so when you remove it, you don't have to worry about organizing the screws.

  4. SuW5onLUxInyyNpK
    SuW5onLUxInyyNpK
    ZvQT6Xr2xRthMnUW
    BejrkXNLGIZxQroE
    • Take a spudger and start to pry open the back panel. Finish prying it open with your hands.

    • Be extra careful and try not to break any clips in this process.

  5. Q1EvDiT5ANDgtD3X
    • Start by removing these 2 screws.

  6. tLCGFcTh1OX3UqWI
    tLCGFcTh1OX3UqWI
    2TTqeHuROjWviapS
    M4aZpLxkZGRuKikf
    • Then, pull one of the pull tabs left.

    • This shouldn't take too much force.

  7. FHPLjmFwyxG4WWWq
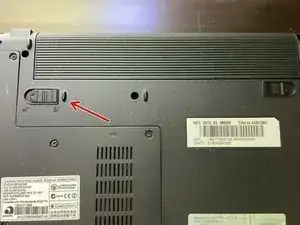
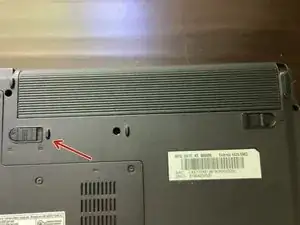
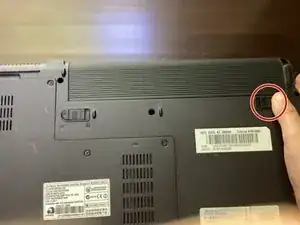
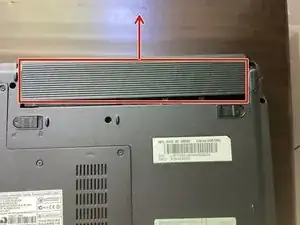
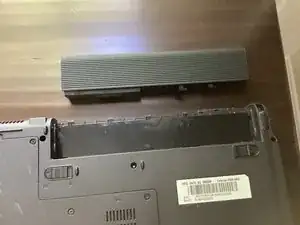
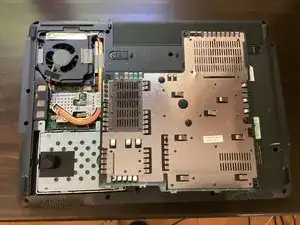
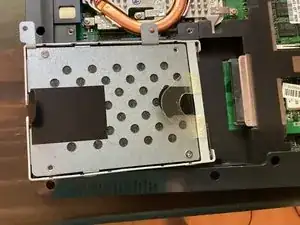
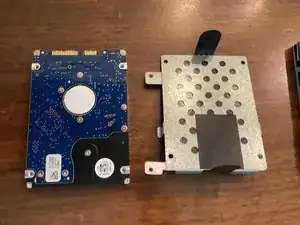
    • With the hard drive out of the computer, we can start disassembling it.

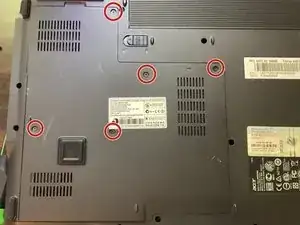
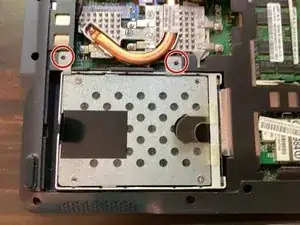
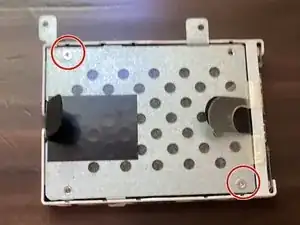
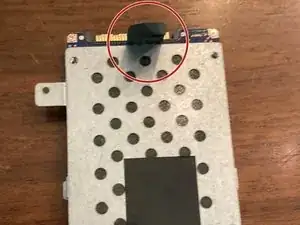
    • Unscrew these 2 screws with a phillips screwdriver

    • The hard drive is a fragile part. Be careful when handling it.

  8. QFBqtOYGviWVk152
    QFBqtOYGviWVk152
    fP5EivAQPWTOmatC
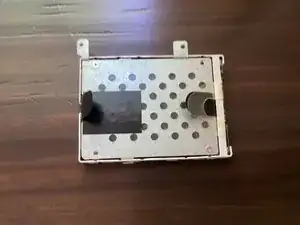
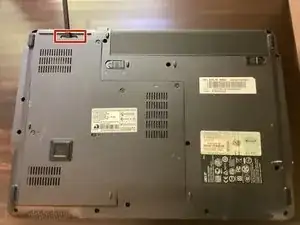
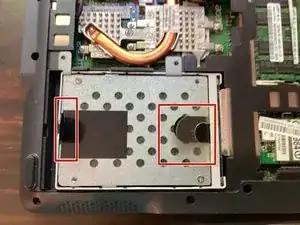
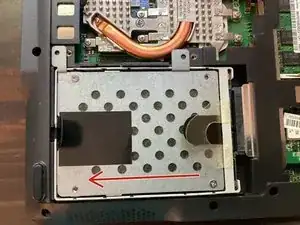
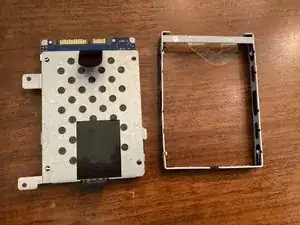
    • Then, separate the plastic case from the hard drive in the places indicated.

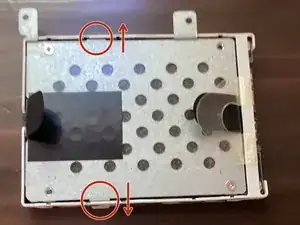
    • After, the whole plastic case should come off.

  9. sJMBDiXCGOPfHFJR
    sJMBDiXCGOPfHFJR
    4TGAcGcdL1OLVVTO
    • Take the metal plate off with the pull tab indicated.

    • Be super careful after taking the metal plate off. Under the plate are exposed internals, which can be damaged easily.

Conclusion

To reassemble your device, follow these instructions in reverse order.

TheMasterG

Member since: 19/07/24

1146 Reputation

0 comments