Introduction

If your Acer Predator 17 G9-793 boots when plugged in but does not retain a charge or remain on when unplugged, it might have a defective battery, or the battery has gone through too many charging cycles and is at the end of its lifespan.

The battery stores power for the computer so it may be used away from a constant power source. If you aren't able to use your Acer Predator 17 G9-793 laptop anymore unless it's plugged into the charger, follow this guide to replace the battery.

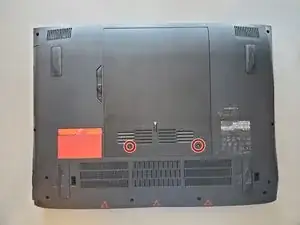
Before you begin, power off the device completely and unplug it from the charger.

  1. Ik2OibtRtZIZNTOs
    Ik2OibtRtZIZNTOs
    6gjvRcpBNQQfcVkg
    LgfPs3a4N5UCA3H1
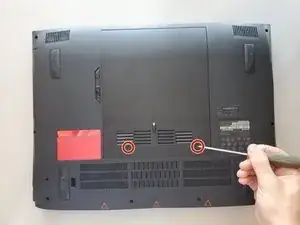
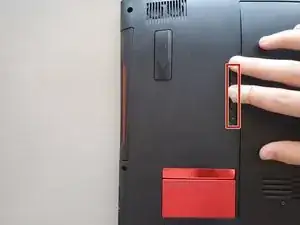
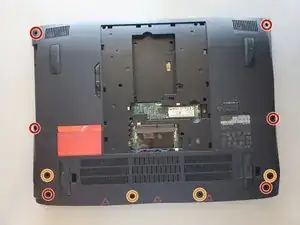
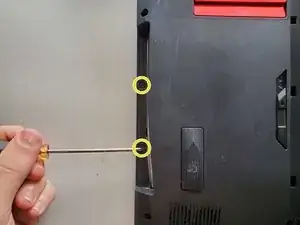
    • Use a Phillips #0 screwdriver to unscrew the two captive screws on the service panel cover.

    • Captive screws are meant to stay in place, so you only need to loosen them to remove the panel.

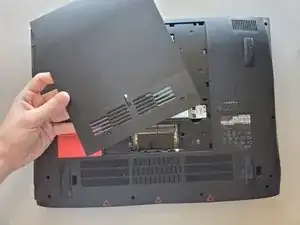
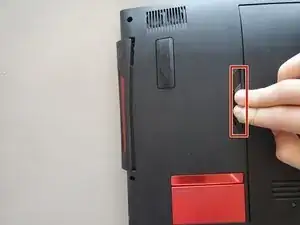
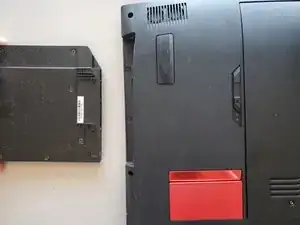
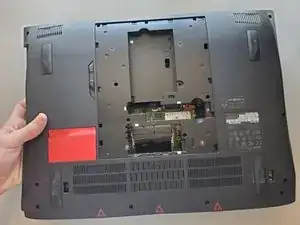
    • Use a spudger or opening tool to remove the service panel.

  2. 2XuRhK5i54mNegvk
    2XuRhK5i54mNegvk
    pDDgQ4RXbEk1NEVy
    eZ2s5x4UHAGRTq5S
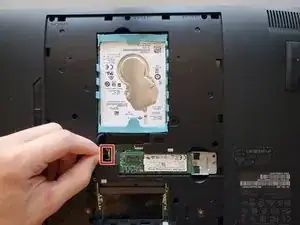
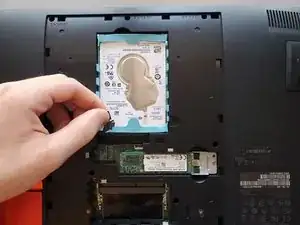
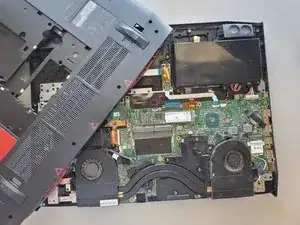
    • Detach the hard drive connector with a gentle upward pull of the attached pull tab.

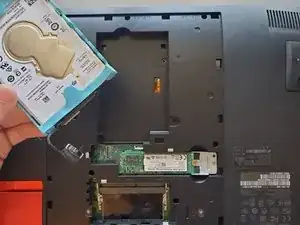
    • Remove the hard drive from its slot.

  3. IFeXqYnmvFWHIJYU
    IFeXqYnmvFWHIJYU
    PheQ3fZSu3abWJS2
    Z33WGUWiZUj65kGb
    • Remove the single 4 mm Phillips #0 screw.

    • The SSD card will lift slightly.

    • Carefully slide the SSD card away from the socket.

  4. NRcqcyPyMvhEAJku
    NRcqcyPyMvhEAJku
    1XLGJRQHfWpoAnrj
    ITZCcRWYd16gicIa
    • Firmly pull the switch into the open position.

    • The removable drive will pop out slightly.

    • Slide the drive out of its slot.

  5. ST4TUxhCqc1SwL1D
    ST4TUxhCqc1SwL1D
    KOsyGi1D6RuD6u1L
    MueApnxUadaQOhEe
    • Use a Phillips #0 screwdriver to remove:

    • six 8 mm screws

    • four 14 mm screws

    • ten 4.5 mm screws

  6. lWeexXpVtJoZSGYC
    lWeexXpVtJoZSGYC
    jG3DtWineFGyKUFH
    C4RQNvWb5fujwDUP
    • Use an opening tool to remove the back panel.

    • Work your way around the edge of the device to undo the clips and avoid breaking the back case.

    Red grill is a part of it back cover.

    TopSgt -

  7. KY5oZXS4QYhnaVZQ
    KY5oZXS4QYhnaVZQ
    MpRLuHhBbCsfMxDs
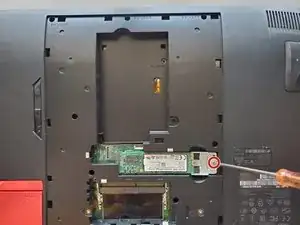
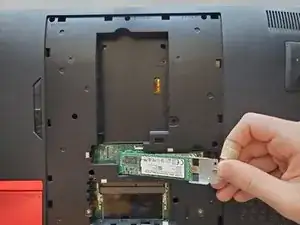
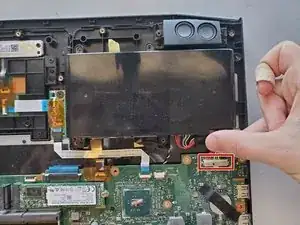
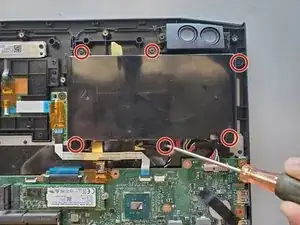
    • Unplug the battery connector from the motherboard. Pull the cable away from the connector in the same direction that the individual wires are running.

    • Pull evenly on the full width of the cable so that no individual wires are overly strained.

    • This cable is wide and comes out easily. If it gives you too much resistance, reset your grip and make sure you are pulling straight out of the socket.

  8. uDqeywJKnDQLg4QH
    uDqeywJKnDQLg4QH
    sKqb6IuROElYveCA
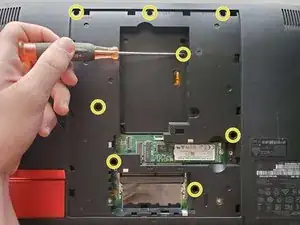
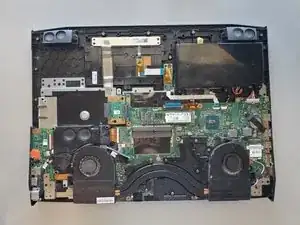
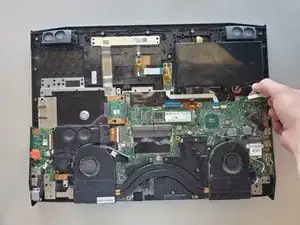
    • Remove the six 4 mm Phillips #0 screws from the perimeter of the battery.

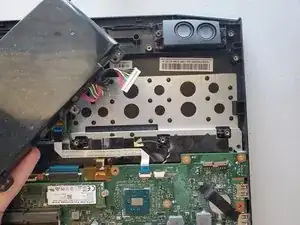
    • Lift the battery out of the device.

    • Now replace your old battery with a new one!

Conclusion

To reassemble your device, follow these instructions in reverse order.

Timothy Cooper

Member since: 23/09/23

205 Reputation

0 comments