
Introduction
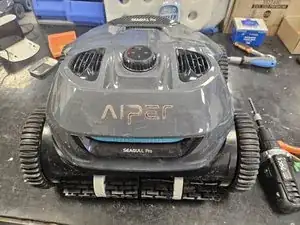
A guide on how to replace the button's bearing on the cordless robotic pool cleaner Aiper Seagull Pro.
You might want to consider replacing it if the button is getting stuck or is hard to rotate.
In most cases, you do not have to replace the ball bearing, and just cleaning it and adding a bit of metal lubricant is enough.
In newer Aiper Seagull Pro iterations, this issue was done away by using a plastic ball bearing instead of a metal one. In older iterations this issue usually happened due to rust.
Tools
-
-
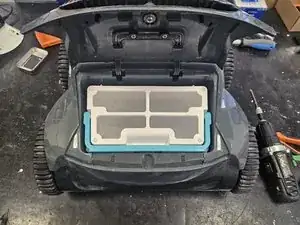
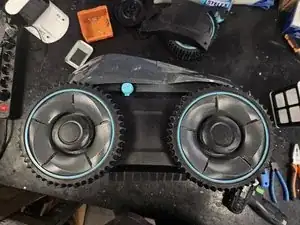
Put it on its side, then pry off the black plastic cap from the wheels.
-
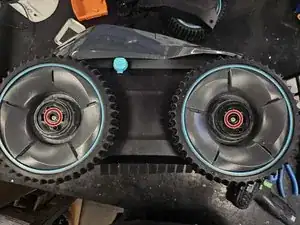
Once the cap is removed, remove the screw.
-
Then remove the wheels.
-
-
-
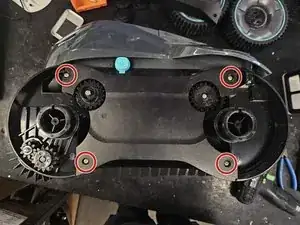
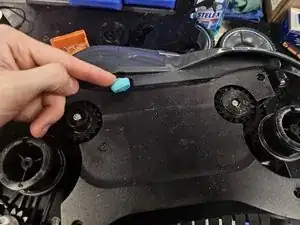
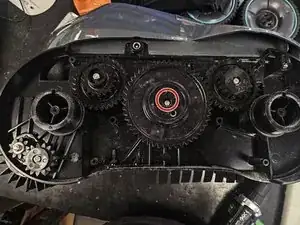
Remove the screws, then remove the plastic cover.
-
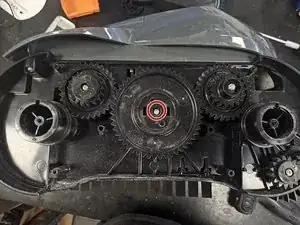
Remove the screw from the middle cog, then remove the cog.
-
-
-
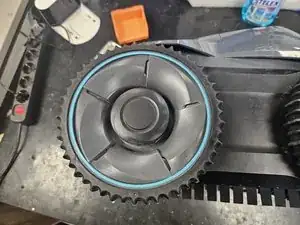
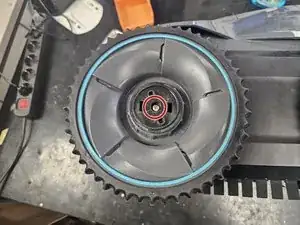
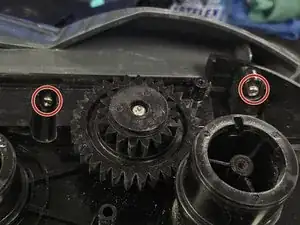
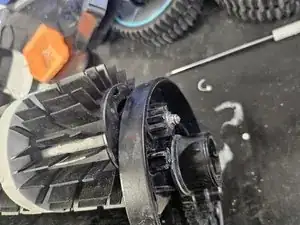
Remove the screw holding the side cog in place.
-
Use some leverage to remove the cog. It usually gets stuck in place due to limescale buildup.
-
Flip it on its back.
-
-
-
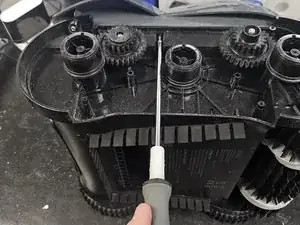
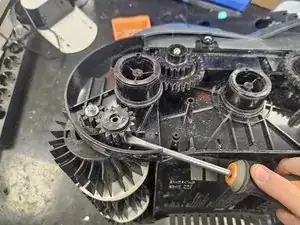
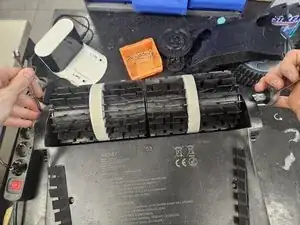
Use 2x 7mm wrenches to loosen the bolts on the rod going through the front brushes.
-
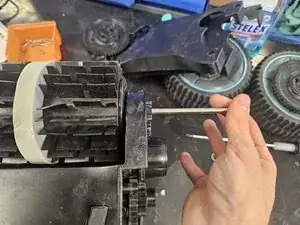
Remove the rod.
-
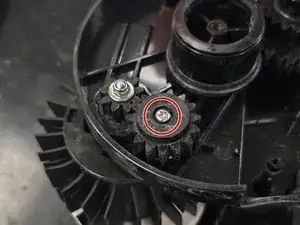
On the side that you removed the other cog, remove the now removable cog.
-
-
-
Remove the brushes by tilting them up on one side, then pulling them off.
-
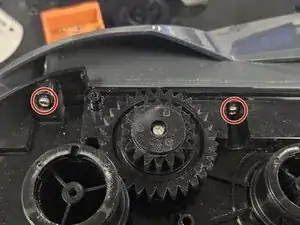
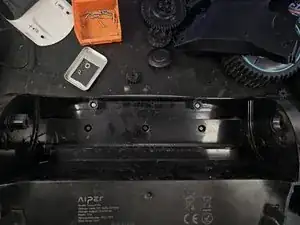
Remove the 2 screws that were covered by the brushes.
-
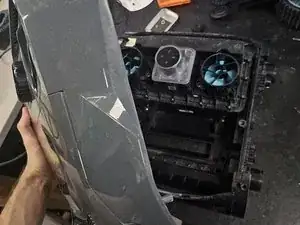
Remove the top half of the chassis.
-
-
-
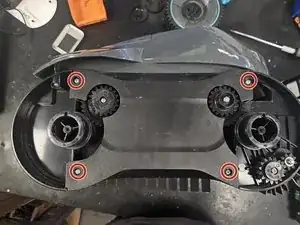
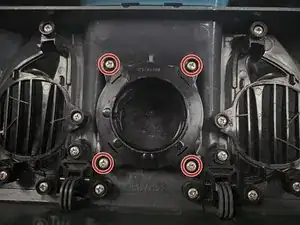
Remove the 4 screws, then remove the button assembly.
-
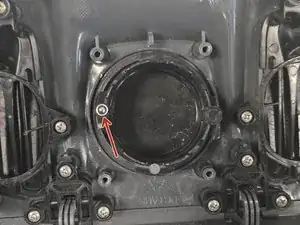
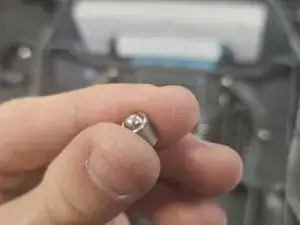
Remove the ball bearing.
-
Either thoroughly clean it or replace it.
-


To reassemble your device, follow these instructions in reverse order.
One comment
Hello,
By myself, i havn't seen the 2 screws hidden by the main large cog to remove the chassis top. Thanks for your clear explanations.
My problem is the power charge connector, corroded by the salted water (4g/L), since somebody forgot to re-install the cap of the plug. Further more, this somedy connected the charger after sweeping the pool. Result : Male and female connectors corroded... and no more electrical link. I correct with an ultrasonic bath, F2 fluid, (old) toothbrush and small grain abrasive paper.
Care, the connector dimensions are rare and almost impossible to find, or else much too expensive, it seems to be 6,5mm outer, and 3,4mm center pin. This exists, but very difficult to find. I'll probably change the couple by a true waterproof connection device..
Hope this helps ...