Introduction
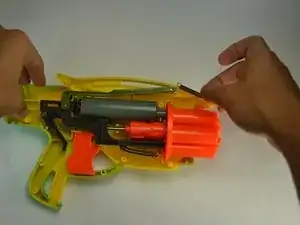
When it comes to maintaining the performance of your Air Blasters Tek Six, ensuring that all components are in optimal condition is essential. One critical part that often requires attention is the reload slider spring. Over time, this spring can wear out or lose its tension, affecting the blaster's functionality. In this guide, we will walk you through the steps to replace the reload slider spring, helping you restore your blaster to its peak performance. Whether you're a seasoned enthusiast or new to air blasters, this detailed tutorial will make the replacement process straightforward and easy to follow.
The aim of this guide is to provide you with a clear, step-by-step process for replacing the reload slider spring in your Air Blasters Tek Six. By the end of this tutorial, you will be able to confidently replace the spring, ensuring your blaster operates smoothly and efficiently. This guide is intended for individuals with a basic understanding of air blasters, including hobbyists and enthusiasts.
These instructions are designed to be quick and easy, taking about 20 minutes to complete. For best results, perform the replacement in a sunny, well-lit area, preferably outdoors. Following these instructions will save you time and effort, providing a straightforward solution without requiring complex tools or calculations.
Before you begin, gather the following items:
- A replacement reload slider spring
- A small screwdriver set
- A pair of pliers
By following this guide, you'll be able to maintain your Air Blasters Tek Six with ease, ensuring it remains in top condition for all your air blaster activities.
-
-
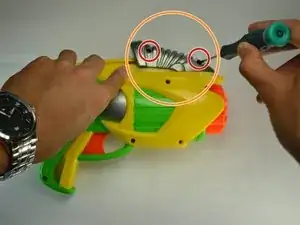
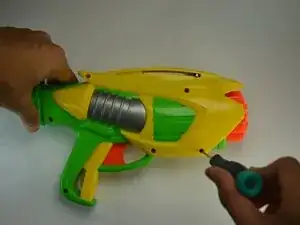
Using a Phillips #00 screwdriver, remove the two 11.6 mm screws that hold the grey slider together
-
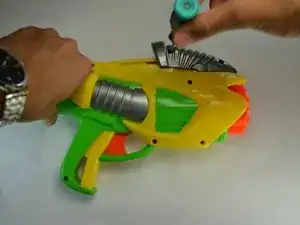
Remove grey slider from the main body of the blaster.
-
-
-
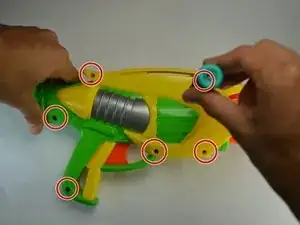
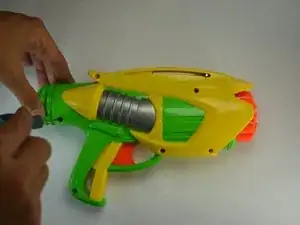
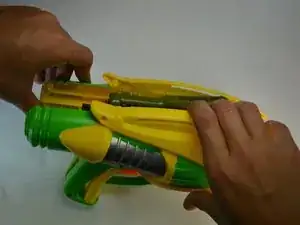
Using the plastic opening tools, carefully separate the main case of the blaster to expose the inside.
-
-
-
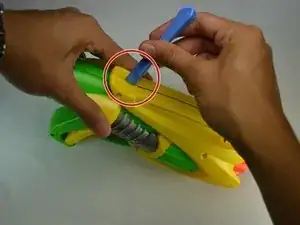
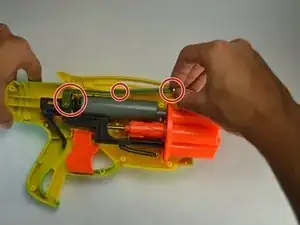
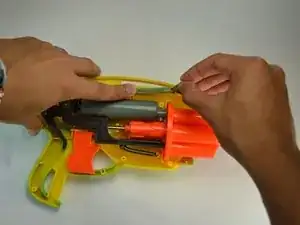
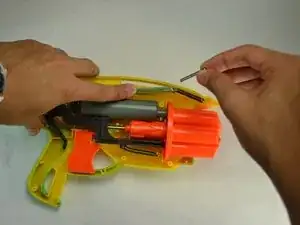
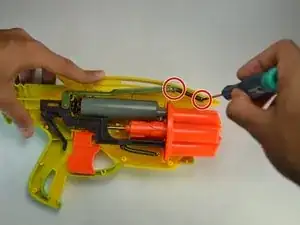
Carefully grab the metal pin keeping the air system and top spring, and slide it outwards. This will release the air system with the plunger completely.
-
-
-
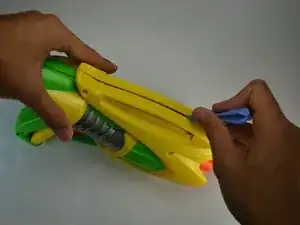
Using a Phillips #00 screwdriver, remove the 7.5 mm Phillips #00 screw holding the top spring to the reload slider.
-


To reassemble your device, follow these instructions in reverse order.