
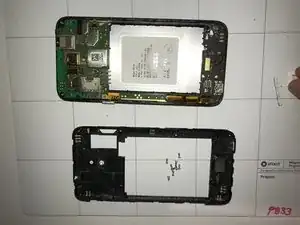
Introduction
The guide on replacing motherboard is required before this guide. A faulty rare camera will not produce the ideal photo, and may not even be able to take a photo at all. If your Alcatel OneTouch Elevate’s rear camera is not functioning properly, this easy to follow guide will walk you through each step. Replacing the rear camera can improve issues like blurry or distorted images, or failure to capture photos. Replacing the camera is fairly straightforward, and does not require any special skills. Before beginning, make sure to power off your device and disconnect it from any power source.
Parts
-
-
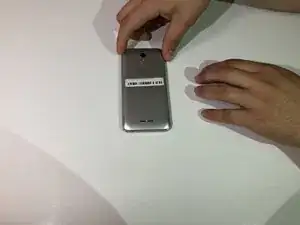
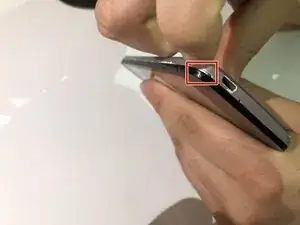
Locate the small indent on the lower left corner.
-
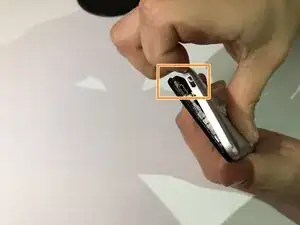
Use your fingers or a small plastic opening tool to lift the back cover off.
-
-
-
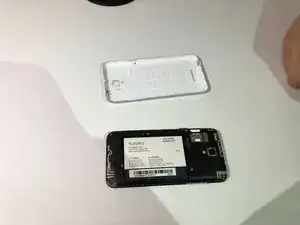
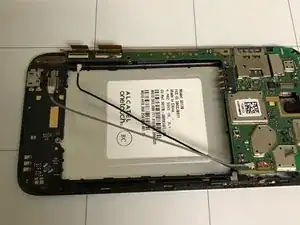
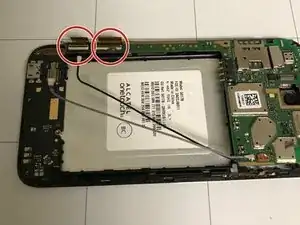
Locate the indent between the battery and your phone.
-
Use your finger or a small plastic opening tool to lift the battery free.
-
-
-
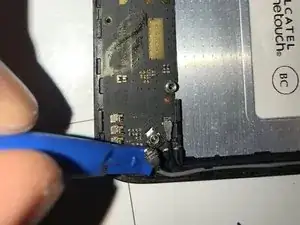
Remove the volume and power button using your prying tool.
-
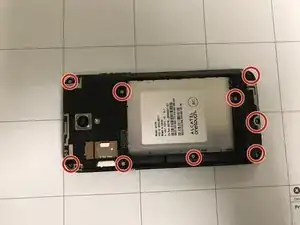
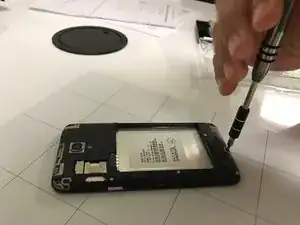
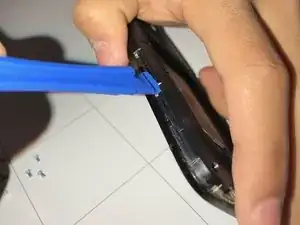
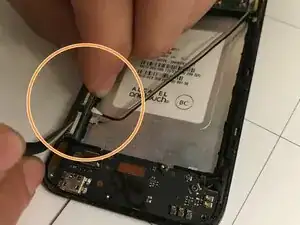
Go underneath the bronze plate with your prying tool and carefully pry it off.
-
-
-
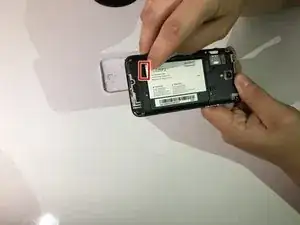
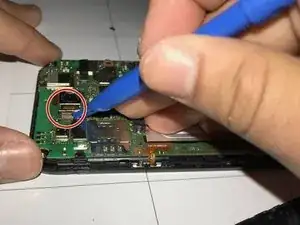
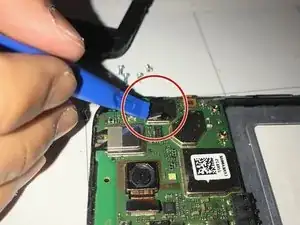
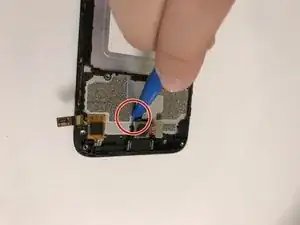
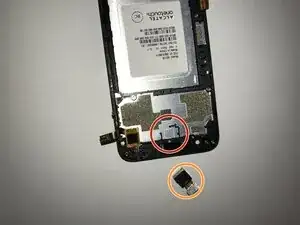
Find the camera and look for one of the corner where there is no border around the camera. (Red circle)
-
-
-
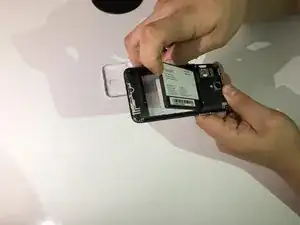
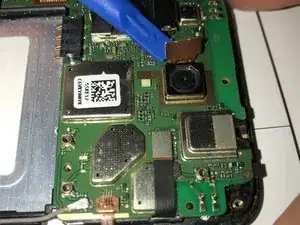
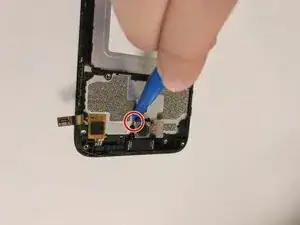
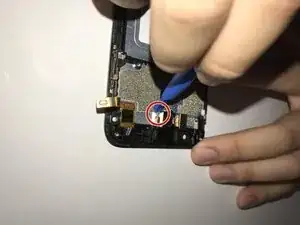
Gently put the opening tool head as close as possible to the edge, where the camera and the phone stick.
-
-
-
Put the old camera out and replace with the replacement.
-
Gently press on the camera and wait for it to stick back to the phone.
-


To reassemble your device, follow these instructions in reverse order.