Introduction
-
-
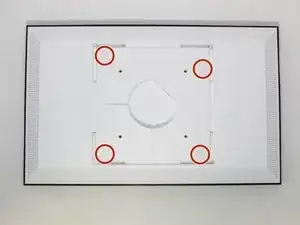
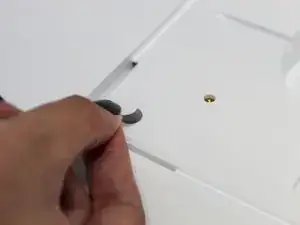
Remove the four white stickers on your device's back panel.
-
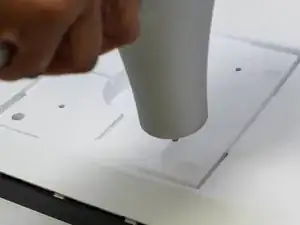
Due to the strong adhesive supporting the stickers, we recommend heating them up to make removal easier.
-
-
-
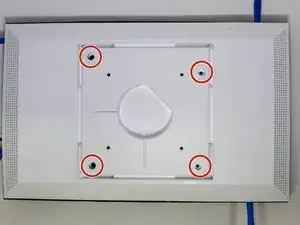
Unscrew the four 50 mm screws with a T3 Torx screwdriver.
-
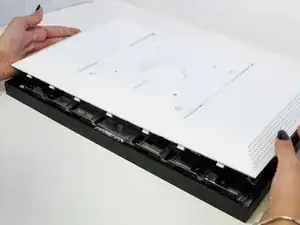
Pop the sides and remove the back panel of the device.
-
-
-
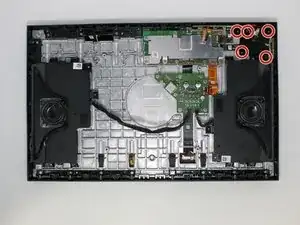
Remove the five 2 mm screws with a Torx T5 screwdriver.
-
Remove the two 5 mm with a Torx T3 screwdriver.
-
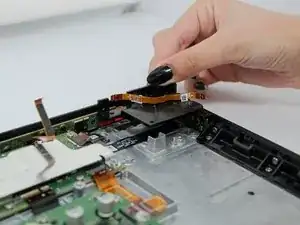
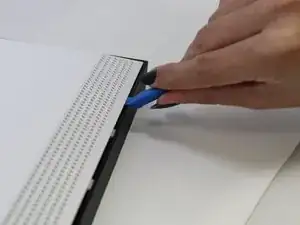
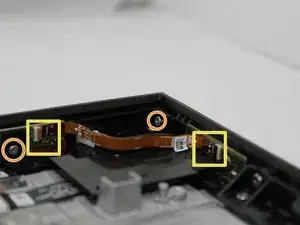
Remove both ends of the connector from the main device.
-
Remove the black panel.
-

Conclusion
To reassemble your device, follow these instructions in reverse order.