Introduction

The speakers on your Echo Show provide you with Alexa's voice responses, music, and more, so it's important that they are working properly at all times. If your speakers don't sound like they should, then follow this guide to replace them.

  1. 2ijjSiCpWkvNFx6I
    2ijjSiCpWkvNFx6I
    BB2uNYwLgXVXSgfC
    ltcsbLaACISyxycK
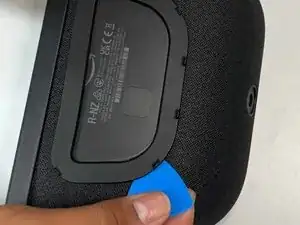
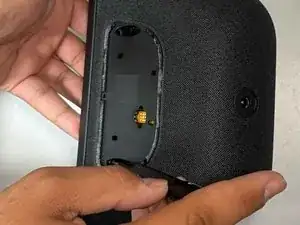
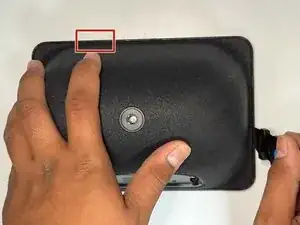
    • Use a prying tool to remove the rubber foot at the bottom.

    • It is secured with adhesive and will lift off with some gentle prying.

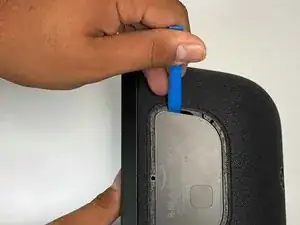
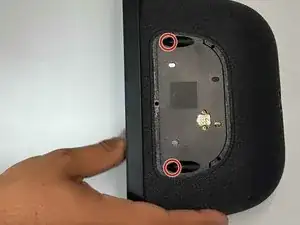
    • Use an opening pick to remove the screw cover.

  2. XOMmduJYvG4jJhos
    XOMmduJYvG4jJhos
    6cb6OXRVoPpb6YrQ
    • Use a Torx TR8 screwdriver to remove the two 2 cm screws.

  3. NhAObttuBjMKRRqI
    NhAObttuBjMKRRqI
    KQWDuDJgCqHRwPSF
    • Insert a jimmy in the gap between the display and chassis.

    • Pry around the perimeter until the back case releases.

    • Be careful as to not damage the ribbon cable on the top left area of the screen.

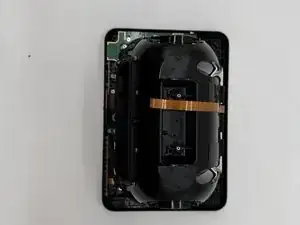
    • Remove the back case.

  4. hQyfTH5VccRufPOO
    hQyfTH5VccRufPOO
    IaLUhESaVLgEPeJt
    4TUPGweXVGJyefVn
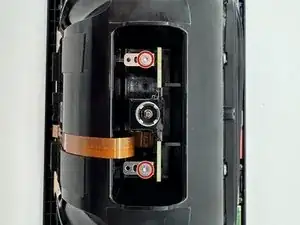
    • Use a Torx TR6 screwdriver to remove the two 5 mm screws that secure the power board.

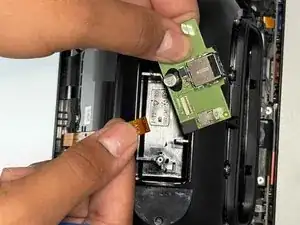
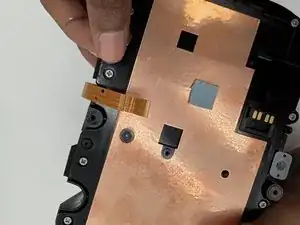
    • Carefully lift the board without straining the ribbon cable.

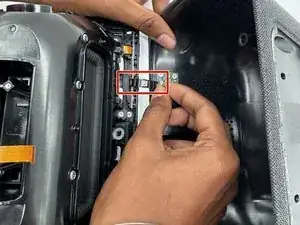
    • Using an opening tool, carefully flip up the black ZIF locking flap that secures the ribbon cable.

    • Disconnect the ribbon cable.

  5. sXGWYusAdWKFPTbr
    sXGWYusAdWKFPTbr
    jAb5s2sviIfNohMN
    AORh5f56jEZyZIEY
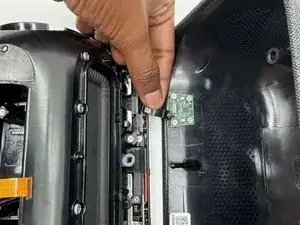
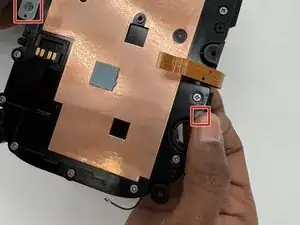
    • Gently tilt the shell towards the top of the device and disconnect the ribbon cable from the board on the case.

    • Don't tilt the cable too much as you can damage the ribbon or the connector.

  6. i2MlBXfoKYYBP3X3
    i2MlBXfoKYYBP3X3
    GCXWFdbApnQGCgcE
    JhIbTgMVePbXpAWk
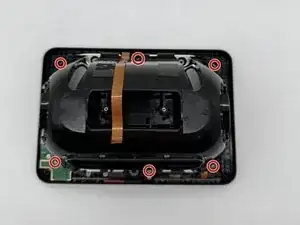
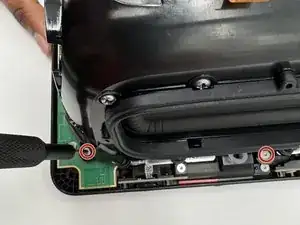
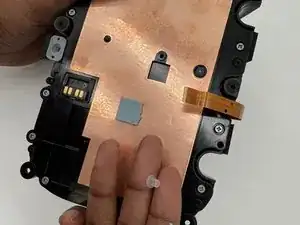
    • Use a TR6 screwdriver to remove the six 7mm screws located around the speaker assembly.

    • Gently tilt the speaker assembly towards the ribbon cable.

    • The ribbon cable is fragile and can be damaged if moved any other way.

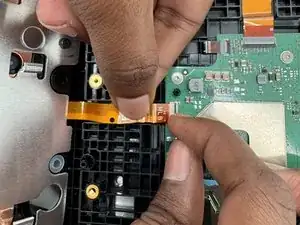
    • Flip open the black tab on the connector towards the cable and gently pull.

    • Don't use too much force pulling up on the tab, as it can break and the cable will no longer be properly connected.

  7. qthLDDYvaESoAn5d
    qthLDDYvaESoAn5d
    A1PJ4UFHuhnNK2gM
    dmv5RtYUEMhMVgOM
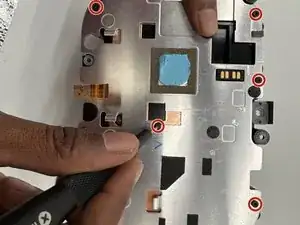
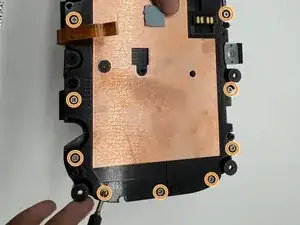
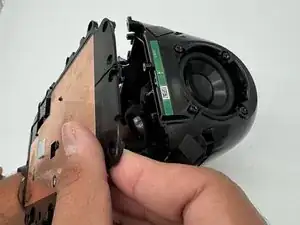
    • Use a TR6 Torx screwdriver to remove the eight 9 mm screws holding the metal bracket.

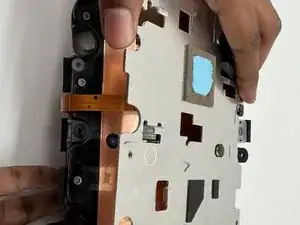
    • Gently lift off the metal bracket.

  8. sioUiLnhm5OslpVH
    sioUiLnhm5OslpVH
    CDEshZQaVCG1r2k2
    ucQRlgLTsAXBghTb
    • Remove the 2 rubber stoppers.

    • Remove all 14 screws with a Phillips #1 screwdriver.

  9. AmHOipHEVSAasJgu
    AmHOipHEVSAasJgu
    F4AgGZi1RUwaBiDI
    jRMQlEVFTvWVqtf6
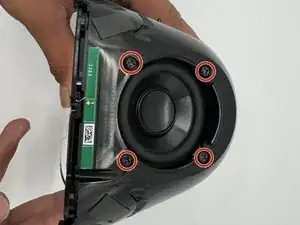
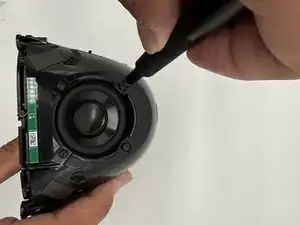
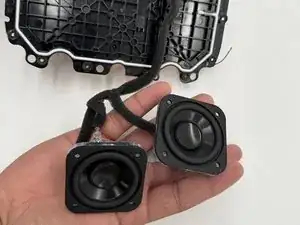
    • Use a Phillips #1 screwdriver to remove the four 1.3 cm screws holding down each driver.

    • Gently pull the plastic plate towards the antenna cable.

    • There is a small antenna cable that is easy to rip off the solder joint, so lift carefully.

    • There are 8 screws on the long side of the housing, but there is no driver behind it, so you don't need to remove them.

  10. JvynA2rIoTXHZJKH
    JvynA2rIoTXHZJKH
    WWt6ThA5OBFDoq3M
    • Pry the speakers from the housing with a spudger.

    • The speakers are connected to a spring-loaded pin connector which is attached to the black plastic using industrial hot glue, so while you can heat the glue to remove it, the plastic may melt and/or deform, so we wouldn't recommend it.

Conclusion

To reassemble your device, follow the above steps in reverse order.
Take your e-waste to an R2 or e-Stewards certified recycler.
Repair didn’t go as planned? Try some basic troubleshooting.

Venkat Reddy Kammala

Member since: 28/08/24

589 Reputation

0 comments