Introduction
If your Amazon Fire HD 8 12th Generation is experiencing accelerated battery drainage, prolonged charging times, or failure to charge altogether, you may need to replace the battery. You can resolve this issue by replacing the faulty battery with a new and fully functional one.
The battery in the Amazon Fire HD 8 12th generation typically provides a 13-hour lifespan before requiring recharging, featuring a 4750 mAh Lithium Polymer composition. It serves as the primary power source for all the device's functions and capabilities. Without a properly functioning battery, the device will not operate. Under normal usage conditions, your device's battery should last approximately 13 hours, with a charging time of around 5 hours for a full recharge.
Before initiating the battery replacement process, ensure your device is powered off, disconnected from any power supply, and detach the battery from the motherboard. This procedure requires tools such as spudgers, opening picks, and adhesive for securing the new battery in place.
-
-
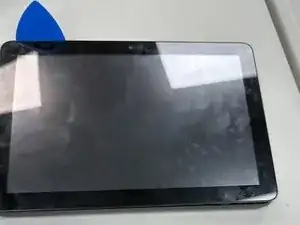
Insert an opening pick into the seam between the rear case and the screen assembly.
-
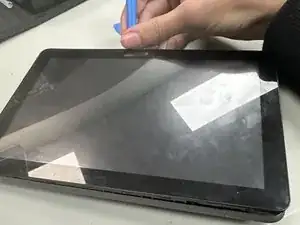
Slide the opening pick around the perimeter, prying periodically, until the screen assembly begins to release.
-
Insert an opening tool into the gap you created, and continue to pry periodically around the entire perimeter until the screen assembly fully releases.
-
-
-
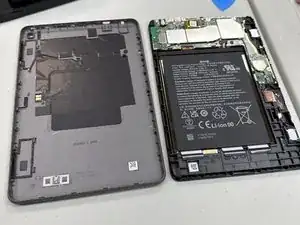
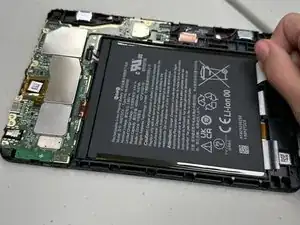
Gently and slowly grip and pull the three white adhesive tabs that secure the battery until they fully release.
-
-
-
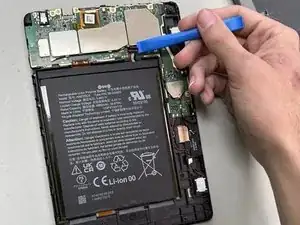
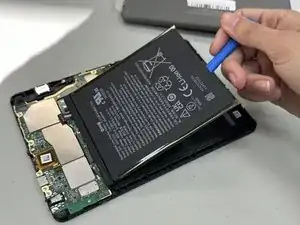
Gently pry around the entire perimeter of the battery with an opening tool until the adhesive releases.
-
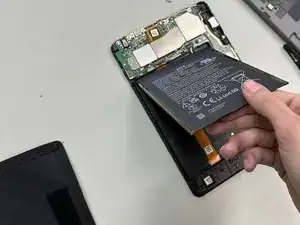
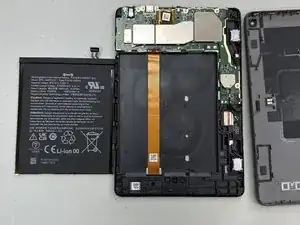
Remove the battery.
-
To reassemble your device, follow these instructions in reverse order. Make sure you have a applied a adhesive for the new battery to make sure it stays in place.