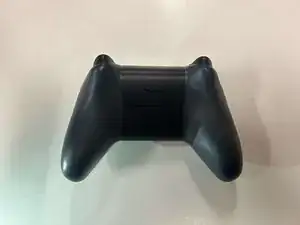
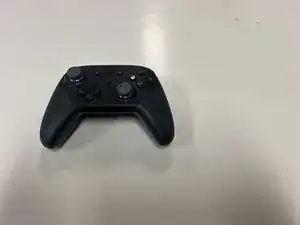
Introduction
If the joystick thumbstick on your Amazon Luna Controller is worn out, unresponsive, or dirty, it can hinder your gaming experience and impact control precision. Replacing or cleaning the thumbstick is a simple process that requires minimal technical expertise. This guide will walk you through the steps to safely remove and replace the thumbstick, ensuring your controller performs optimally.
-
-
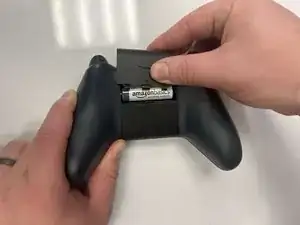
Locate the latch on the back panel.
-
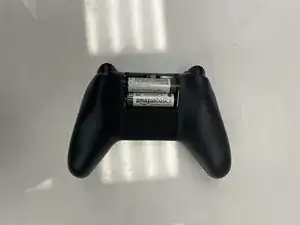
Pull down gently to open the compartment and expose the battery slots.
-
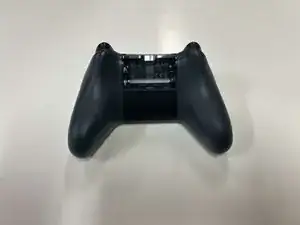
Remove batteries.
-
-
-
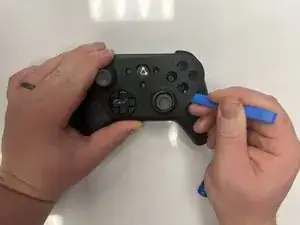
Flip the controller over to its front and locate the seam where the front plate connects to the rest of the body.
-
-
-
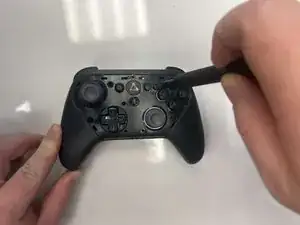
Hold the controller firmly.
-
Insert the thin edge of an iFixit opening tool into the seam at the edge of the front plate close to the A button.
-
Work slowly and carefully around all sides to avoid snapping the clips.
-
-
-
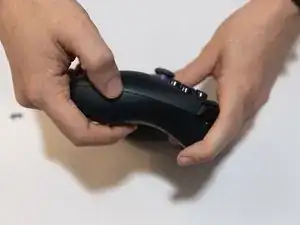
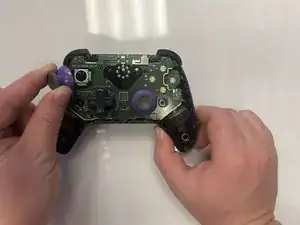
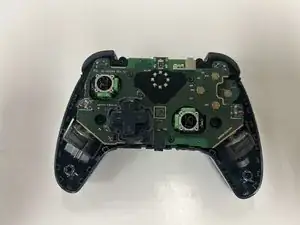
Gently pry along the seam that separates the two halves of the controller using an opening tool.
-
Work your way around the perimeter to carefully release the clips securing the two halves.
-
-
-
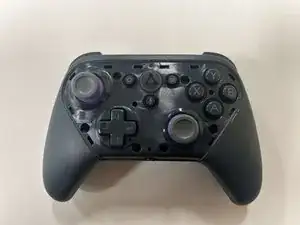
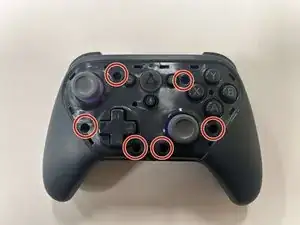
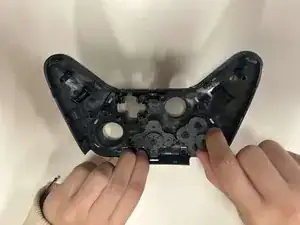
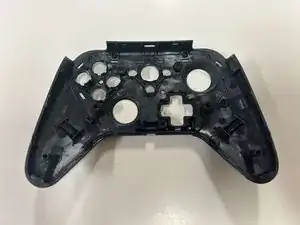
Lay the front of the controller shell downward.
-
Remove the rubber padding that keeps the buttons in place.
-
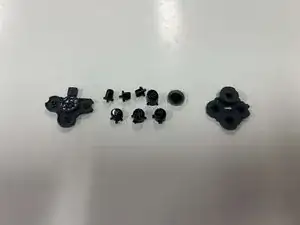
Remove the buttons from the shell housing.
-


To reassemble your device, follow these instructions in reverse order.