Introduction
The screen in the Anbernic RG35xx is responsible for displaying games/software. If your screen isn't functioning properly, this guide demonstrates how to replace your screen.
-
-
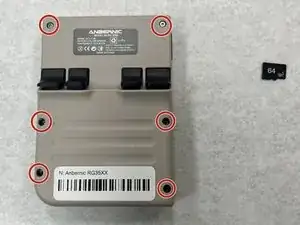
Remove the SD card located on the right side of the device by pushing into the SD card slot and pulling the card out.
-
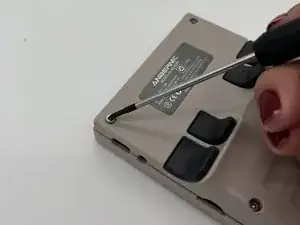
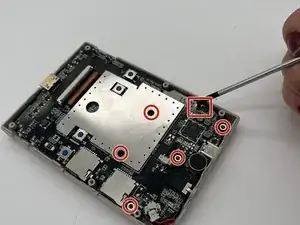
Remove the six 1.2 mm screws that secure the back case with a 2.5 Hex Bit screwdriver.
-
-
-
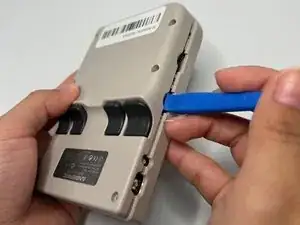
Insert an opening tool into the MicroSD card slot and twist it clockwise to begin releasing the rear case.
-
Pry around the entire perimeter until the rear case fully releases.
-
Remove the rear case.
-
-
-
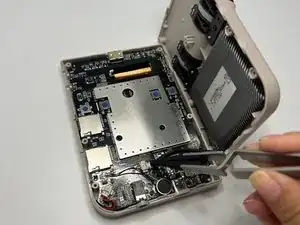
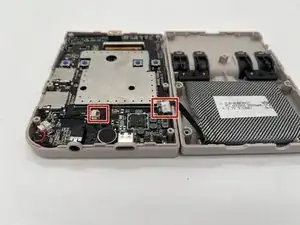
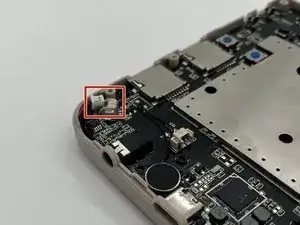
Disconnect the red audio cable from its motherboard port by carefully pulling the connector with your index finger and thumb or with fine tip tweezers.
-
-
-
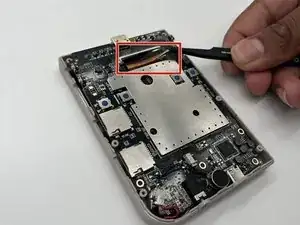
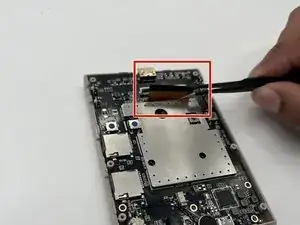
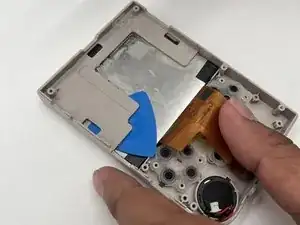
Flip up the black ZIF locking flap that secures the bronze ribbon cable.
-
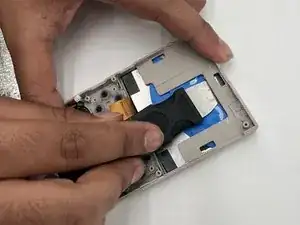
Gently disconnect the bronze ribbon cable.
-
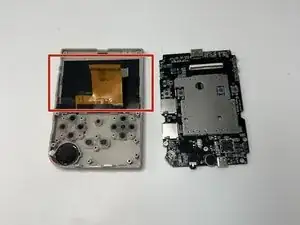
Lift the motherboard up and out the chassis.
-
-
-
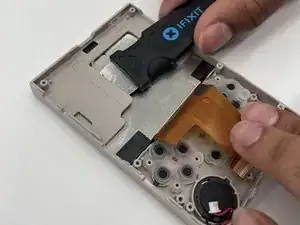
Use a hair dryer to gently heat the rear of the screen until it's almost too hot to touch.
-
Insert a jimmy between the screen and plastic bracket. Once a slim gap is opened, insert an opening pick between the plastic bracket and rear screen.
-
Continue to insert opening picks around the entire perimeter of the screen as you pry to avoid the adhesive from reengaging.
-
Once the screen fully releases, remove it.
-

To reassemble your device, follow the above steps in reverse order.
Take your e-waste to an R2 or e-Stewards certified recycler.
Repair didn’t go as planned? Try some basic troubleshooting or ask our Answers community for help.