Introduction
Replacing the battery in an Anker Soundcore Motion Boom A3118 speaker can rejuvenate its performance when the original battery fails to hold a charge. Working in a static-free environment is essential to avoid damaging the internals. Proper disconnection and reconnection of the battery are crucial for a successful replacement.
-
-
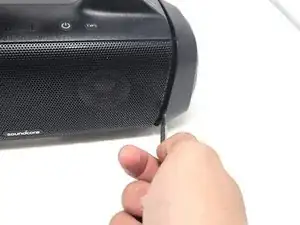
Use the metal spudger to remove the left and right shells surrounding the subwoofer.
-
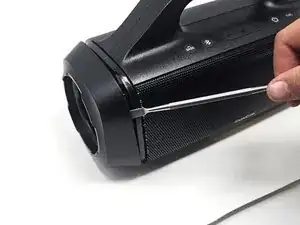
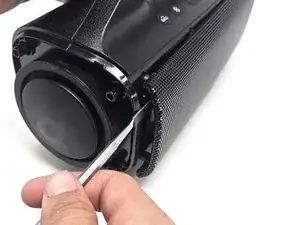
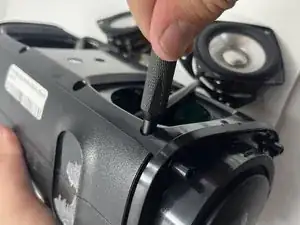
Use the metal spudger to remove the front speaker grille.
-
-
-
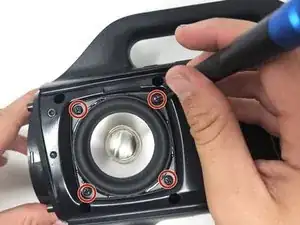
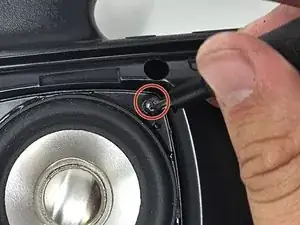
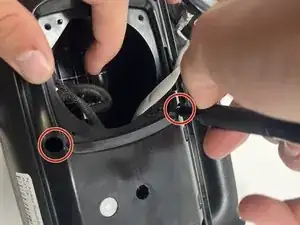
Remove eight 15 mm screws located in the four corners of each front speaker using a Phillips #1 screwdriver.
-
-
-
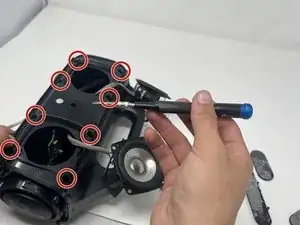
Remove all eight internal 15 mm screws from around the front speakers using a Phillips #1 screwdriver.
-
-
-
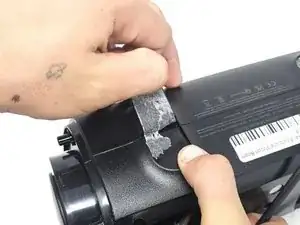
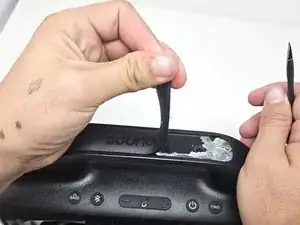
Tear off the padding on the top of the speaker with your hands.
-
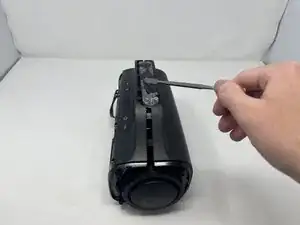
Remove the three 15 mm screws located on the top of the speaker using a Phillips #1 screwdriver.
-
-
-
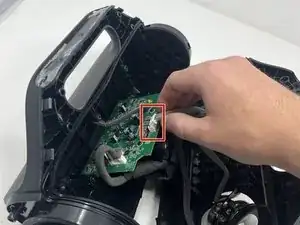
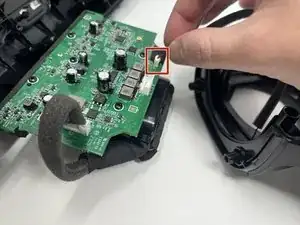
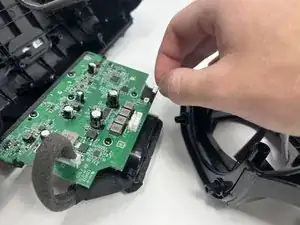
Disconnect the speaker's white power cord from the motherboard.
-
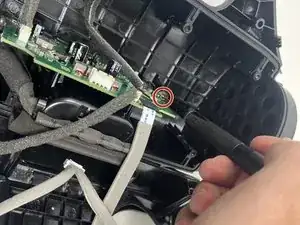
Disconnect the rest of the cords connected to the motherboard.
-
-
-
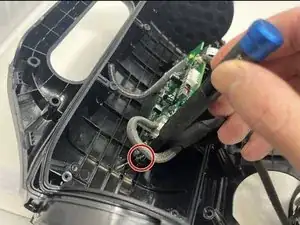
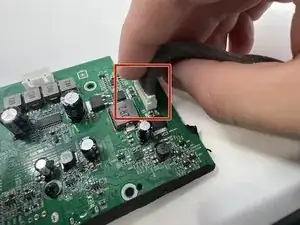
Remove the three 15 mm screws using a Phillips #1 screwdriver from the bottom left and right sides of the motherboard.
-
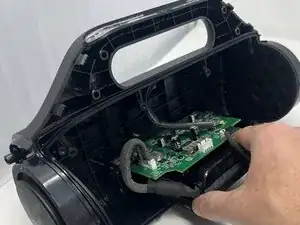
Remove the entire motherboard from the speaker.
-
-
-
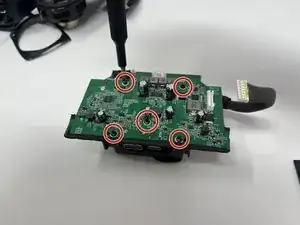
Remove the five 10 mm screws from the motherboard using a Phillips #0 screwdriver.
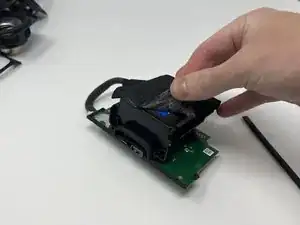
-
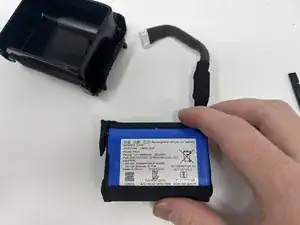
Separate the battery from the motherboard.
-
-
-
Tear off the sticky padding from the battery.
-
The battery is now free and able to be replaced.
-


To reassemble your device, follow these instructions in reverse order.