Introduction
Replacing the button board in an Anker Soundcore Motion Boom A3118 requires careful disassembly and some basic technical skills. This step-by-step guide will walk you through the entire process, from removing the speaker's outer casing to installing the new circuit board. Follow these instructions closely to avoid damaging any components and ensure the speaker is fully functional after the replacement. With patience and attention to detail, you can restore your Soundcore Motion Boom to working condition.
-
-
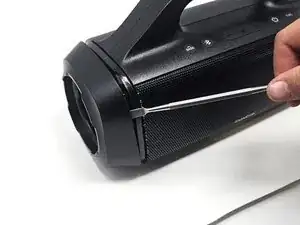
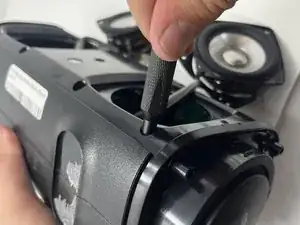
Use the metal spudger to remove the left and right shells surrounding the subwoofer.
-
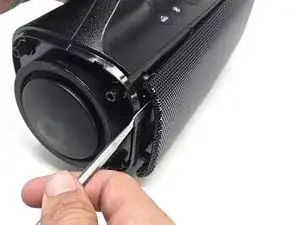
Use the metal spudger to remove the front speaker grille.
-
-
-
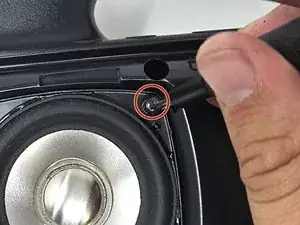
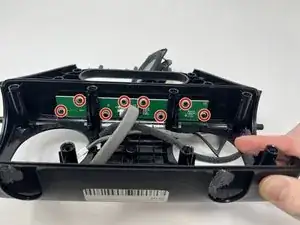
Remove eight 15 mm screws located in the four corners of each front speaker using a Phillips #1 screwdriver.
-
-
-
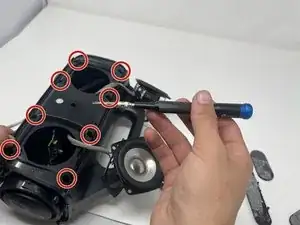
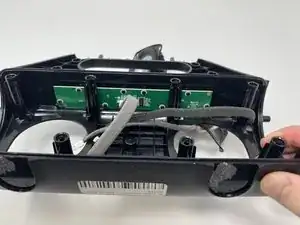
Remove all eight internal 15 mm screws from around the front speakers using a Phillips #1 screwdriver.
-
-
-
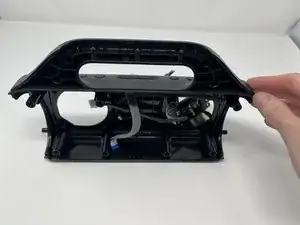
Tear off the padding on the top of the speaker with your hands.
-
Remove the three 15 mm screws located on the top of the speaker using a Phillips #1 screwdriver.
-
-
-
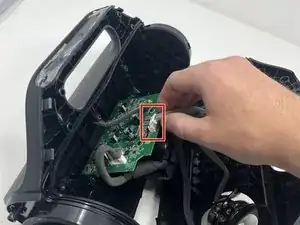
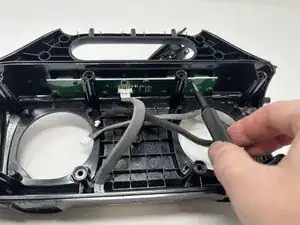
Disconnect the speaker's white power cord from the motherboard.
-
Disconnect the rest of the cords connected to the motherboard.
-
-
-
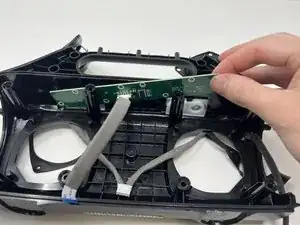
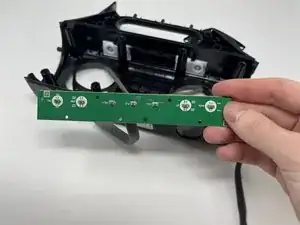
Orient your unit so that you can see the button board which is directly under the unit's handle.
-


To reassemble your device, follow these instructions in reverse order.