Introduction
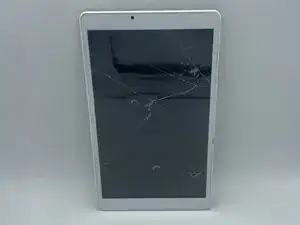
This guide replaces Aoson R103 Speakers, which will require soldering. This guide can be used to fix distorted or broken audio and will require you to dismantle and redo electrical connections.
Be sure to disconnect the power from the battery to ensure you do not damage the device or injur yourself via electric shock. Exercise caution while soldering so that you do not burn anything.
-
-
Turn off the device using the power button.
-
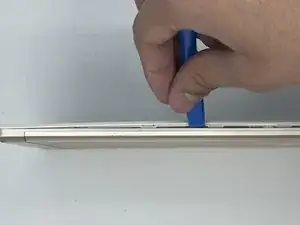
Using fingernails/a pry tool, separate the back panel of the device. This may require some force, as they are connected by push tabs.
-
-
-
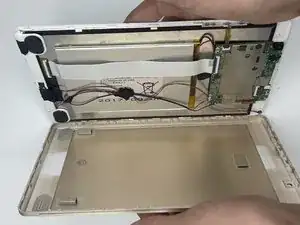
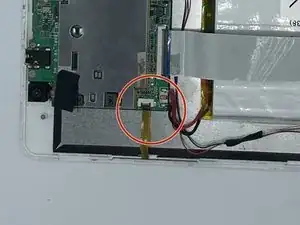
Use your fingers to unclip the ribbon connector and then pull the ribbon out of the connector.
-
This ribbon connects the power button and stops the device from turning on.
-
-
-
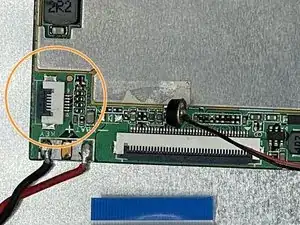
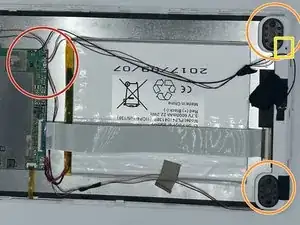
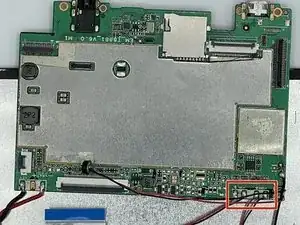
These are the motherboard connections to the speaker, which will be needed later.
-
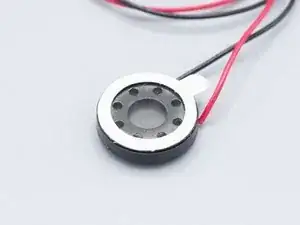
These are the two speakers, which are attached to a plastic piece via a screw.
-
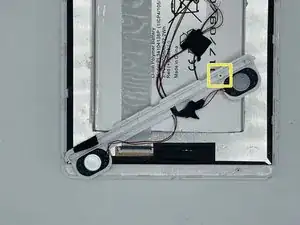
Remove the 4.0mm long Phillips #00 screw where the plastic disconnects.
-
-
-
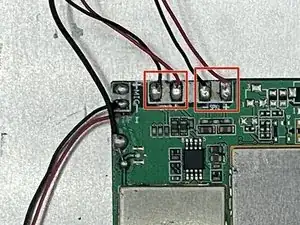
The box contains the four (4) soldering connections for the two speakers. Desolder the old speakers and solder the new speakers in.
-
To reassemble your device, follow these instructions in reverse order.