Introduction
This guide provides instructions for removing the trackpad on your Apple Powerbook 5300 so it can be replaced.
The trackpad is used to control the cursor on the computer with your fingers so you can interact with websites and applications.
This guide may be necessary if your trackpad is not working properly or is unresponsive to your touch.
Before replacing the trackpad, restart the computer then check the cables and connections. Check out the Apple Powerbook 5300 Troubleshooting page for more troubleshooting details. Be sure to power down the device before beginning this guide and disconnect from the charging cable.
Tools
-
-
To begin this repair process first position the Powerbook towards you with the monitor closed, also make sure the laptop is away from anything that can cause a fire, self harm, etc.
-
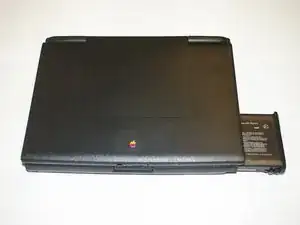
Press the battery removal latch located on the right side of the front panel.
-
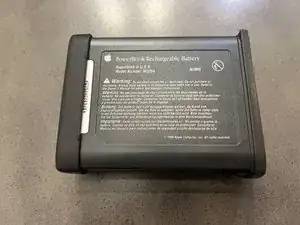
Gently slide the battery out. Make sure you place the battery in a safe place where it can also be easily accesible
-
-
-
For the next step you are to grab the TR8 Torx Security Screwdriver
-
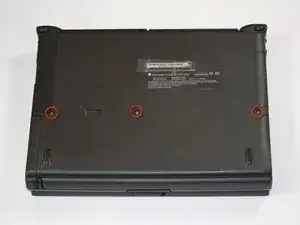
Once you have the screwdriver turn the laptop over and look for three T8 torx screws that should be located near the bottom panel of the device.
-
Once located, begin unscrewing and place screws in a comfortable space where they are easily accesible
-
-
-
Once the screws are off carefully turn the laptop over, make sure the monitor of the device is facing you
-
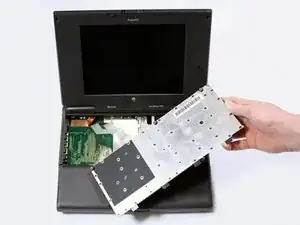
With the monitor facing towards you, gently pull up on the keyboard panel from the bottom.
-
With the keyboard turned over as pictured, carefully remove its ribbon cable from the connection port on the logic board. Use the spudger tool to lift the white plastic retainer about 1/16" to release the cable.
-
-
-
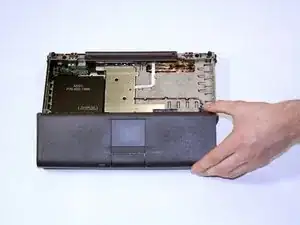
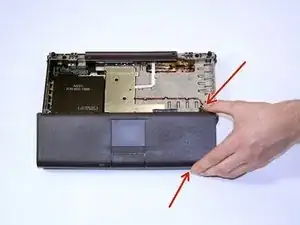
To begin, carefully grip the bottom portion of the computer as pictured.
-
Next, lift up on the front portion of the laptop.
-
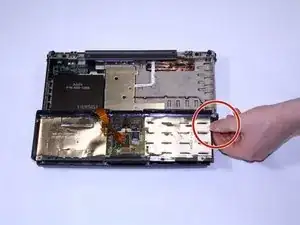
Carefully disconnect it by grasping the cable, pulling straight up and out of its connector.
-
-
-
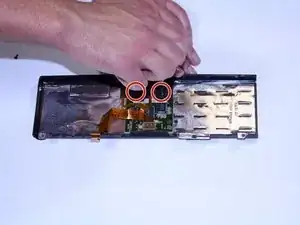
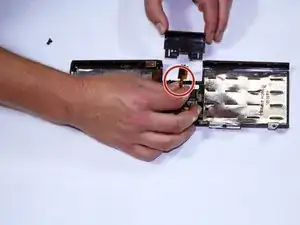
While holding the mouse button in place, unscrew the two screws using the TR8 Torx Security Screwdriver.
-
Now carefully slide the button out, while doing this make sure you are maintaining hold of the cable as pictured.
-
-
-
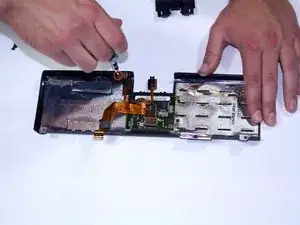
Unscrew the last torx #8 screw holding the trackpad assembly in place.
-
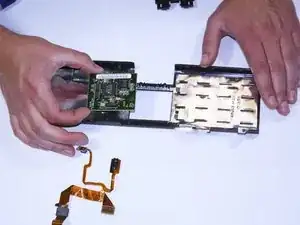
Disconnect all ribbon cables from their connectors.
-
To reassemble your device, follow these instructions in reverse order.
