Introduction

  1. nmgoFb2SHSpxMJLX
    nmgoFb2SHSpxMJLX
    UlR1wFKkXlAWtPOG
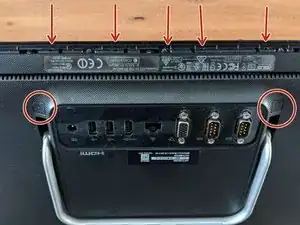
    • Remove screws at the circles

    • Remove gum strap and screw 5 screws out

    • Use a big screwdriver or some plastic to softly open the entire case around, starting at one down corner where your removed the screws before. The plastic clips will click a little. Don't be to hard.

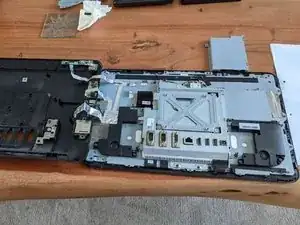
    • Then you can lay the back next to the front, see second picture.

  2. StW4ObK6SOoeGmu3
    StW4ObK6SOoeGmu3
    JjjomvD4IBOTcv6E
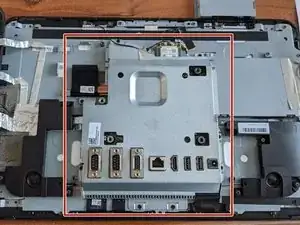
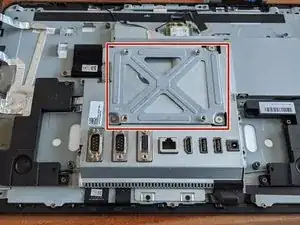
    • Remove VESA mount by 4 screws

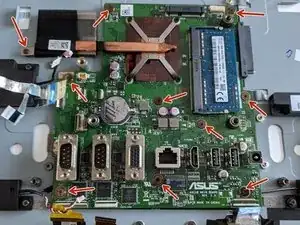
    • Remove mainboard blend by 9 screws afterwards.

  3. XAOs5lMiPqOQxZGN
    XAOs5lMiPqOQxZGN
    AbhPWETuHl2ZF1Or
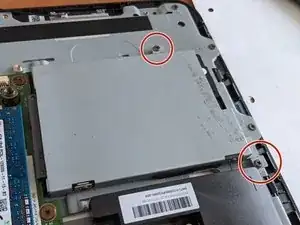
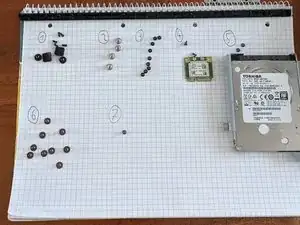
    • You can now replace harddrive or RAM easily. Remove harddrive to continue mainboard disassembly.

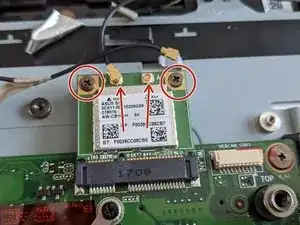
    • Remove WiFi module to continue disassembly. Watch for correct cable connection (they are crossed)

  4. UrKCNZIpGxqrFJAZ
    UrKCNZIpGxqrFJAZ
    2rKvOfStPSV5TPqa
    qQfKQdWeBpZygKNg
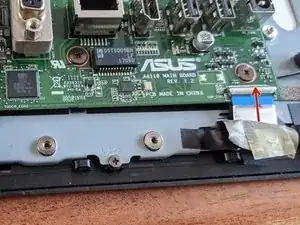
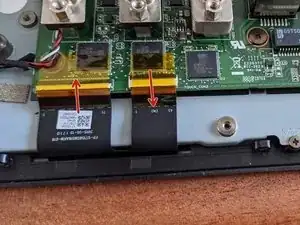
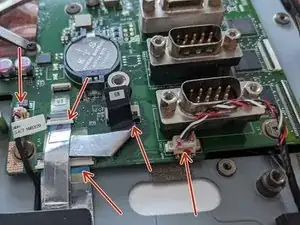
    • Remove display cables by pulling the white plastic clip up from the cable side

    • Pull up the left clip same as the right one from first picture from cable side.

    • Then the touch connector (middle) must be opened from board side up, be patient and watch out for this, else your connector might be broken!

  5. fTb52IkJFXgWV6Kx
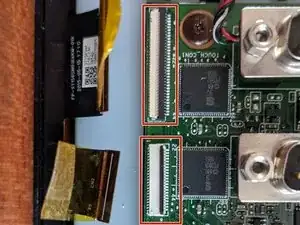
    • This is how the connectors should now look like, see the marked position of the plastic strips.

  6. oJUlUVMaSI4tGqkM
    • Remove further connectors for USB, power, sound and keys.

  7. T1fLYCSHAu6IiiuQ
    T1fLYCSHAu6IiiuQ
    J2ltZrtRVhdYVqNr
    • Now remove 9 screws and the cooling screw to remove the mainboard.

Conclusion

To reassemble your device, follow these instructions in reverse order.

Max

Member since: 03/06/21

175 Reputation

One comment

grazie della spiegazione
Pierluigi Ricco -