Introduction
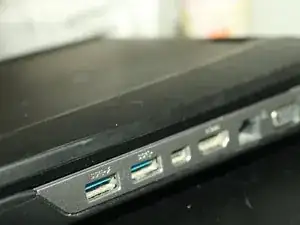
USB ports allow devices to be connected to each other and transfer digital data over USB cables. These ports can turn out to be damaged or worn out over time. This guide provides instructions on how to replace a damaged USB port for an Asus G75VW-BHI7N07.
It is important to note that replacing a USB port can be a delicate and dangerous procedure. It is essential to approach the repair with the utmost attention to detail and care to avoid damaging the device or harming yourself.
Tools
-
-
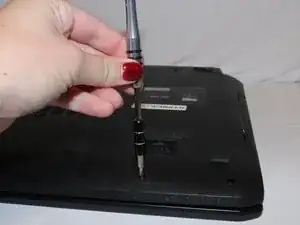
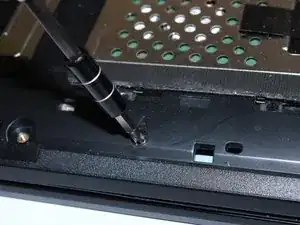
Remove the screws around the back cover using a Phillips #1 screwdriver.
-
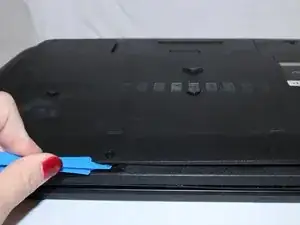
Take the back cover off using the opening tool.
-
-
-
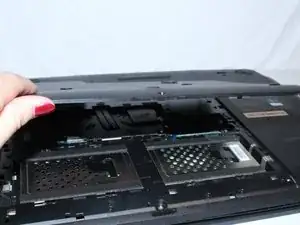
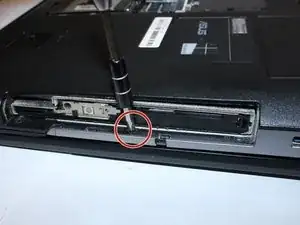
Once you get rid of the back cover, spot all the screws marked ‘A’. There should be 10 in total.
-
Remove the battery using the slide release button.
-
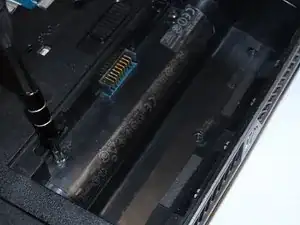
This should expose 2 more ‘A’ marked screws.
-
Remove those using the same screwdriver.
-
-
-
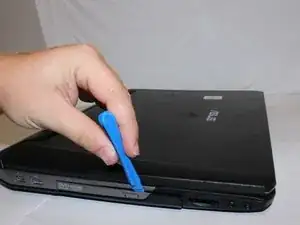
Using the opening tool, remove the disc drive cover.
-
Spot the 6 ‘B’ marked screws and remove them using the Phillips #1 screwdriver.
-
-
-
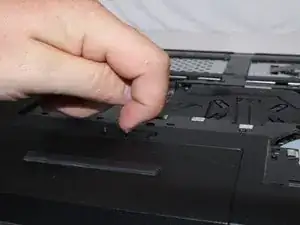
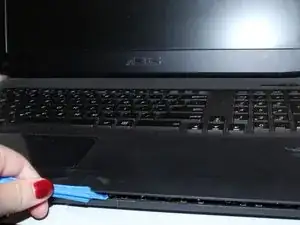
Using the opening tool, pry open the keypad platform.
-
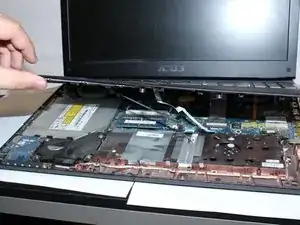
You will need to use your hands to get to the laptop’s internal systems by lifting the keypad platform.
-
-
-
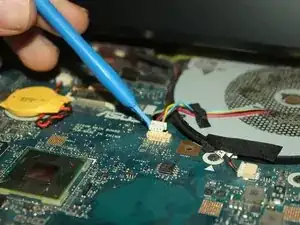
Now that the fans are exposed, use the opening tool to unhook them at the 4 connecting points.
-
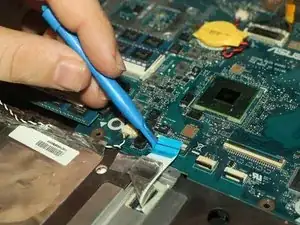
Detach the blue-colored electrical component using the opening tool.
-
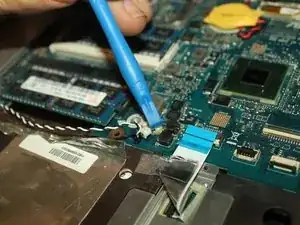
Detach the white and black colored electrical component using the opening tool.
-
-
-
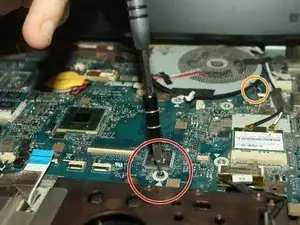
Using the Phillips #0 Screwdriver, remove the 5 screws around the edges of the motherboard.
-
Remove the 2 screws around the fan using the Phillips #0 Screwdriver which should be near the motherboard.
-
-
-
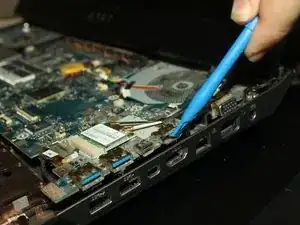
Carefully lift the motherboard up using the opening tool.
-
You should be able to see the USB port.
-
Now you will be able to desolder the faulty USB port.
-
Here is a link on desoldering How To Solder and Desolder Connections
-
To reassemble your device, follow these instructions in reverse order.
