Introduction
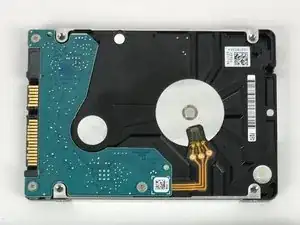
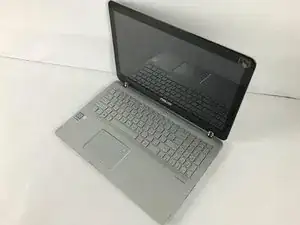
This guide demonstrates how to remove the hard drive from the Asus Q504UA-BHI5T13. In cases of a damaged hard drive or failure to boot, removing the defective hardware from the computer is necessary. Completing this guide may take 20 minutes, therefore some experience with electronics is recommended. Before following this guide, power down the device and remove all external peripherals and charging cords.
-
-
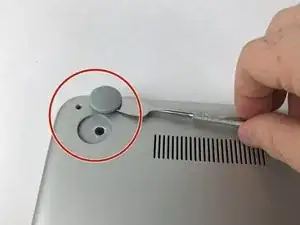
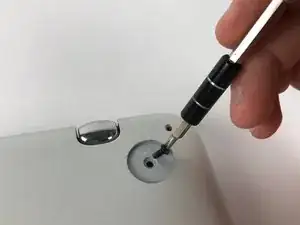
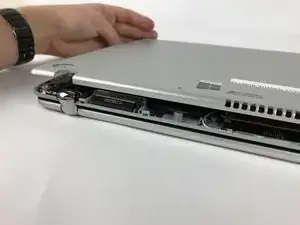
Insert any of the plastic opening tools into the seam to separate the back cover (it is recommended to start at the corner of the hinges). If you did it right, then the cover should pop off.
-
-
-
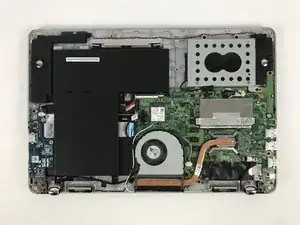
Once the back cover is removed, have the laptop facing upside down with the hinges facing toward you.
-
-
-
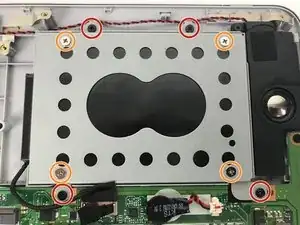
Use the Phillips #0 screwdriver to remove the eight 4mm screws around the hard drive casing (located next to the Right [R] speaker).
-
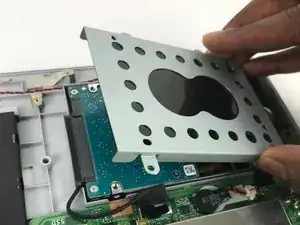
Start off with the four black outer screws so that the casing can be released from the laptop unit.
-
The next sequence of screws to remove are the four silver screws.
-


To reassemble your device, follow these instructions in reverse order.
One comment
I used your steps to replace the 128GB SSD with a larger drive. When I booted up, the new SSD appeared, the REMOVED 128GB SSD appeared, but the 1TB HHD data drive disappeared. Any tho’ts? Wish I could give you more than 30 points. Thanks. I was down to 17GB on the original drive.
Thank you very much for the walk through video, it helped me a lot.
Coastie228 -