Introduction
This guide is for the replacement or upgrade of the hard drive.
-
-
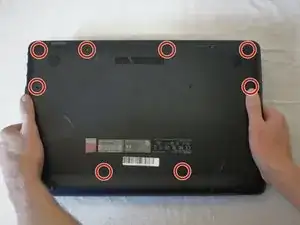
Flip the laptop over so that the back panel is facing up.
-
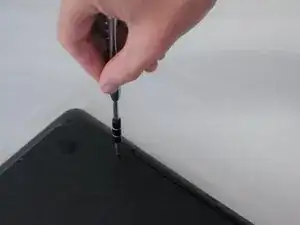
Carefully remove the eight 5.7mm screws on the back panel using a Phillips #1 screwdriver.
-
-
-
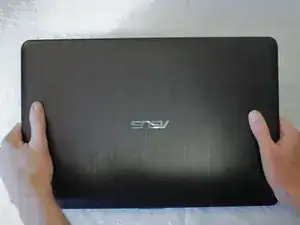
Turn the laptop upright and flip the screen open.
-
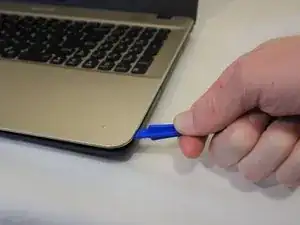
Using the plastic opening tool, gently pry the keyboard panel off of the base.
-
-
-
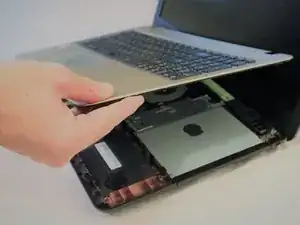
Gently raise the keyboard from the base enough to access the underside.
-
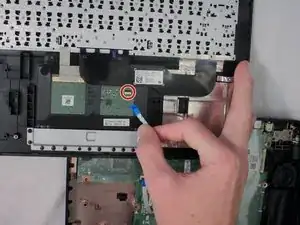
Gently pull up on the locking tab to release the ribbon cable. This should take no force to complete.
-
Remove the keyboard.
-
-
-
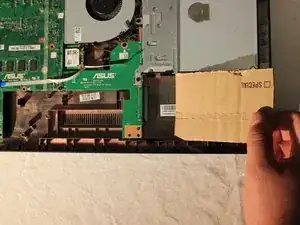
Locate the hard drive in the lower right hand corner in the computer. This device did not have a hard drive so a piece of cardboard was used as a substitute.
-
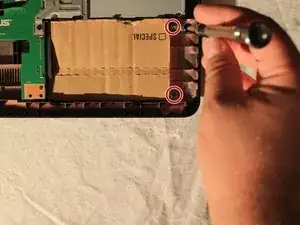
Remove the two 5.7 mm screws from the base. Use a Phillips #1 screwdriver to remove the screws. Lift up to remove the hard drive.
-


To reassemble your device, follow these instructions in reverse order.
There is two other screws that should be removed, each side of the battery. Otherwise you won't be able to remove the keyboard
jboisseur -