Introduction
If you are looking for guidance on how to disassemble the Asus ROG G750JH-DB71, this guide is for you.
Potential reasons one may be interested in dissembling a laptop include needing to clean or fix internal hardware, scrapping parts for a project, general interest in how a computer functions, and more.
Before beginning disassembly, make sure your your laptop is powered off completely, and disconnect from any external power source.
-
-
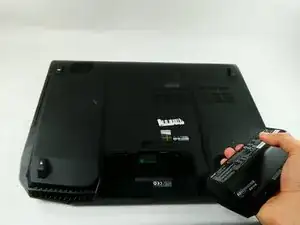
Push the switch near the front of the laptop to release the battery from the computer.
-
Pull the battery out and away from the center of the computer.
-
-
-
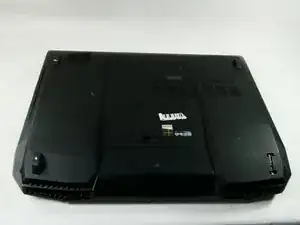
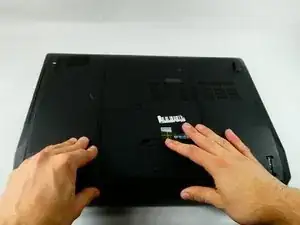
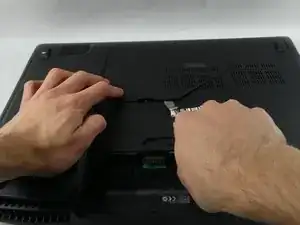
Use a spudger or your finger to lift up the plastic cover on the bottom of the laptop.
-
Under the plastic cover is a captive screw; unscrew it using a Phillips #00 screwdriver.
-
-
-
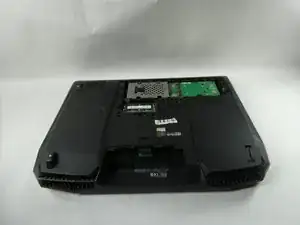
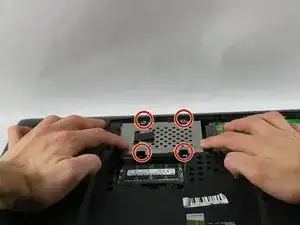
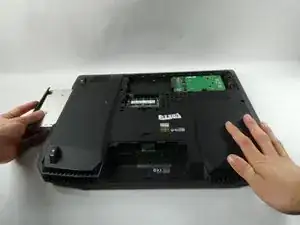
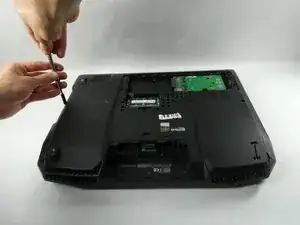
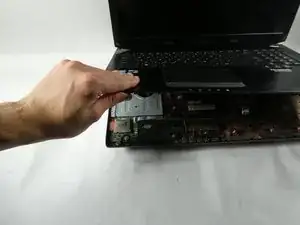
Remove the hard drive by unscrewing the 4.4 mm Phillips #00 screws.
-
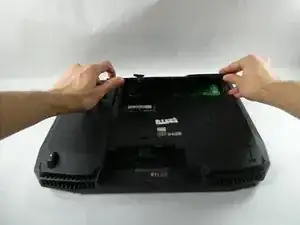
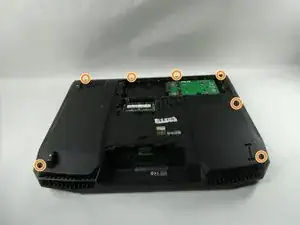
Remove all of the plastic caps around the edges using a spudger. Remove the screws underneath the caps.
-
Remove the remaining screws underneath the cover.
-
-
-
You will find a metal tab holding the disc drive in place. Push on the tab with a spudger to remove the disc drive. It is located below a previously removed screw.
-
Remove the three 4 mm Phillips #00 screws that were previously covered by the disc drive.
-
-
-
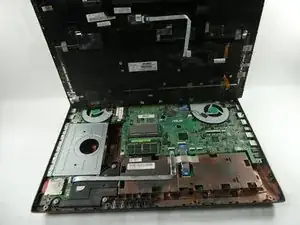
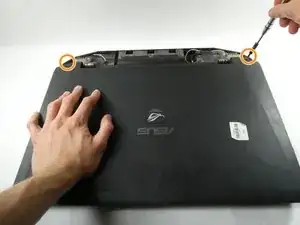
The back cover can be taken off by hand.
-
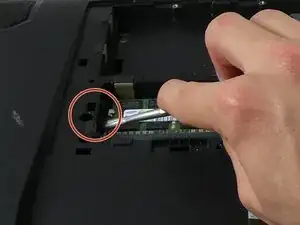
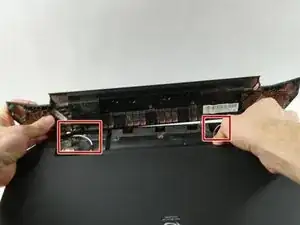
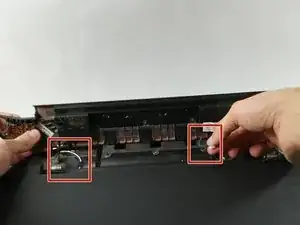
Disconnect the speaker cables.
-
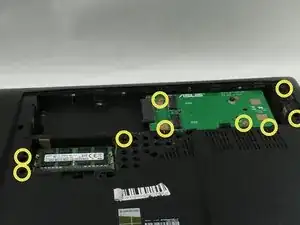
Remove two 8 mm Phillips #00 screws on each corner.
-
-
-
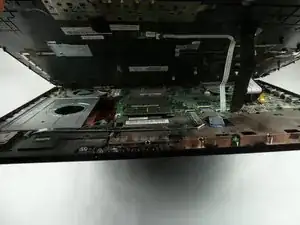
Now you can pull the keyboard off but make sure to do so carefully without damaging or scuffing any components.
-
Pull up and out at an angle to avoid damaging the internals of the laptop.
-


To reassemble your device, follow these instructions in reverse order.