Introduction

  1. ljDIRPG5KKBbStYh
    • Turn off the laptop.

    • Disconnect the charging cable.

    • Failure to disconnect the charging cable and power down the computer could result in personal or property damage.

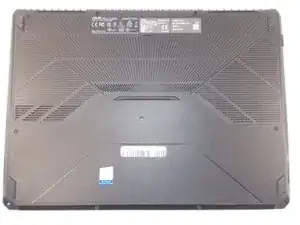
    • Flip the laptop so the back is facing up.

  2. qcLjZaIUkOP1jywX
    qcLjZaIUkOP1jywX
    vRALRo3FqBpqlrmk
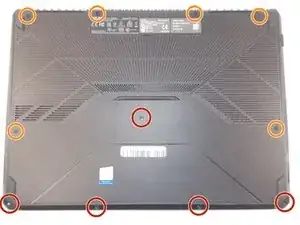
    • Use a Phillips #1 screwdriver to remove the five 6 mm screws that secure the back panel.

    • Use the same screwdriver to remove the six 13 mm screws securing the back panel.

  3. BYAnTX6QqWeENbTR
    BYAnTX6QqWeENbTR
    WgklSZdnPAmRbYol
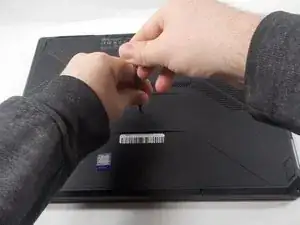
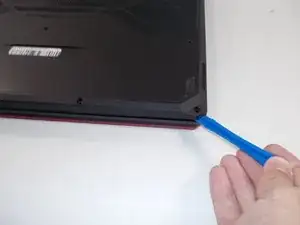
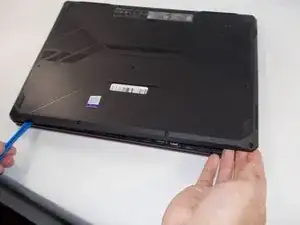
    • Insert the plastic opening tool at a corner and pry up along the edges, leaving the back side with the hinges for last.

    • Do not insert the opening tool too far into the laptop to avoid damaging internal components.

  4. I4VBM5IwCPKsbutq
    I4VBM5IwCPKsbutq
    NFOlQOKWvJ4XYmUo
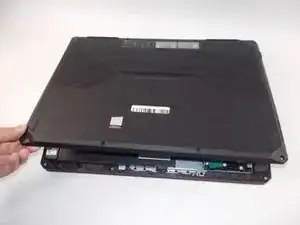
    • Gently lift up the back panel to release any remaining clips on the side with the hinges and remove the panel.

    Recommend a step here to unplug the battery internally. I discovered that you can short out the display ribbon cable pretty easily if you don't have it perfectly aligned with the connector bracket. It led to one of my pins being fried black and a gross deposit in the connector. Still seems to work though.

    Ben Hart -

  5. 6VJHi2KTgDqVwLPM
    6VJHi2KTgDqVwLPM
    P5ojYNAE36KwDM26
    OmbbZHV6EAfGmgZc
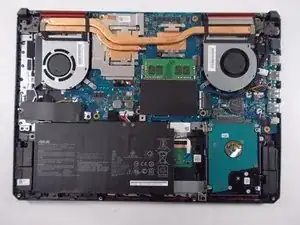
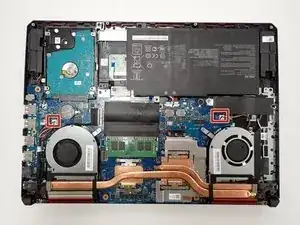
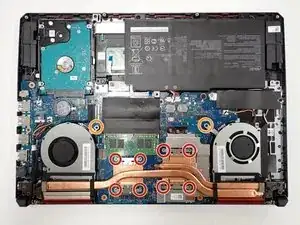
    • With a Phillips 0-bit screwdriver, remove eight 5.0 mm screws on the silver brackets

    • With a Phillips 0-bit screwdriver, remove two 5.0 mm screws holding the edge of the fans in place

    There are three additional 5mm screws holding the fans in; the left fan has one on the bottom left, and the right fan has one on the upper right and another on the bottom right

    Arty Maikov -

  6. 3skIJg2wBRnI34KH
    3skIJg2wBRnI34KH
    cGCFES1dlCM3xiGV
    XLFfQCKCoWE5k2e3
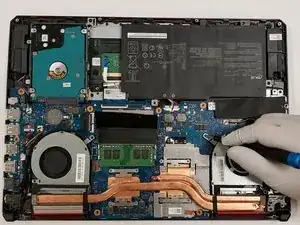
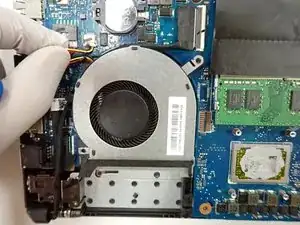
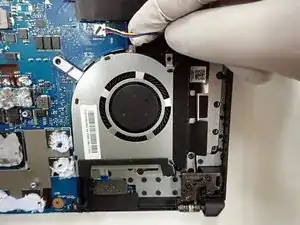
    • Disconnect two power cables connecting fans to the motherboard.

    • Once all cables and screws are removed, carefully lift up and remove the fans and heat sink

Conclusion

To reassemble your device, follow these instructions in reverse order.
Sebastian Frederick Klincewicz

Member since: 04/10/22

394 Reputation

0 comments