Introduction
This guide provides detailed step-by-step instructions to safely replace the RAM in the Asus Model X550ZA-SA100603E. If your laptop is lagging or running slowly, or if you wish to upgrade your RAM to boost performance, this guide may be helpful.
By following these steps, you can upgrade or replace the RAM and fix problems you may be experiencing with the memory.
Before you begin this repair, make sure to power off your laptop and unplug it from the charger. You should also backup your data before you start.
-
-
Place the computer screen side down and remove the 14 mm and 4 mm screws on the bottom of the computer. Locate all 10 screws and completely unscrew them.
-
Seven 14 mm screws
-
Three 4 mm screws
-
-
-
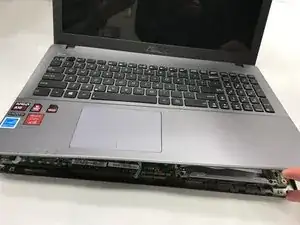
Take a flathead driver, and gently pry open a gap between the keyboard and the lower piece. This should uncover the laptop's internals.
-
-
-
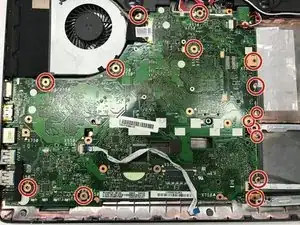
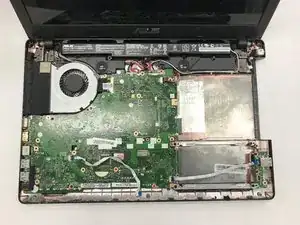
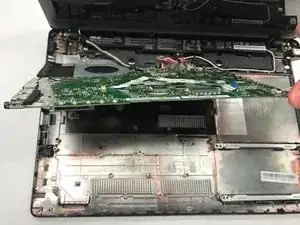
The motherboard is the big board on the left-hand side of the internals. Remove all 15 bordering screws that hold the motherboard in place.
-
-
-
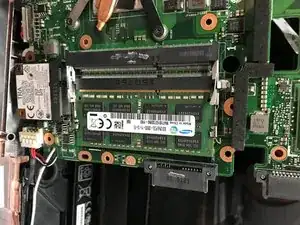
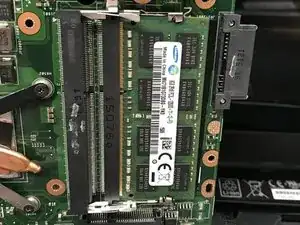
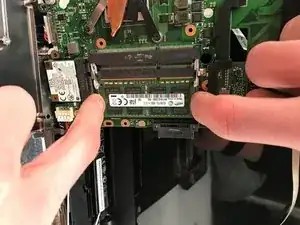
Carefully flip the motherboard over to expose the bottom of the board. You should find the RAM slots located on the right-hand side of the bottom of the motherboard.
-
-
-
Take two fingers and pull the securing slots outward. The RAM stick should easily pop out. Take the old stick out, and carefully put the new one in the slot.
-


To reassemble your device, follow these instructions in reverse order.